QUICK START GUIDE
NDT-VKP Virtual Keypad
Overview
Virtual Keypad (FG3005-01) provides a simple web-based user interface for
NetLinx control systems which can be used in a wide range of control
environments. You can program Virtual Keypad and upload the settings to a
NetLinx Master using AMX’s NetLinx Studio application. Virtual Keypad works in
an identical fashion to a physical keypad.
This single Virtual Keypad module has the ability to display two different button
layouts depending on the size of the display being used. On screens with
resolution less than 1000 x 700 pixels, the Mobile button layout will
automatically be displayed. The standard button layout will be displayed on all
other screen sizes.
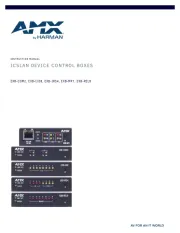
• The standard button layout is designed to look like an AMX Mio Modero
12-button Keypad (FIG. 1):
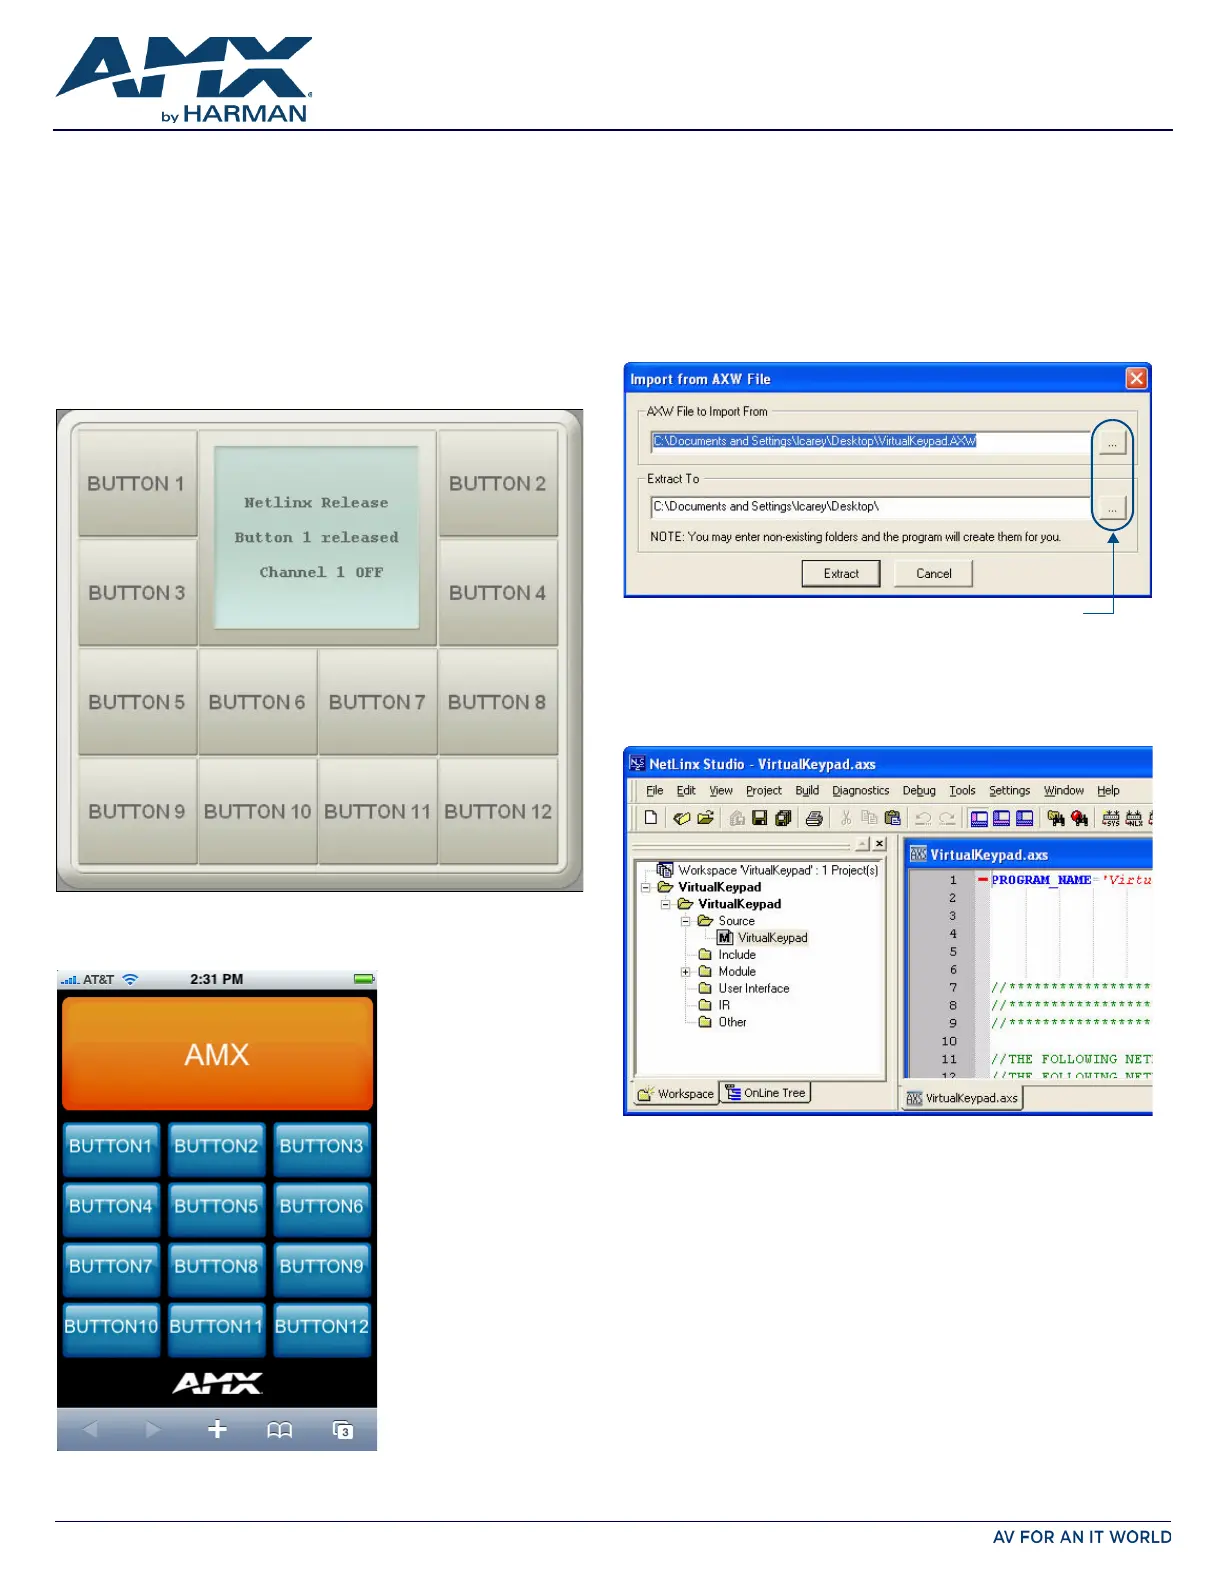
• The Mobile button layout is designed for use on mobile devices, optimized
for use on Apple
®
iPhone™ and iPod Touch™ touchscreens (FIG. 2):
• While the Mobile User Interface is optimized for use with the iPhone and
iPod Touch (screen resolution: 480 x 320 pixels at 163 ppi, with 3:2 aspect
ratio), it is suitable for use with any web-enabled mobile phone.
• Your iPhone / iPod Touch must have OS v2.1 or greater in order to view
Virtual Keypad web pages.
Installing Virtual Keypad onto a NetLinx Master
Note: Before you start, verify that you have installed the latest version of NetLinx
Studio 3 (free download at www.amx.com).
1. Unzip the Virtual Keypad.zip file, and double-click the VirtualKeypad.axw file
to open the Import from AXW File dialog (FIG. 3) in NetLinx Studio 3.
2. Use the Browse button to navigate to the location in which you want to
extract the files.
3. Click Extract to extract the files to the designated location.
4. In NetLinx Studio, open the Virtual Keypad workspace (FIG. 4).
5. In the application workspace, add the custom code to implement
functionality for button events, line text feedback, and button label text. This
includes constant definitions, virtual device number definitions, variable
definitions (for ramping), module definitions, data events, and button
events.
6. Ensure the virtual device definition for the Virtual Keypad has a unique
device number, as there may be other previously-defined virtual devices.
7. Click the Build Active System button to build the system and ensure all code
compiles without errors.
8. Select the NetLinx Master to which you want to transfer the code.
9. Click Send to transfer the code to the NetLinx Master.
FIG. 1 NDT-VKP VIRTUAL KEYPAD STANDARD USER INTERFACE
FIG. 2 NDT-VKP VIRTUAL KEYPAD MOBILE USER INTERFACE
FIG. 3 IMPORT FROM AXW FILE DIALOG (NETLINX STUDIO 3)
FIG. 4 NETLINX STUDIO 3 - VIRTUAL KEYPAD WORKSPACE