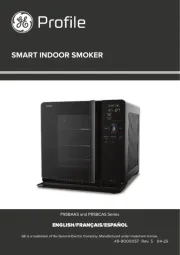
GE EGR3000EPWW Manual

| Mærke: | GE |
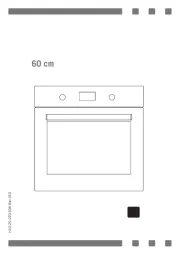
| Kategori: | Ovn |
| Model: | EGR3000EPWW |
Har du brug for hjælp?
Hvis du har brug for hjælp til GE EGR3000EPWW stil et spørgsmål nedenfor, og andre brugere vil svare dig
Ovn GE Manualer
10 September 2025

7 August 2025
7 August 2025

7 August 2025

7 August 2025

7 August 2025

6 August 2025

6 August 2025

6 August 2025

6 August 2025
Ovn Manualer
- ELIN
- Jamie Oliver
- Jenn-Air
- Cadco
- Profilo
- Hotpoint Ariston
- Hestan
- Vulcan
- Orava
- Severin
- Balay
- Infiniton
- Nesco
- Cuisinart
- Koenig
Nyeste Ovn Manualer
5 November 2025

5 November 2025

5 November 2025
4 November 2025

3 November 2025

3 November 2025

3 November 2025

3 November 2025
2 November 2025
1 November 2025