Ventev TW-HCEN-FL-TBAR Manual

Ventev Ikke kategoriseret TW-HCEN-FL-TBAR

Læs nedenfor 📖 manual på dansk for Ventev TW-HCEN-FL-TBAR (3 sider) i kategorien Ikke kategoriseret. Denne guide var nyttig for 30 personer og blev bedømt med 4.7 stjerner i gennemsnit af 15.5 brugere

Side 1/3
www.ventevinfra.com sales@ventev.com 1-800-851-4965
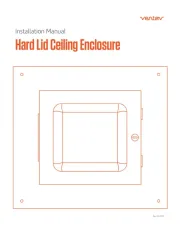
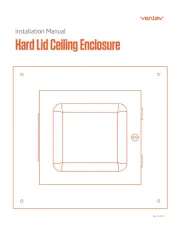
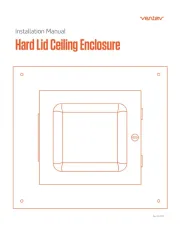
Flush Mount Hard Cap Wi-Fi Enclosure
Assembly Instructions
Step 1 - Cut a hole into the ceiling as shown in Figure 1. It ers so the lid covers the hole. is important to chamfer the corn
Figure 2
Step 2 - Place the enclosure base into the hole and tighten the 4 screws that clamp the enclosure to the ceiling. Knock outs
are provided to run the RJ45 cable into the enclosure. Shown in Figure 2.
Figure 1
Figure 2
www.ventevinfra.com sales@ventev.com 1-800-851-4965
Flush Mount Hard Cap Wi-Fi Enclosure
Assembly Instructions
Step 3 - Remove the back plate from the enclosure base by removing 4 screws and install the AP to it.
Step 3A - To attach Cisco AP’s, use the key holes provided and place the locking spring pin in the key hole to prevent the AP
from sliding o as shown in Figure 3 and Figure 4. Connect the RJ45 cable to the AP.
Step 3B - To attach Aruba AP’s, insert the ing spring pin in the center hole to preAP feet into the cut outs and place the lock -
vent the AP from sliding o as shown in Figure 5. Connect the RJ45 cable to the AP.
Figure 3 - Cisco
Figure 5 -Aruba
Figure 4 - Cisco
Step 3C - If you are using the Solution that includes a T-Bar, Please follow your AP Manufacturer’s Instructions to attach the
AP T-Bar Mounting Solution to the T-Bar inside the enclosure as shown in Figure 6. Connect the RJ45 cable to the AP.
Figure 6 -T-Bar


Produkt Specifikationer

Mærke: Ventev
Kategori: Ikke kategoriseret
Model: TW-HCEN-FL-TBAR
Vægt: 2040 g
Antal pr. pakke: 1 stk
Produktfarve: Hvid
Produkttype: WLAN-adgangspunktmontering

Har du brug for hjælp?

Hvis du har brug for hjælp til Ventev TW-HCEN-FL-TBAR stil et spørgsmål nedenfor, og andre brugere vil svare dig