ViewZ VZ-17RTLD Manual
Læs gratis den danske manual til ViewZ VZ-17RTLD (11 sider) i kategorien Skærm. Denne vejledning er vurderet som hjælpsom af 11 personer og har en gennemsnitlig bedømmelse på 4.9 stjerner ud af 6 anmeldelser.
Har du et spørgsmål om ViewZ VZ-17RTLD, eller vil du spørge andre brugere om produktet?
Produkt Specifikationer
| Mærke: | ViewZ |
| Kategori: | Skærm |
| Model: | VZ-17RTLD |
| Produktfarve: | Sort |
| Skærm diagonal: | 17 " |
| Skærmopløsning: | 1024 x 768 pixel |
| Berøringsskærm: | Ingen |
| Wi-Fi: | Ingen |
| Bluetooth: | Ingen |
| HD-type: | Ikke understøttet |
| Naturligt aspektforhold: | 5:4 |
| Responstid: | 5 ms |
| Synsvinkel, horisontal: | 160 ° |
| Synsvinkel, vertikal: | 160 ° |
| Indbyggede højttaler(e): | Ja |
| Format til analogt signal: | PAL, SECAM |
| Antal højttalere: | 2 |
| Udgangseffekt (RMS): | 4 W |
| Mobile High-Definition Link (MHL): | Ingen |
| DVI-port: | Ja |
| Ethernet LAN: | Ingen |
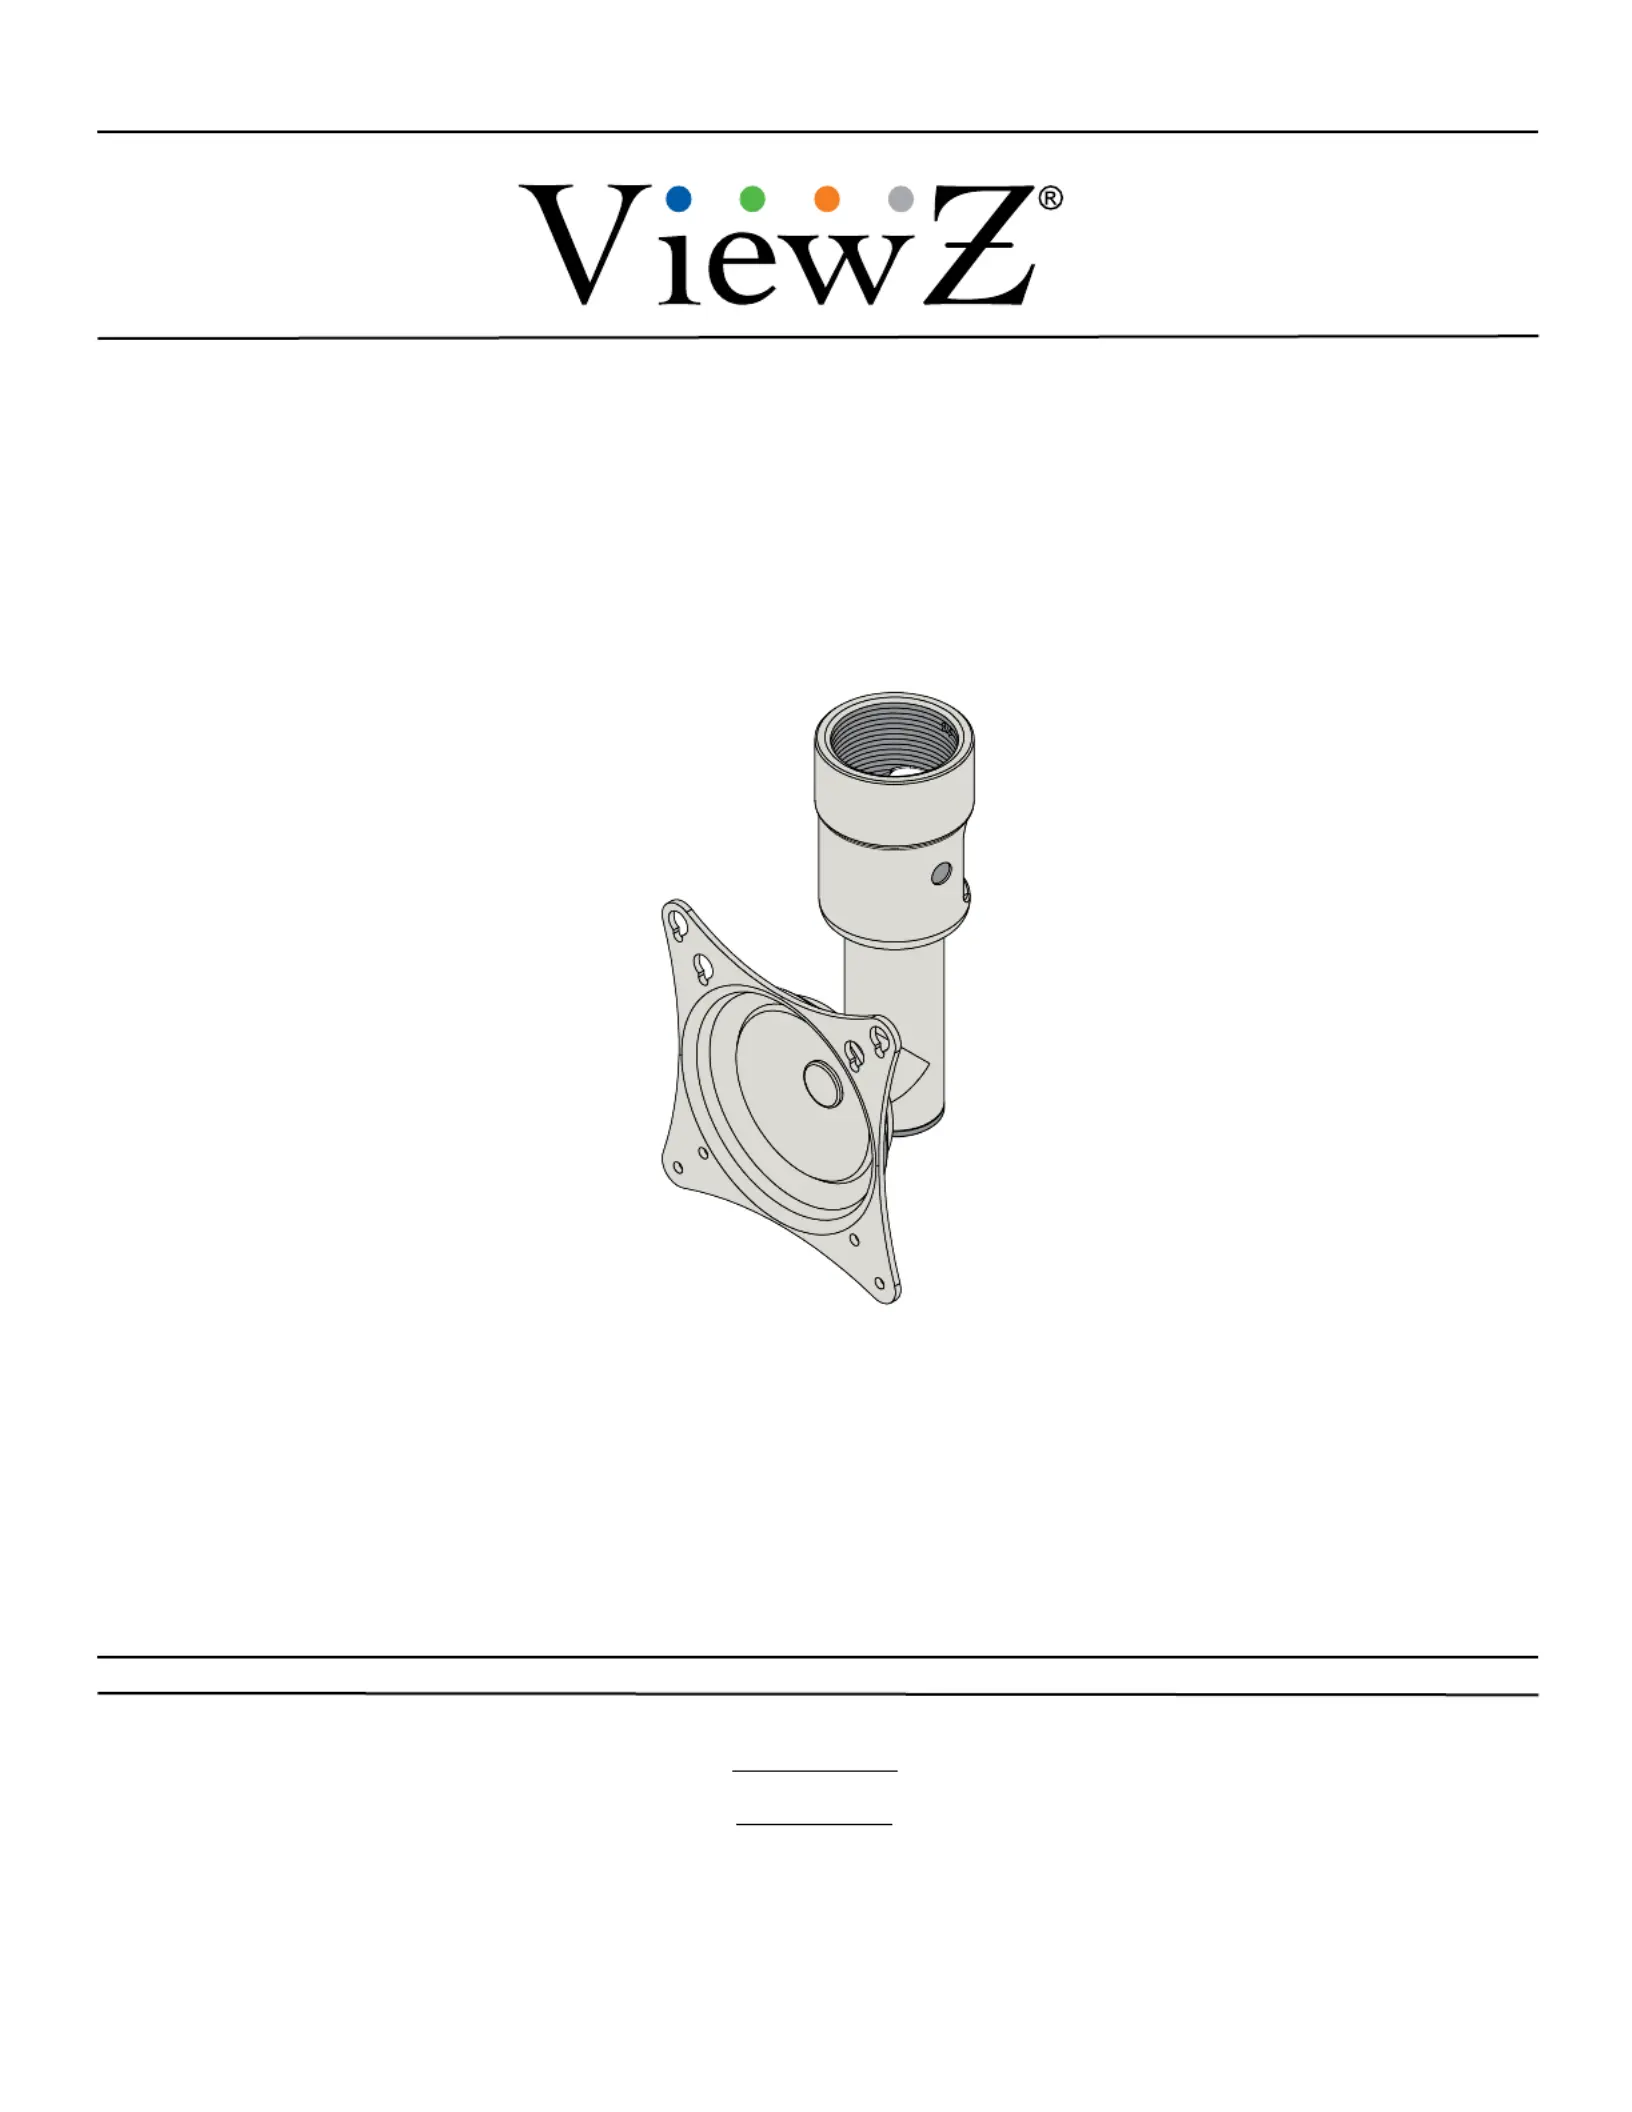
| VESA montering: | Ja |
| Panel montering grænseflade: | 100 x 100 mm |
| Strømforbrug (standby): | - W |
| Strømforbrug (typisk): | 36 W |
| Bredde (uden stativ): | 382.4 mm |
| Dybde (uden stativ): | 60 mm |
| Højde (uden stativ): | 390.5 mm |
| Vægt (uden stativ): | 5940 g |
| Driftstemperatur (T-T): | 0 - 40 °C |
| Skærm: | LCD |
| Understøttede grafikopløsninger: | 1024 x 768 (XGA) |
| Certificering: | TUV-NRTL(UL), CB, FCC(B), CE-Emc(LVD) |
| LED-indikatorer: | Ja |
| Indbygget kortlæser: | Ingen |
| Indbygget kamera: | Ingen |
| Pc lydindgang: | Ja |
| Slot til kabellås: | Ingen |
| Billedformat: | 5:4 |
| Vis antal farver: | 16,78 millioner farver |
| Indgangsstrøm: | 3 A |
| Skærmens lysstyrke (typisk): | 250 cd/m² |
| Kontrastforhold (typisk): | 1000:1 |
| Pixel pitch: | 0.264 x 0.264 mm |
| Horisontal scanningsområde: | 31 - 64 kHz |
| Antal VGA-porte (D-sub): | 1 |
| TV-tuner, integreret: | Ingen |
| Gennemsnitstid mellem fejl (MTBF): | 50000 t |
| Vertikalt scanningsområde: | 56 - 75 Hz |
| PC-lydudgang: | Ja |
| Tynd klient installeret: | Ingen |
Har du brug for hjælp?
Hvis du har brug for hjælp til ViewZ VZ-17RTLD stil et spørgsmål nedenfor, og andre brugere vil svare dig
Skærm ViewZ Manualer


Skærm Manualer
- SmallHD
- Ikegami
- Sony
- BlueBuilt
- Antelope Audio
- Prowise
- Portkeys
- Feelworld
- InFocus
- Panasonic
- Renkforce
- Allsee
- Lilliput
- Danfoss
- VIZIO
Nyeste Skærm Manualer