You ay test the bab before initial e, and at regular m y monitor us
To test your baby monitor:
1. Place the parent unit and the baby unit in the same room to test
2. Press and hold on the parent unit the screen displays Please
3. Slide on the baby unit to turn it on.ON/OFF
4. If the parent unit displays an image from the baby unit. Your baby
monitor is now ready for use.
• Make sure the baby t s t uni i a leas 3 feet awat y fro the parenmt
• If both unit are no connected t s ys Ls t , the paren uni dit pla No ink
T ihen t di pla s s y Please Wait... and ashes.fl
You can power up the parent unit by connecting it to AC power or
to the recharge e battery provided. Even if the parent unit is abl
co ected to AC power, we reco end you a o inst l the nn mm ls al
battery. This guarantees continual ope
rat n in c e of a power io as
Inst l the battery as shown below.al
1. With the l labe TH DIS SI E UP fac , abs oing up insert the small t f
the to he ts ba er intt y t slo inside the ba er tt y compartment. Make
sure the et lic contac i correctly oriented as own below. mal t s sh
P ush the ba erytt in ba erto he t tt y compartment un il lit it c cks
2. Align the batter co part n cover at agains the battery m me t flt y
co part nt then slide im me , t t ard the center o the parenow s f t unit
until it click in place. s to
To replace the battery, press down on the large tab of the battery
and p l it out of the battery co part nt, then follow the steps ul m me
above to inst l the battery. al
• T the opera ing time for ing us the c re hargeable ba er istt y short. If
you t to t a we cwan moni or your baby for long time, re ommend y ou
conne hect t o AC . paren unit t t power
• If the parent t uni will no be edt us for lon a g time, di conne ands ct
o vremove the ba ertt y t pre ent po ible leakagess .
• Use onl the batter supplied th this product.y y wi
Connect and charge the battery
• Use onl he paren uni y t t t power adap ter and the baby uni power t
adapter th tsupplied wi hi produs ct.
• T he paren unit t power adap ter and baby uni power adapter are t
t o be c l tin ended t orrect y orien ed in a
sit po ion. The prong are no designed hold hes t to t plug in place if it
i to a c ts plugged in eiling under-, he- able or cabine out t tlet.
• Make sure the parent unit, the baby unit and the power adapter
cord are out of reach of children.
Charge the parent unit battery
Once you have installed the parent unit and its battery, press and
hold to turn it on. The battery icon indicates the battery status
(see the Parent unit display icons table).
The standby e var s d e ing on the sensitivity level you set, timie ep nd
your actual use and the age of the battery.
When the parent unit is operating in battery mode and the battery is
low, you need to charge the parent unit without interruption for at
least 30 minutes to give the parent unit enough charge to use for a
short time. When operating in low battery condition, the parent unit
displays Battery low and . The parent unit plays short beeps to
When you charge the battery initially or it is not used for a long
period of time, charge it for 12 hours continuously. It takes longer to
charge the battery when the parent unit is turned on. To shorten the
charging time, turn the parent unit off while charging.
Positioning the baby monitor
Place the parent unit within the operating range of the baby unit. We
recommend the parent unit is at least 3 feet away from the baby unit
to avoid audio feedback. If you still experience audio feedback,
move the parent unit and the baby unit farther apart.
For better image quality, do not place the baby unit too far away
The operating range of the baby monitor is up to 250m outdoors or
50m indoors. The actual operating range may vary depending on
the environmental conditions and other interferences such as walls,
doors and other obstructions.
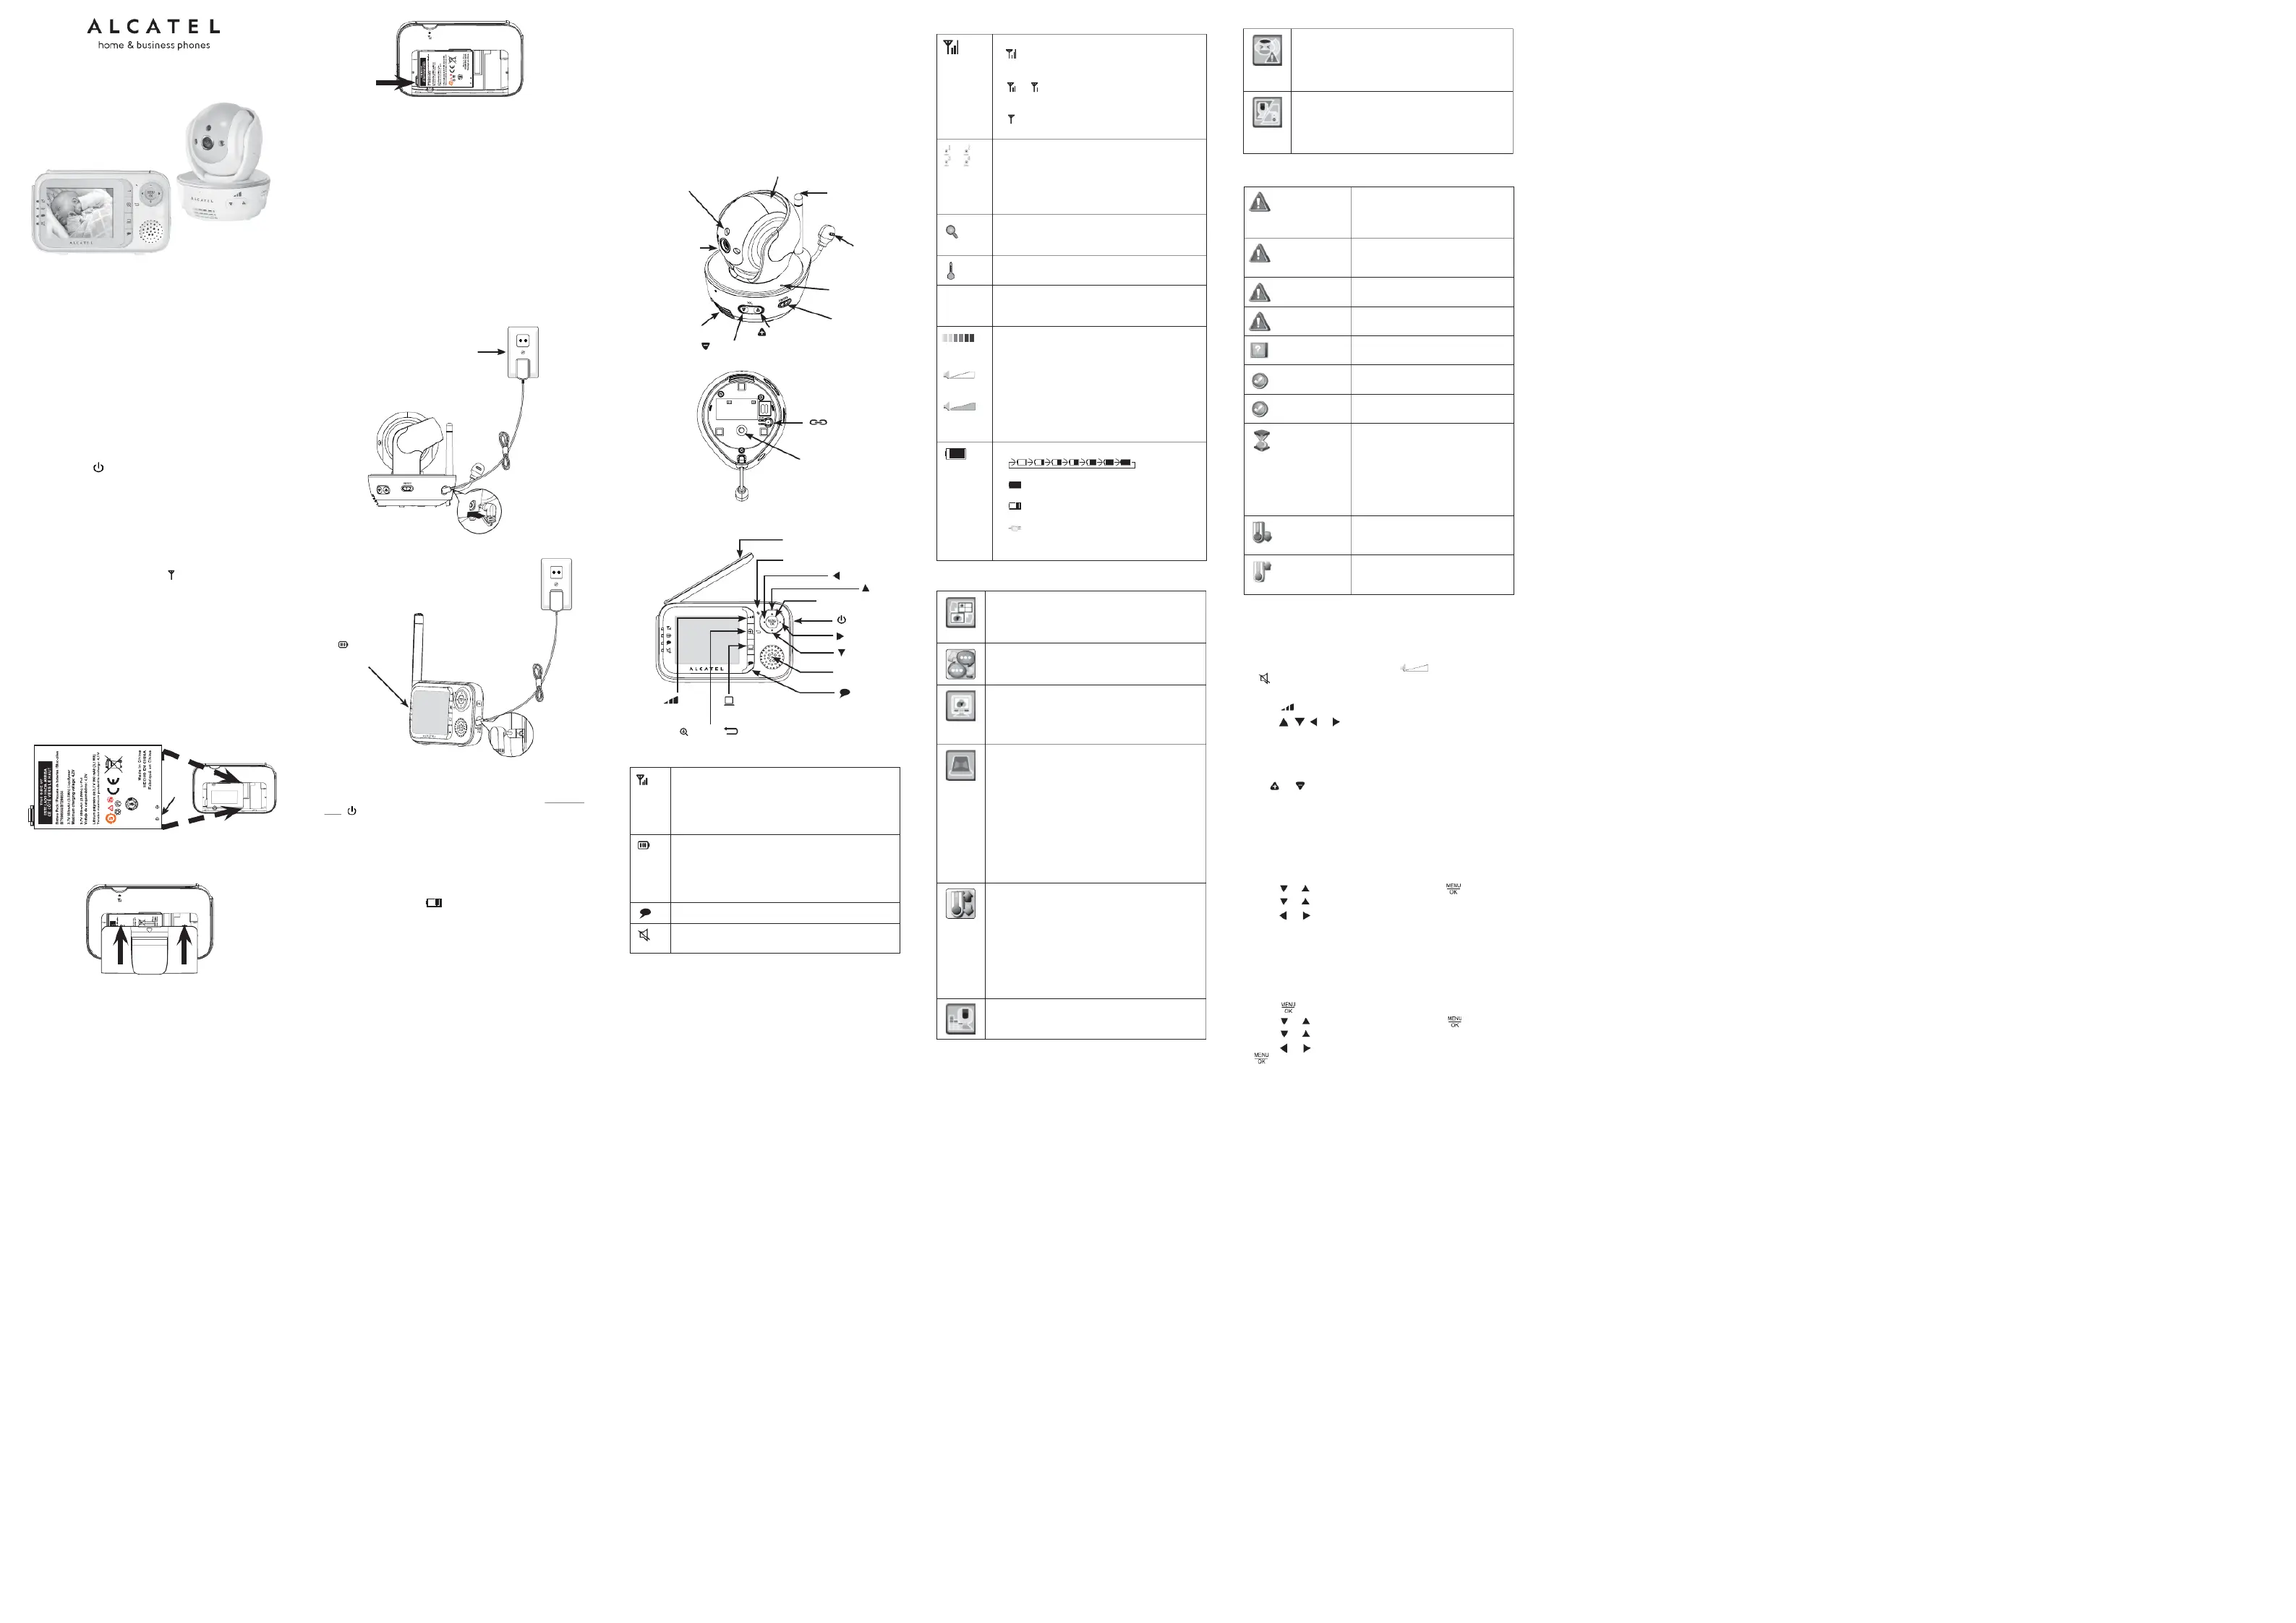
Parent unit di lay iconssp
Parent unit main menu icons
Parent unit display messages
Adjusting speaker volume for parent unit
You can change the speak fro to , er volume m Volume 1 Volume 5
When the speaker volu e is set to off, appears brie y and m fl
To adjust the speaker volume:
1. Press when the parent unit is not in use.
2. Press , , or to adjust the speaker volu e.m
Adjusting speaker volume for baby unit
You can change the speaker volume.
To adjust the speaker volume:
Press or on the baby unit at any ti e.m
You can change the brightness of the parent unit screen from
To set the brightness of the parent unit screen:
1. Press MENU/OK when the parent unit is not in use.
2. Press or to choose , then press to select. DISPLAY
3. Press or to choose Brightness.
4. Press or to choose the desired level of brightness, then
press MENU/OK confirm your selection.
You can change the contrast of the parent unit screen from Level 1
To set the contrast of the parent unit screen:
1. Press when the parent unit is not in use.
2. Press or to choose , then press to select.DISPLAY
3. Press or to choose Contrast.
4. Press or to choose the desired level of contrast, then press
- You can set the screen to be turned on
automatically whenever there are sounds
detected from the baby units when the parent unit
screen is turned off anually.m
- The baby units and parent unit provided are
already paired. You can add or replace baby units
(purchased separately) to your baby monitor
You can choose to onitor in Single Baby unit, Split m
Baby unit or Patrol Mode if there are ore than one m
baby units in your syste .m
You can select a language to be used in all screen
- You can change the brightness of the parent unit
- ou can hange he t e parent uniY c t contras o hf t t
- You can set whether the parent unit beeps
whenever the parent unit operates in low battery
- You can set whether the parent unit beeps
whenever the link between the parent unit and the
- You ay turn on the sound alert so that the m
parent unit beeps as soon as the baby unit
detects sounds which light up four sound level
indicators on the parent unit when the parent unit
volu e is turned off anually.m m
- You can set the desired minimum room
temperature of the baby unit.
- a iYou can set the desired m x mum room
temperature of the baby unit.
- You can set whether the parent unit beeps
whenever the is out of the preset temperature
- You can set the scale of the baby temperature
- You can use the parent unit to change the sound
sensitivity level of the baby units.
When the parent unit is powered by
the rechargeable battery and the
battery level is low, it needs to be
The parent unit fails to switch to the
ne t baby unit in Single Baby unit or x
The selected baby unit slot is not
linked to the parent unit.
The selected baby unit cannot be
paired with the parent unit.
You try to unpair the baby unit(s). The
operation needs your con r ation.fi m
The selected baby unit has been
paired with the parent unit.
The selected baby unit(s) has been
unpaired with the parent unit.
The link between the parent unit and
the selected baby unit is lost, or the
selected baby unit is out of range, or
the selected baby unit slot is e pty.m
When you have only one paired baby
unit and the link is lost, or you have
multiple paired baby units and the
The temperature detected from the
selected baby unit is below the set
The temperature detected from the
selected baby unit is above the set
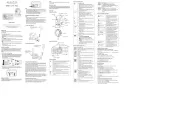
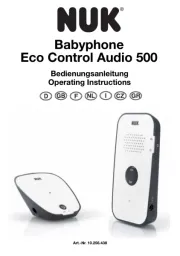
270˚ rotatable camera head
On when strong signal strength is detected between
the parent unit and the selected baby unit.
Flashes when the parent unit cannot link to the
Off when the parent unit is turned off.
On when the paren uni ba ery t t tt is .being charged
Flashes when the parent unit battery is low and needs
Off when the parent unit battery is fully charged, or
when no battery is installed.
On when the parent unit is talking to the baby unit.
On w n the speaker volu e of the parent unit is he m
- displays when strong signal strength is
detected between the baby unit and the parent
- or d te signal strength isplays when modera
is detected between the baby unit and the
- displays when the link between the baby unit
and the parent unit is lost.
- Displays the nu ber of the baby unit that is m
being viewed when in Single Baby unit.
- Displays the highlighted baby unit when in
Patrol Mode, if there are more than one baby
- Displays when the c at the baby unit has amera
- Displays when the t ture alert is set to on.empera
- Displays the real-t t ture of the ime empera
Displays the sound level according to the scales
of loudness when there is sound t tted ransmi
- Displays the speaker of the parent unit volume
- Dis kplay hes t spea er volume le l while adjustingve .
animates when the battery is charging.
- displays solid when the battery is fully
- displays when the battery is low and needs
- displays when no battery is installed but
operates using AC power, or the battery has
been installed incorrectly.
ATLINKS, 22 quai Gallieni 92150 Suresnes – France
The Alcatel logo and Alcatel name are trademarks of Alcatel Lucent
and used under license by ATLINKS.
PLEASE READ THIS USER'S GUIDE BEFORE USING YOUR BABY MONITOR