ALDI STORES LTD., OP BOX 26,
ALDI STORES (IRELAND) LTD.
PO BOX 726, NAAS, CO. KILDARE.
• If the LED strip or accessories are damaged, they must be replaced or repaired by the manufacturer,
their customer service, or a similarly quali ed person to avoid hazards.
• The casing must not be opened, and repairs should only be carried out by a professional. Please
consult a specialized workshop for this. Any liability and warranty claims are excluded if repairs are
done by the user, if there is improper connection, or if the device is misused.
»Under the environment with electrostatic discharge (ESD), the sample may malfunction and need
This symbol provides you with useful additional information for assembly or operation.
Declaration of Conformity (see the “Declaration of Conformity” chapter): Products
marked with this symbol comply with all applicable community regulations of the
Devices marked with this symbol are operated with direct current.
The LED strip is protected against solid foreign objects < 1mm and splashing water from
any direction and can be used outdoors.
The product complies with protection class III. It has low voltage and safe separation from
other electrical circuits.
Sort and dispose of the packaging materials according to their type, utilizing your local
recycling facilities for paper, cardboard, and light packaging.
The LS-3S Solar LED Strip are designed as light decoration and light play for outdoor use, as well as for
The LED strip is intended only for private household use and is not suitable for commercial purposes.
Use the LED strip only as described in this operating manual. Any other use is considered improper and can
lead to property damage or even personal injury. The LED strip is not a toy for children.
The manufacturer or dealer assumes no liability for damage resulting from improper or incorrect use.
WARNING! RISK OF PROPERTY DAMAGE! RISK OF INJURY! AND FIRE HAZARD!
»Improper use can damage the LED strip.
• Keep the LED strip away from heat, heat sources (e.g., oven), moisture (such as damp surfaces), and
• Do not expose the LED strip to temperatures below -15°C or above 50°C.
• Never submerge the LED strip in water, and avoid touching it with wet hands.
• Do not drop or let the LED strip fall from high places.
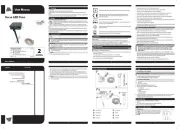
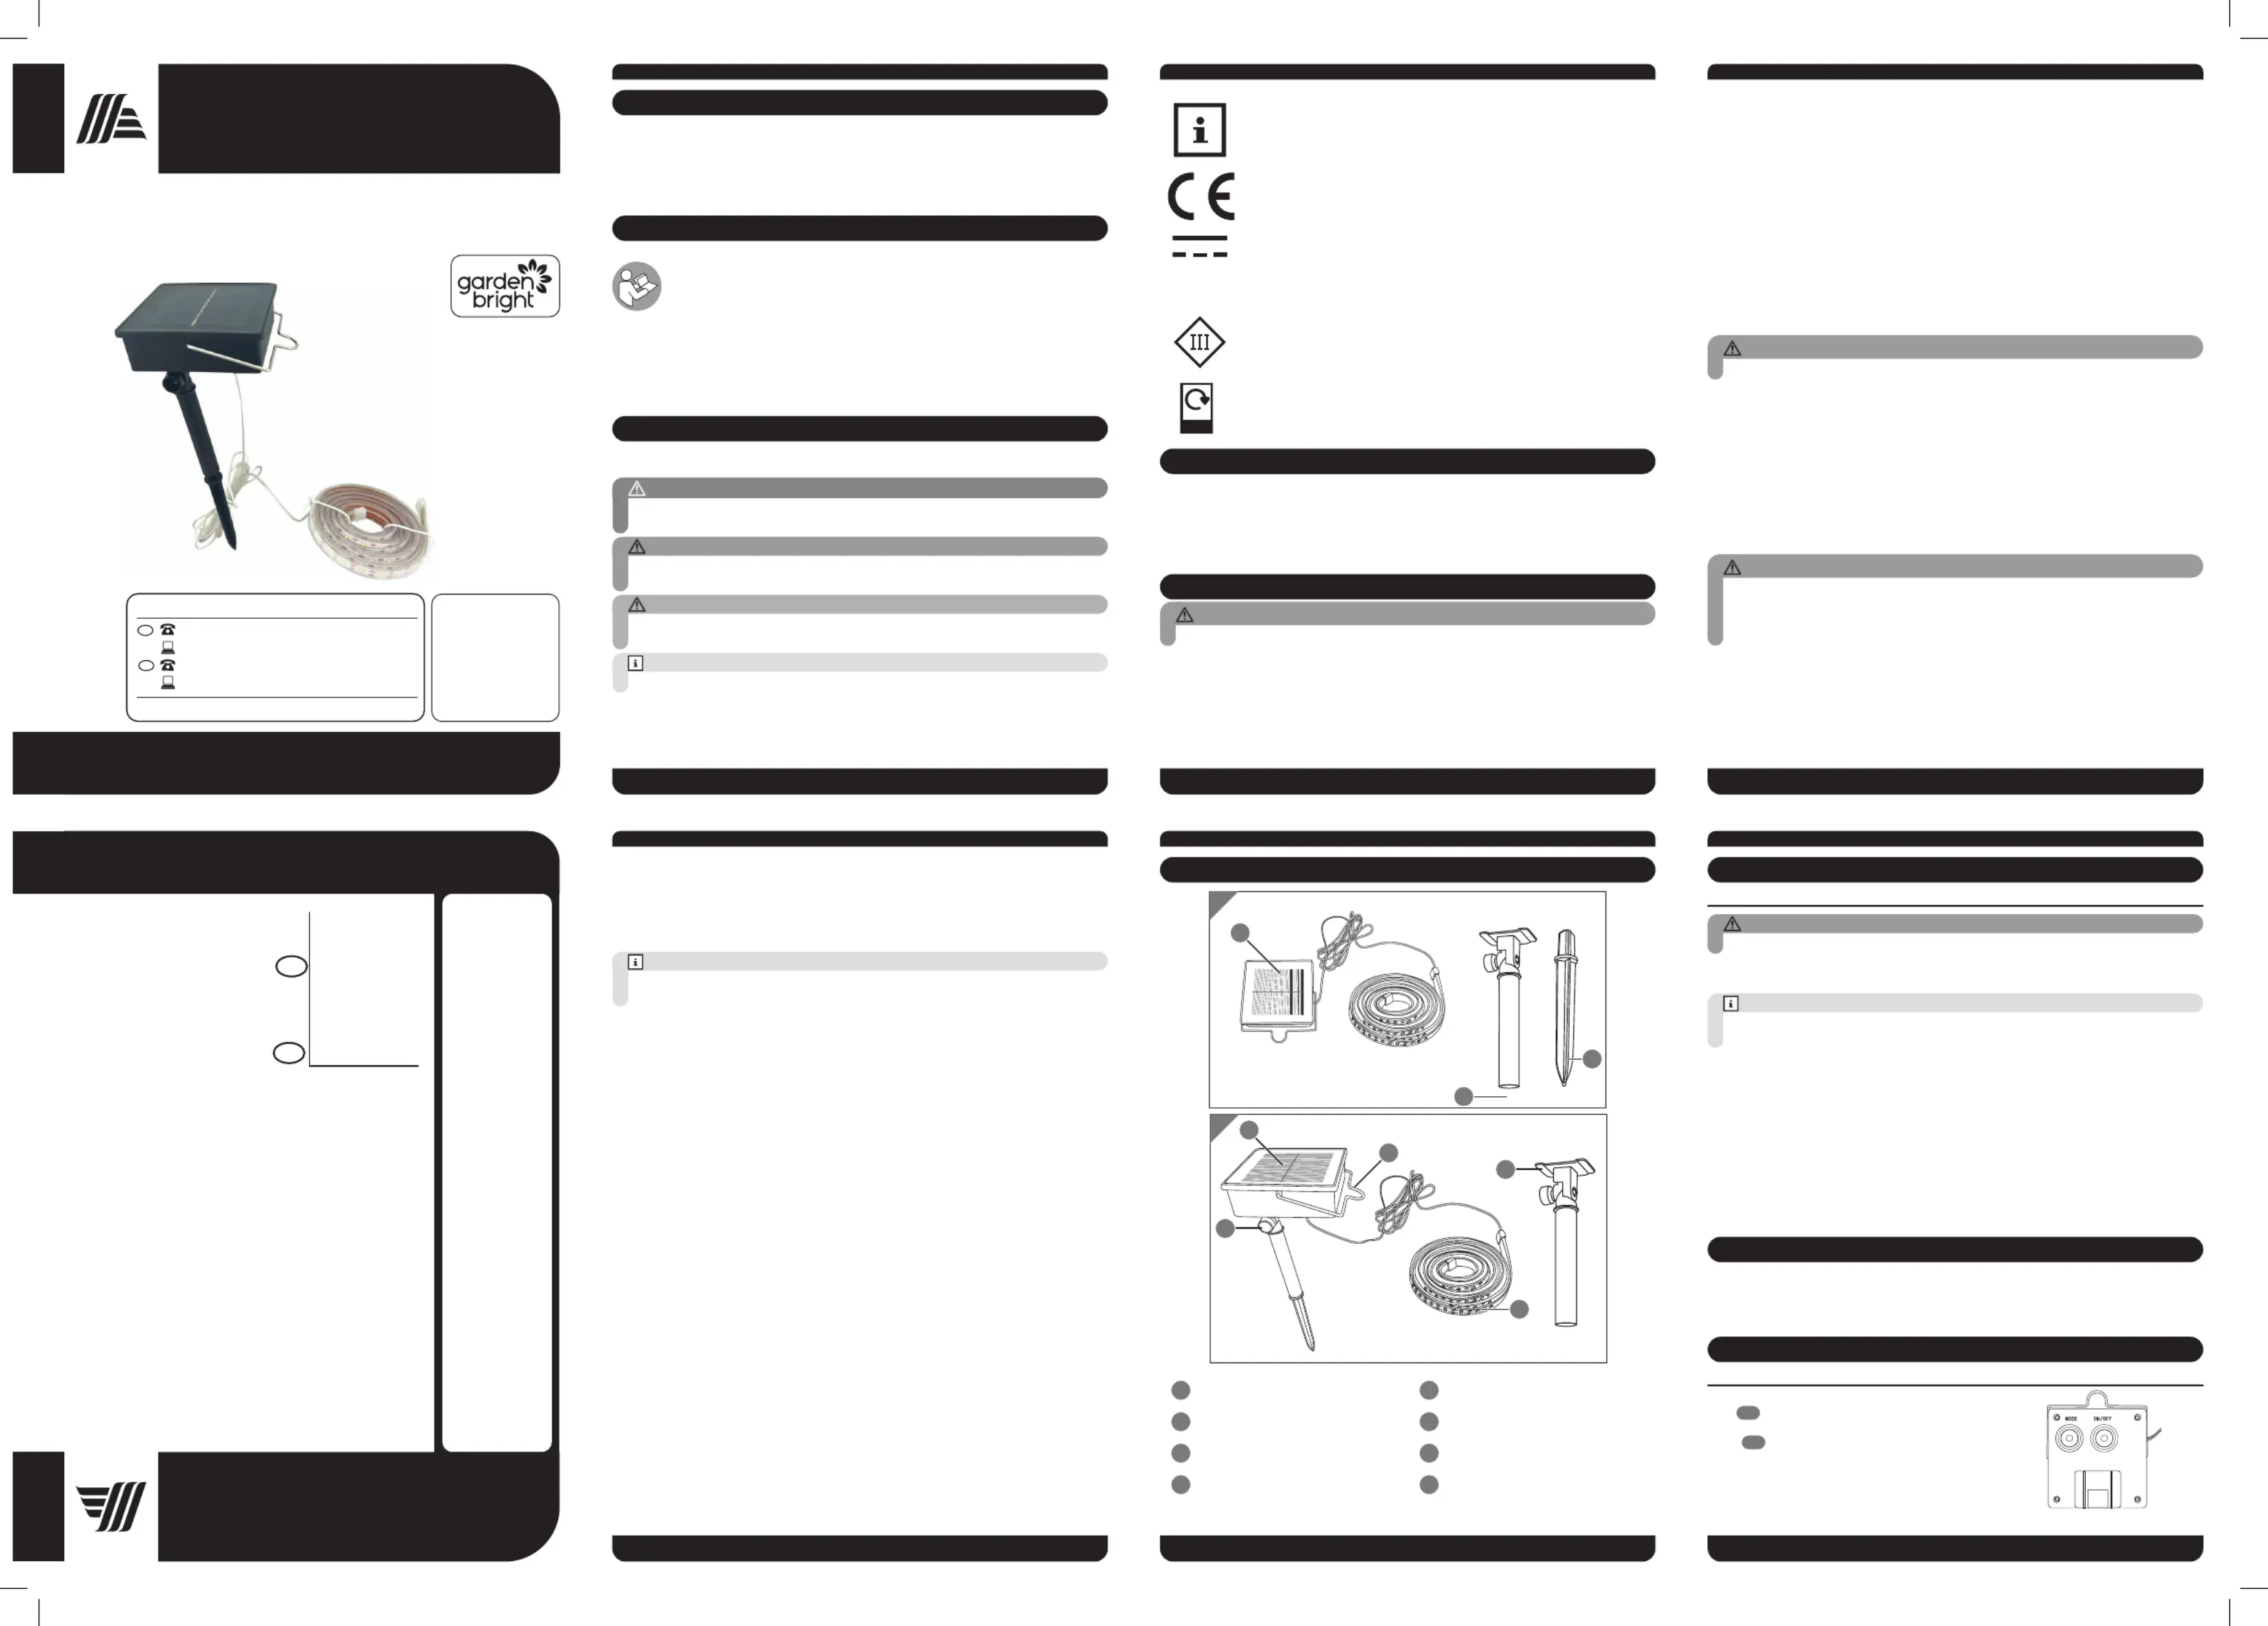
S D /D PCOPE OF ELIVERY EVICE ARTS
• Be cautious as some parts of the LED strip may become hot.
• Cease using the LED strip if the plastic has cracks, fractures, or deformations.
• The LED cannot be replaced. Dispose of the item if it is damaged.
• Do not open, alter, or modify the LED strip, and do not insert metallic objects or wires into it.
• Improper handling of the LED strip and the battery can cause an explosion or a re.
• Never cover the LED strip during operation or place objects on it. This may cause overheating.
• Never use the LED strip near open ames or in ammable materials.
• In case of problems with the product due to electrostatic discharge, switch the LED strip o , wait for
10 seconds, and then switch it back on.
• Do not operate the product in the packaging.
• To reduce the risk of strangulation, the exible wiring connected to this luminaire shall be e ectively
xed to the wall if the wiring is within arm‘s reach
WARNING! HAZARDS FROM BATTERIES!
»If you use batteries improperly, there is a risk of explosions or burns from leaking battery uid.
• Always turn o the LED strip when not in use or in the event of a malfunction.
• Under no circumstances should you disassemble, destroy, puncture or short-circuit batteries.
• There is a risk of explosion if the battery is replaced with an incorrect type that can disable a
protective device (e.g. with some types of lithium batteries).
• Never handle leaked batteries without appropriate protection. If battery acid contacts your skin,
wash the a ected area with plenty of water and soap.
• Avoid contact with battery acid. If you do get battery acid in your eyes, rinse them with plenty of
water and seek medical attention immediately.
• When inserting the battery, pay attention to the polarity.
»Hazards for children and persons with reduced physical, sensory, or mental abilities
(for example, partially disabled persons, older persons with restrictions in their
physical and mental abilities) or lack of experience and knowledge (for example,
• This LED strip can be used by persons with limited physical, sensory, or mental abilities or lacking
experience and know-how, provided they are supervised or have received instructions for safe use of
the LED strip and understand the possible hazards arising from its use. Children should not play with
the LED strip. The LED strip should not be cleaned or maintained by children.
• Keep children under eight years old away from the LED strip.
• Do not use the LED strip if the device or accessories are visibly damaged or defective.
C LED S S DHECK TRIP AND COPE OF ELIVERY
WARNING! RISK OF SUFFOCATION!
»Keep plastic lms and plastic bags away from infants and small children as there is a risk of su ocation.
• Do not allow children to play with the ground spike as it is sharp.
• Be cautious when handling the ground spike to avoid injury.
NOTICE! RISK OF PROPERTY DAMAGE!
»If the packaging is carelessly opened with a sharp knife or another pointed object, the LED strip can be
1. Carefully open the packaging.
2. Remove packaging material and all protective lms.
3. Check the scope of delivery for completeness (see .Fig. A)
• Ground spike and extension rod
4. Remove the LED strip from the packaging and check whether the LED strip itself or any of its components
is damaged. If this is the case, please do not use the LED strip. Contact the service address of the
manufacturer indicated on the warranty card.
1. Fix the product in an area with sun throughout the whole day.
3. Then, automatically, it will charge in day time and light in night time.
The further instructions will explain each step in detail.
D B FESCRIPTION OF UTTON UNCTIONS
With a little force press in the right button on the back side of the solar
to turn the device on. When switched on, the default light
is in combination mode. To switch into other modes, press the Mode
Congratulations on purchasing a high-quality Garden Bright product.
You have acquired a modern solar LED strip with excellent technical features, which is particularly easy to
You have a two-year warranty on the solar LED strip. Should the solar LED strip be defective, you will need the
enclosed warranty card and your receipt. Please keep these together carefully.
Read and Keep the Operating Instructions
These operating instructions belong to this Solar LED Strip LS-3S (hereinafter referred to only as
“LED Strip”). They are part of the LED Strip and contain important information for commissioning,
Read the operating instructions, especially the safety instructions, carefully before using the
LED Strip. Non-compliance with these operating instructions can lead to serious injuries or damage to the LED
The operating instructions are based on the standards and rules valid in the European Union. When abroad,
also observe country-speci c guidelines and laws.
Keep the operating instructions for further use. If you pass the LED Strip on to third parties, be sure to include
these operating instructions.
The following symbols and signal words are used in these operating instructions, on the LED strip, or on the
»This signal symbol/word indicates a hazard with a high level of risk which, if not avoided, will result in
»This signal symbol/word indicates a hazard with a medium level of risk which, if not avoided, could
result in death or serious injury.
»This signal symbol/word indicates a hazard with a low level of risk which, if not avoided, may result in
minor or moderate injury.
»This signal word warns of possible property damage.
SERVICE-UK@PROTEL-SERVICE.COM
SERVICE-UK@PROTEL-SERVICE.COM