Chinook Whirlwind Guide 5 Manual
| Mærke: | Chinook |
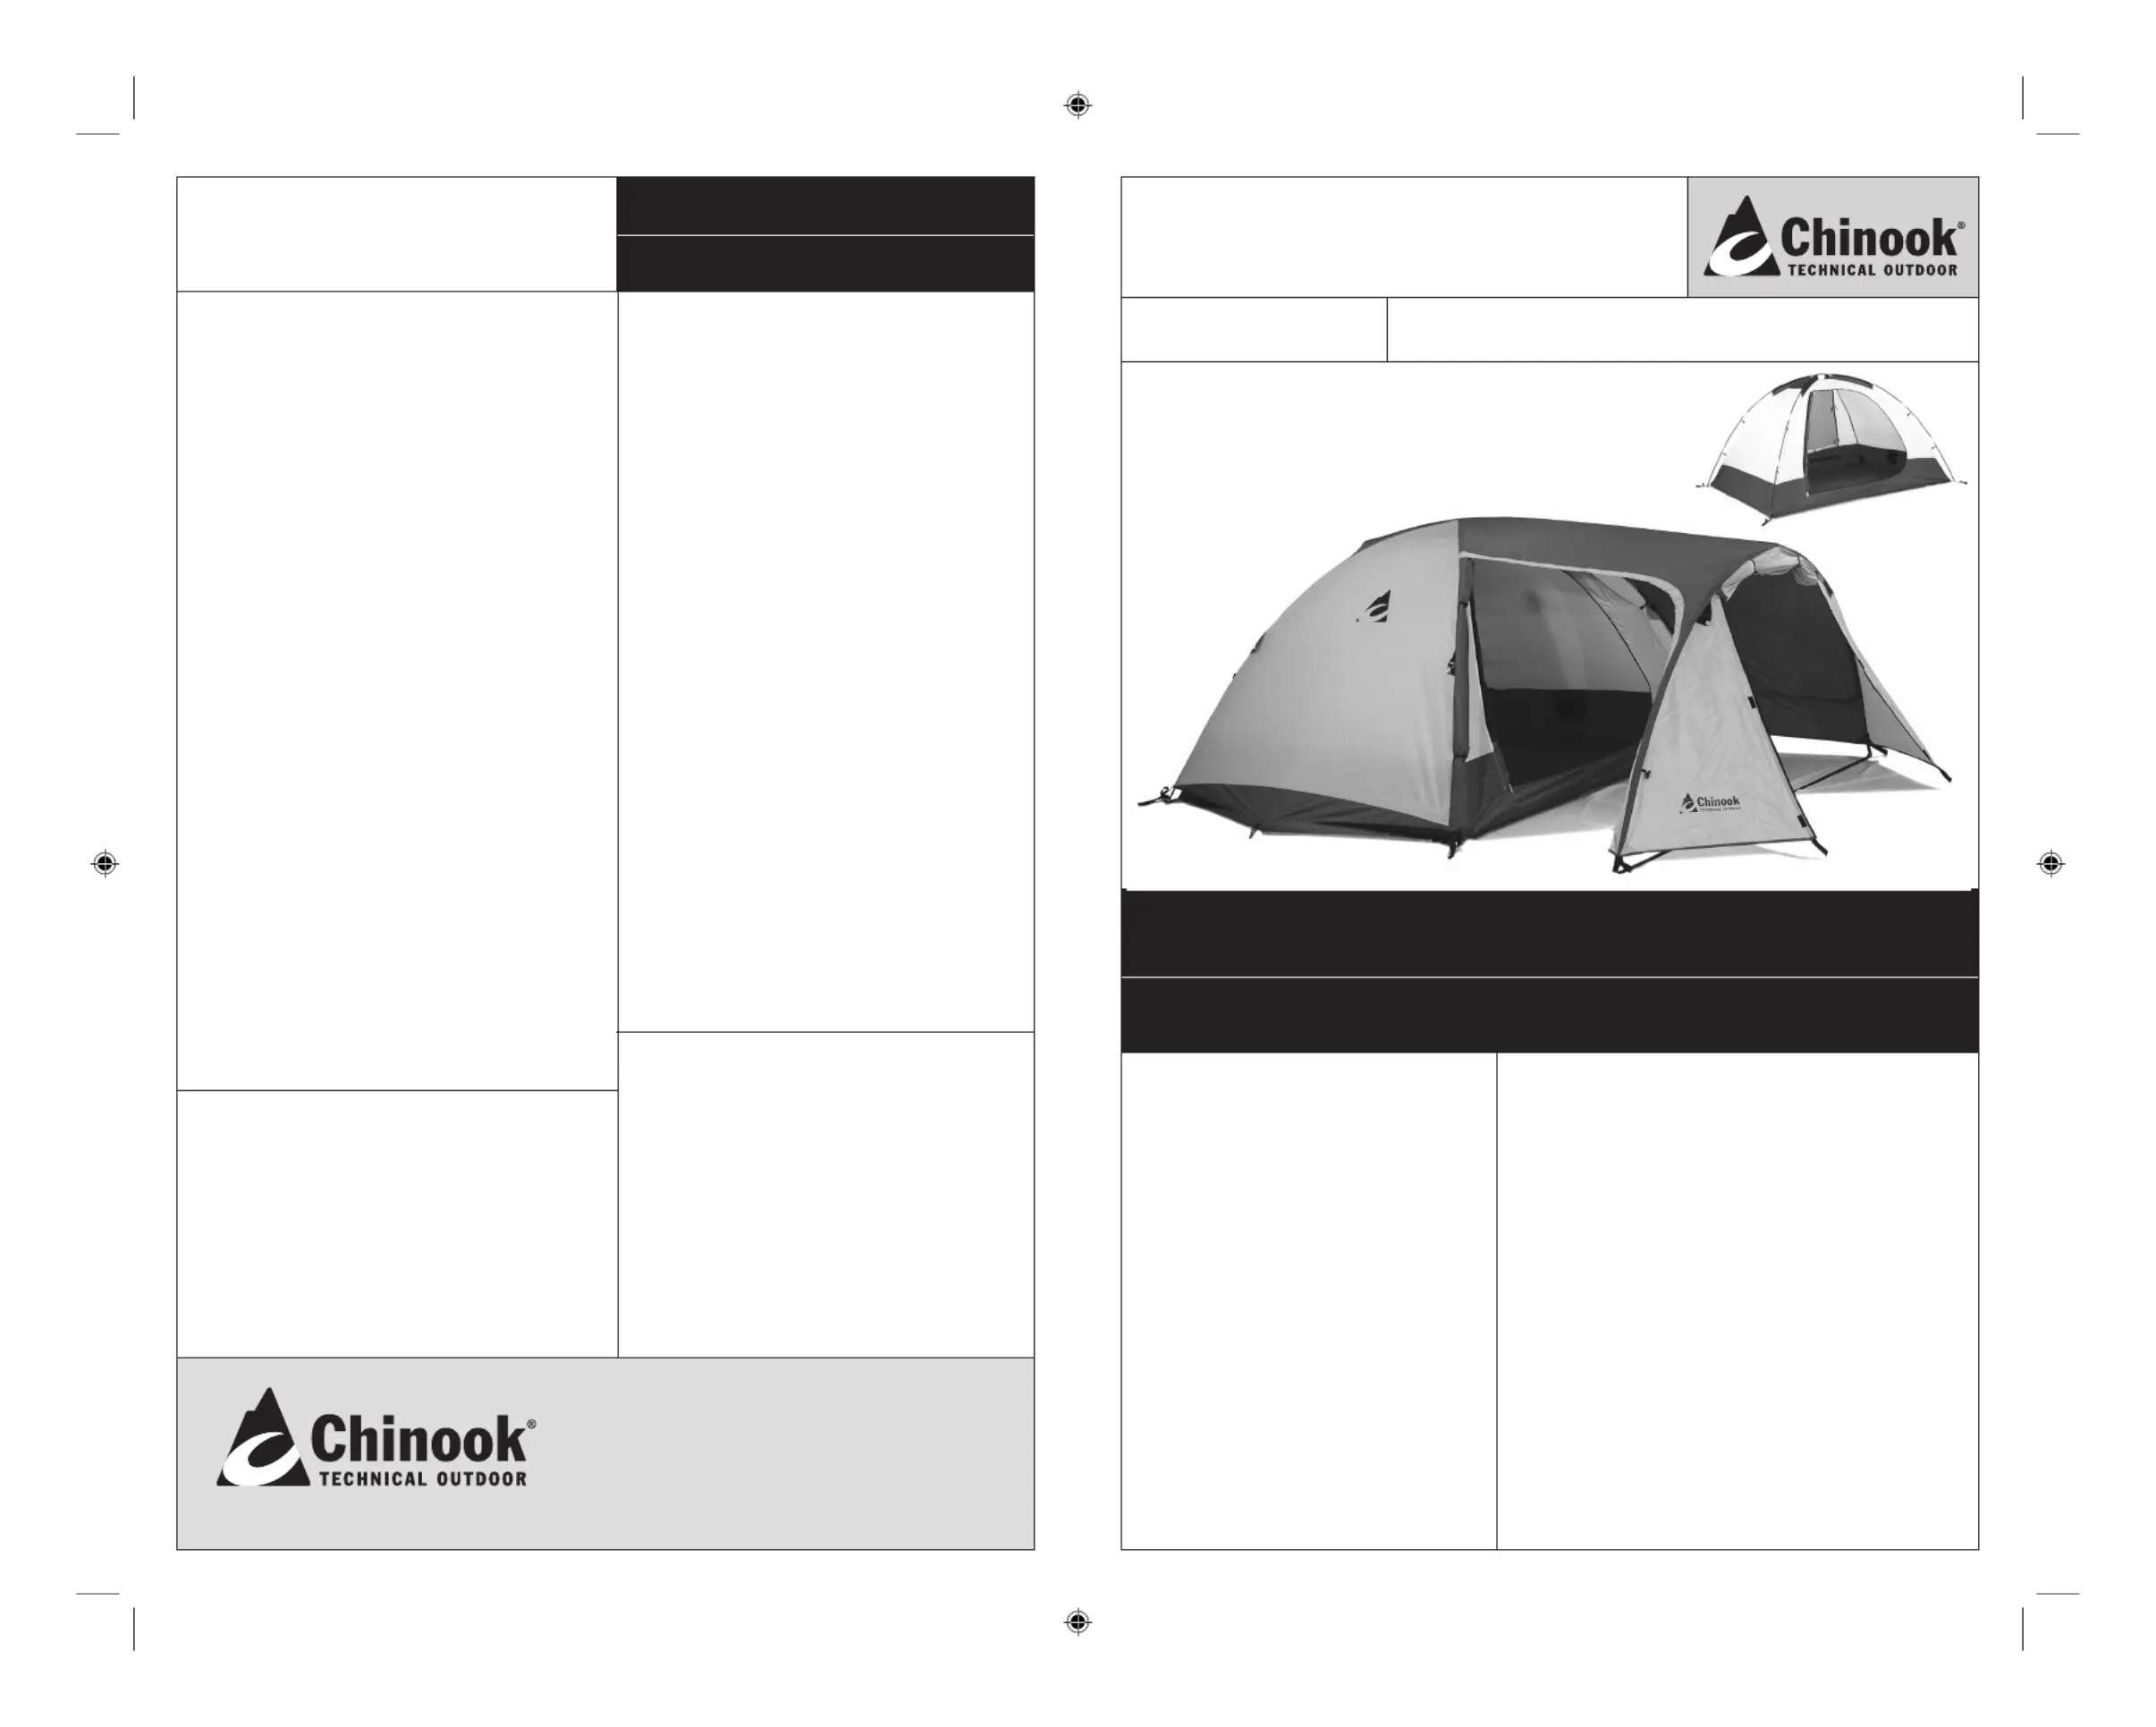
| Kategori: | Telt |
| Model: | Whirlwind Guide 5 |
Har du brug for hjælp?
Hvis du har brug for hjælp til Chinook Whirlwind Guide 5 stil et spørgsmål nedenfor, og andre brugere vil svare dig
Telt Chinook Manualer

30 August 2024
Telt Manualer
- Isabella
- Crivit
- Robens
- Raclet
- Nomad
- Camp Trails
- Helsport
- Mx Onda
- Asaklitt
- Vrijbuiter
- Carl Denig
- Ikea
- Wood's
- Gazebo Penguin
- Trigano
Nyeste Telt Manualer

7 Oktober 2024

6 Oktober 2024

4 Oktober 2024

1 Oktober 2024

1 Oktober 2024

1 Oktober 2024

30 September 2024

30 September 2024

29 September 2024

25 September 2024