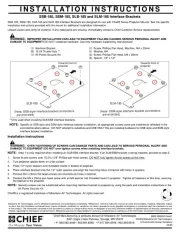
Da-Lite Touch Interactive 29590 Manual

Da-Lite Tilbehør til projektor Touch Interactive 29590

Læs nedenfor 📖 manual på dansk for Da-Lite Touch Interactive 29590 (2 sider) i kategorien Tilbehør til projektor. Denne guide var nyttig for 24 personer og blev bedømt med 4.5 stjerner i gennemsnit af 2 brugere

Side 1/2
INSTRUCTIONS FOR
Touch Interactive Bracket Kits (Small and Large)
Tools Required for Installation Installation
1. Using the provided #4 x ½ screws and #4 nuts, attach the
touch module base plate to the bracket.
NOTE: Some touch modules will attach to the bracket with
magnets. If the touch module allows attachment using
hardware or magnets, hardware attachment is
recommended.
2. Remove the cover from the touch module. Using the screws
provided with the projection system, attach the touch
module to the touch module base plate.
3. Position the bracket with touch module along the top of the
IDEA Screen or IDEA Panoramic according to the projector
manufacturer’s instructions. Using the two provided #8 x ½
screws, attach the bracket and touch module to the IDEA
frame with the touch module facing towards the audience.
NOTE: If the projector instructions do not specify a position,
center the bracket relative to the projected image. Thelat
vertical surface of the touch interactive bracket should be
lush to the face of the IDEA frame.
4. Follow manufacturers instructions for aligning the IR curtain.
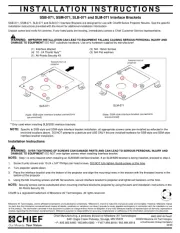
Required Hardware - Provided
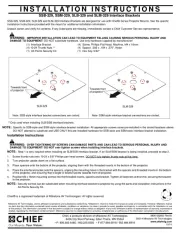
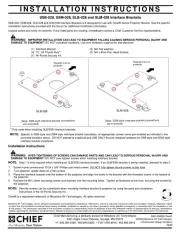
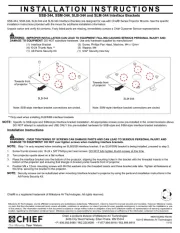
Figure 1
Small Bracket Installation
Phillips Screwdriver
(2) #8 x ½ Screws(2) #4 x ½ Screws (2) #4 Nuts
NOTE: Interactive module terminology may vary from manufacturer to manufacturer.
#8 x ½" Screws
#4 x 1/2
Screws
#4 Nuts
Screws Supplied with
Touch Module
Touch Module
Base Plate
Touch Module
1/4Wrench


Produkt Specifikationer

Mærke: Da-Lite
Kategori: Tilbehør til projektor
Model: Touch Interactive 29590

Har du brug for hjælp?

Hvis du har brug for hjælp til Da-Lite Touch Interactive 29590 stil et spørgsmål nedenfor, og andre brugere vil svare dig