DeLonghi PACEL92HP Manual
DeLonghi
Aircondition
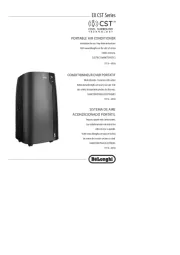
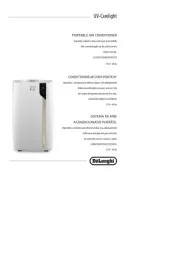
PACEL92HP

| Mærke: | DeLonghi |
| Kategori: | Aircondition |
| Model: | PACEL92HP |
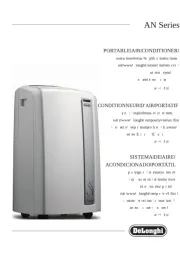
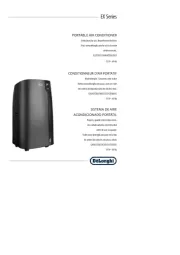
| Type: | Monoblok mobilt klimaanlæg |
| Justerbar termostat: | Ja |
| Velegnet til rumvolumen på op til: | 85 m³ |
| Vekselstrømsindgangsspænding: | 220-240 V |
| Vekselstrømsindgangsfrekvens: | 50 Hz |
| Bredde: | 450 mm |
| Dybde: | 410 mm |
| Højde: | 750 mm |
| Vægt: | 32000 g |
| Produktfarve: | Hvid |
| Kontroltype: | Berøring |
| Antal hastigheder: | 3 |
| Skærmtype: | LED |
| Strømforbrug (standby): | 1 W |
| Timer: | Ja |
| Tilsluttet belastning: | 810 W |
| Klimaanlæg funktioner: | Cooling, Fan, Heating |
| Kølekapacitet (maks.): | 9800 BUT/t |
| Kølekapacitet i watt (nominel): | 3000 W |
| Kølekapacitet i watt (maks.): | - W |
| Opvarmingskapacitet i watt (maks.): | - W |
| Støjniveau: | 62 dB |
| Slangelængde: | 1.2 m |
| Affugtningsfunktion: | Ja |
| Energieffektivitetsklasse (opvarmning): | A+ |
| Energiforbrug pr. time (køling): | - kWh |
| Energiforbrug pr. time (opvarmning): | - kWh |
| Årligt energiforbrug (køling): | - kWh |
| Fjernbetjening inkluderet: | Ja |
| Timer varighed (maksimum): | 24 t |
| Luftfilter: | Ja |
| Styrehjul: | Ja |
| Håndtag: | Ja |
| Timer type: | Digital |
| Kølemedium: | R290 |
| Køling energieffektivitet (EER, W/W): | 3.1 |
| Affugtningskapacitet: | 32 l/t |
| Opvarmningskapacitet i watt (nominel): | - W |
| Luftstrøm (høj hastighed): | 380 m³/t |
| Slange, diameter: | 150 mm |
| Luftstrøm (lav hastighed): | 250 m³/t |
| Luftstrøm (medium hastighed): | 300 m³/t |
Har du brug for hjælp?
Hvis du har brug for hjælp til DeLonghi PACEL92HP stil et spørgsmål nedenfor, og andre brugere vil svare dig
Aircondition DeLonghi Manualer

13 Januar 2025
11 Januar 2025

12 September 2024
5 September 2024
4 September 2024
4 September 2024

4 September 2024
DeLonghi Pinguino Arctic Whisper Extreme PACEX398VUV-6ALWH Manual
4 September 2024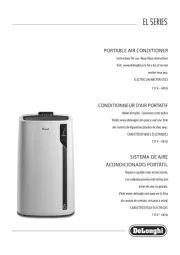
4 September 2024

4 September 2024
Aircondition Manualer
- Trotec
- Team
- Bestron
- Saunier Duval
- GE
- Ardes
- Calor
- Electroline
- Taurus
- Master
- Kelvinator
- Arçelik
- MRCOOL
- Aconatic
- Jocca
Nyeste Aircondition Manualer

28 September 2025

28 September 2025
27 September 2025

7 September 2025
1 September 2025
1 September 2025
31 August 2025
27 August 2025
26 August 2025
23 August 2025