DeWalt DW0851 Manual
DeWalt
Laser pointer
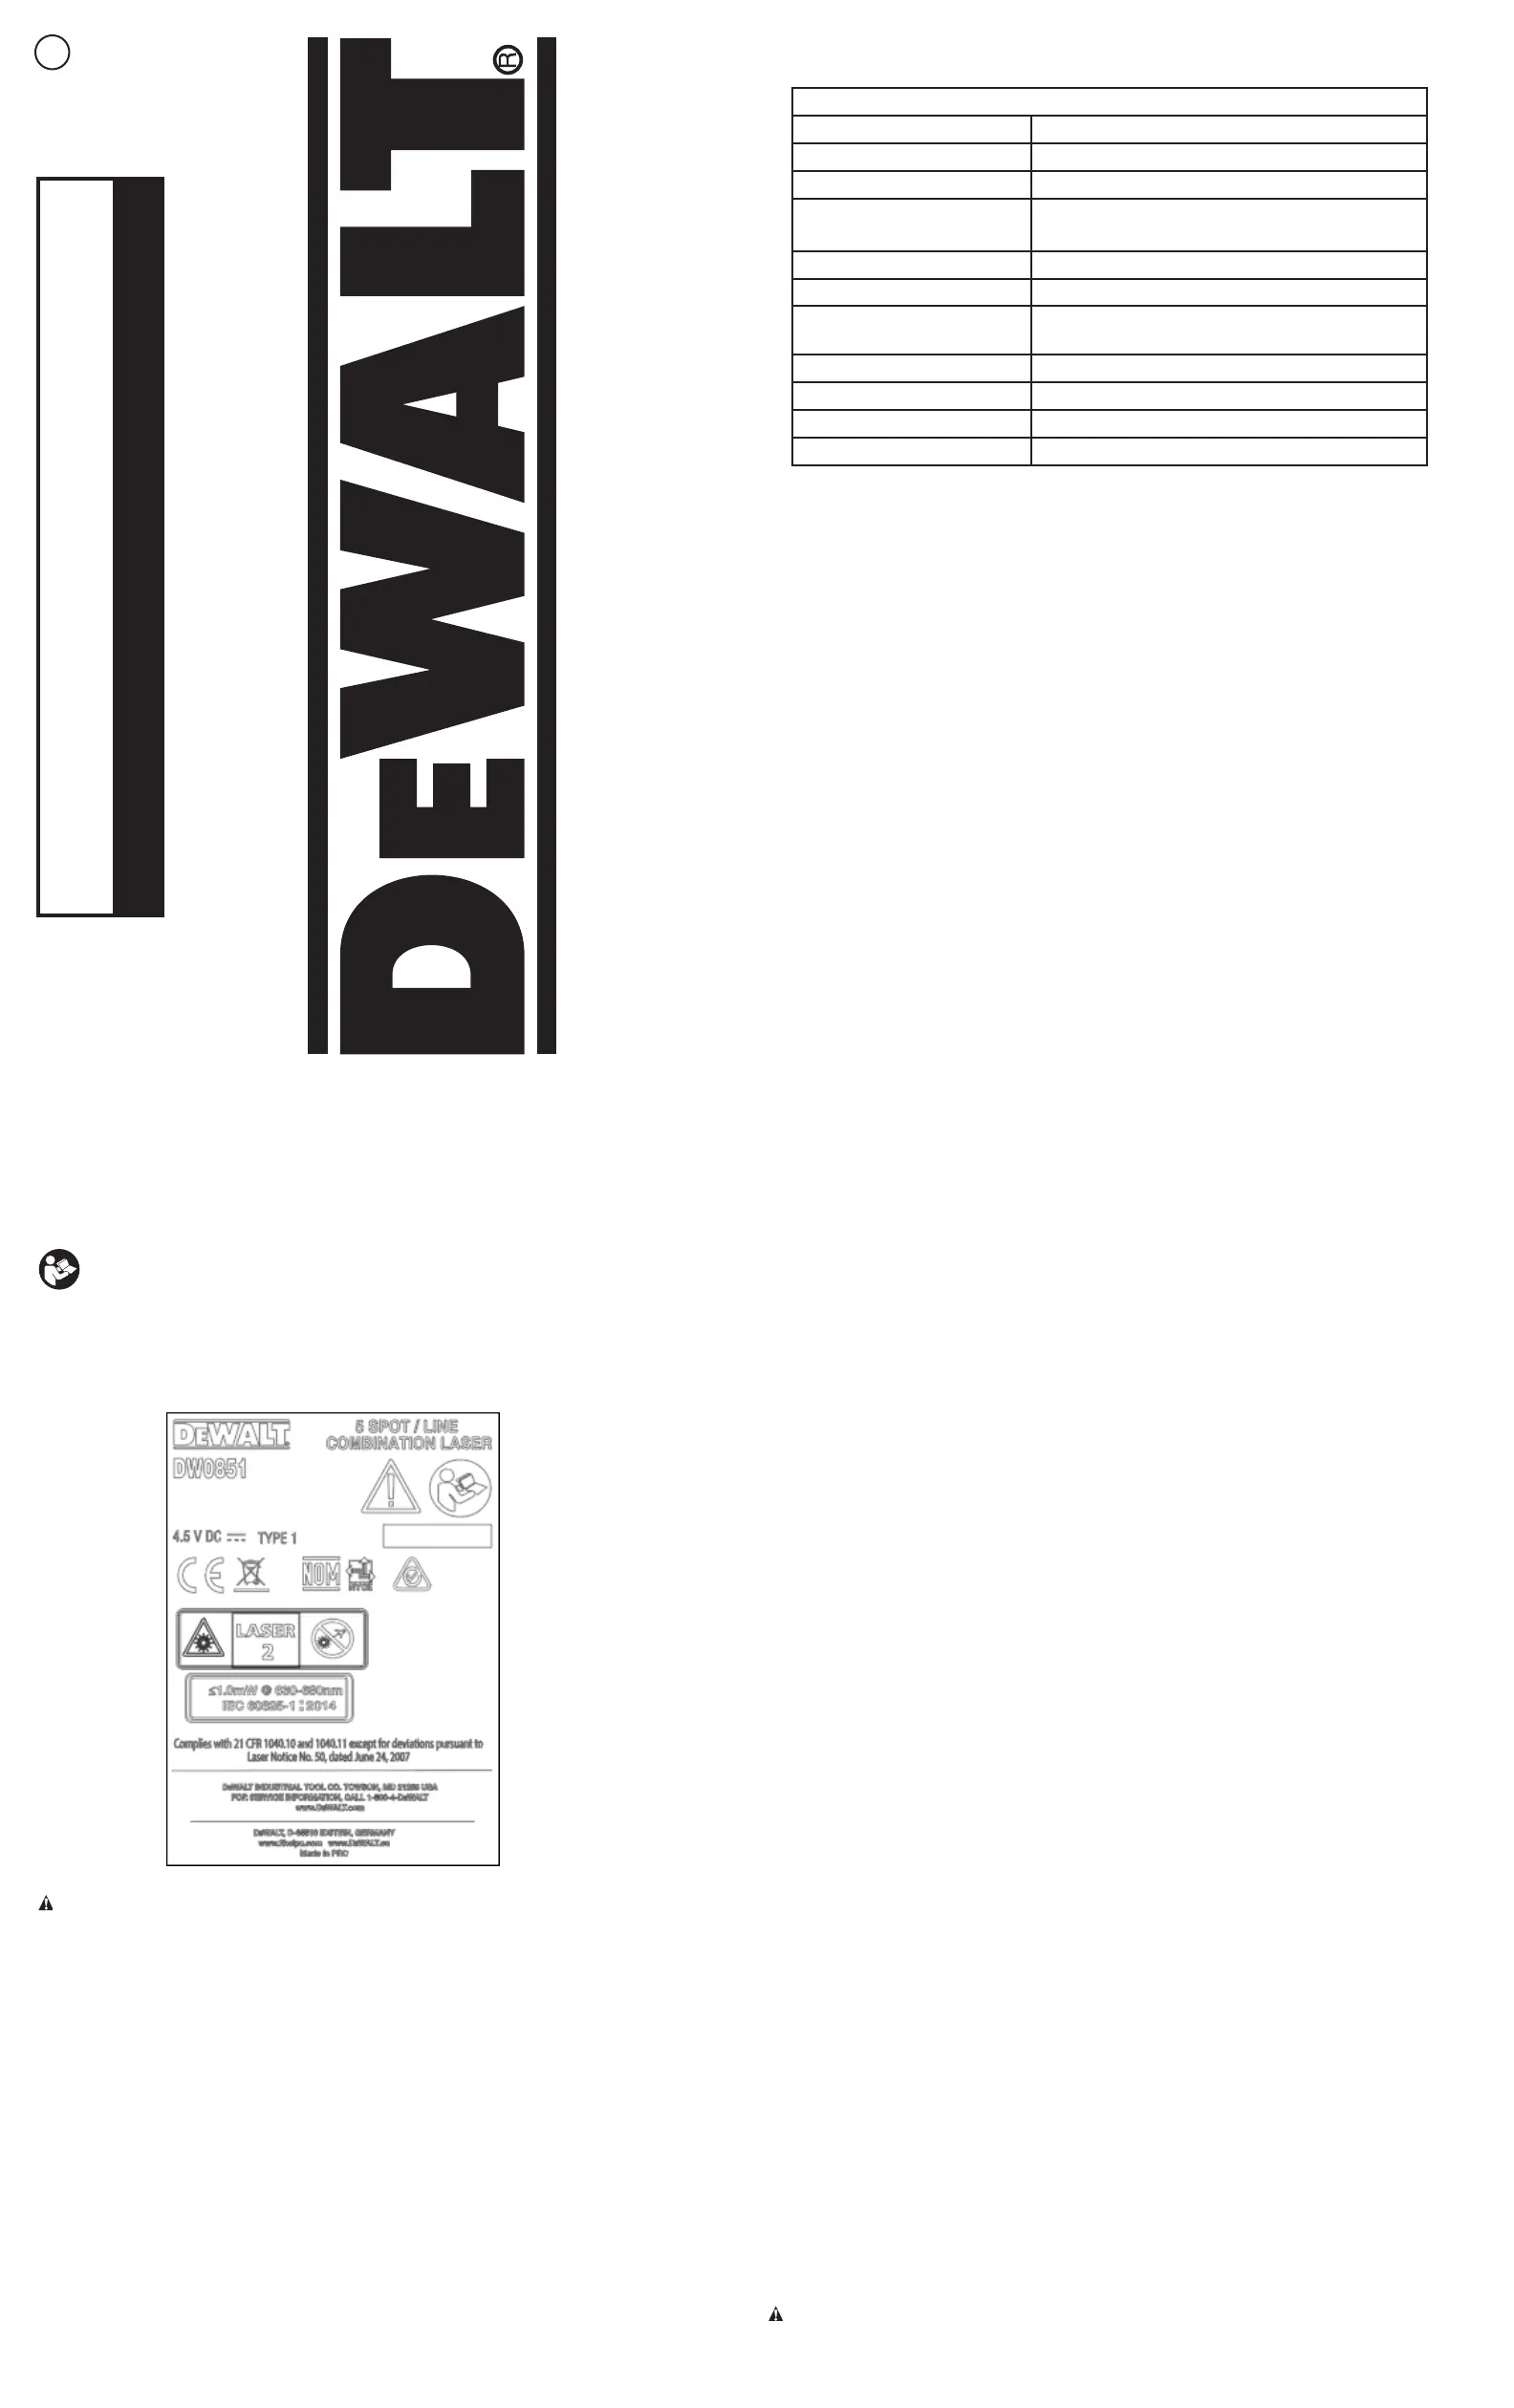
DW0851
| Mærke: | DeWalt |
| Kategori: | Laser pointer |
| Model: | DW0851 |
Har du brug for hjælp?
Hvis du har brug for hjælp til DeWalt DW0851 stil et spørgsmål nedenfor, og andre brugere vil svare dig
Laser pointer DeWalt Manualer

3 November 2025

31 Oktober 2025
3 September 2025
3 September 2025
3 September 2025
3 September 2025
2 September 2025

2 September 2025
2 September 2025
2 September 2025
Laser pointer Manualer
- Ermenrich
- American DJ
- Steiner
- BeamZ
- United Office
- RIX
- SilverCrest
- Milwaukee
- Carson
- Skil
- Metabo
- Bosch
- Parkside
- ADA
- Velleman
Nyeste Laser pointer Manualer

2 December 2025
12 November 2025
4 November 2025
13 Oktober 2025

8 Oktober 2025
7 September 2025
7 September 2025
6 September 2025
31 August 2025

30 August 2025