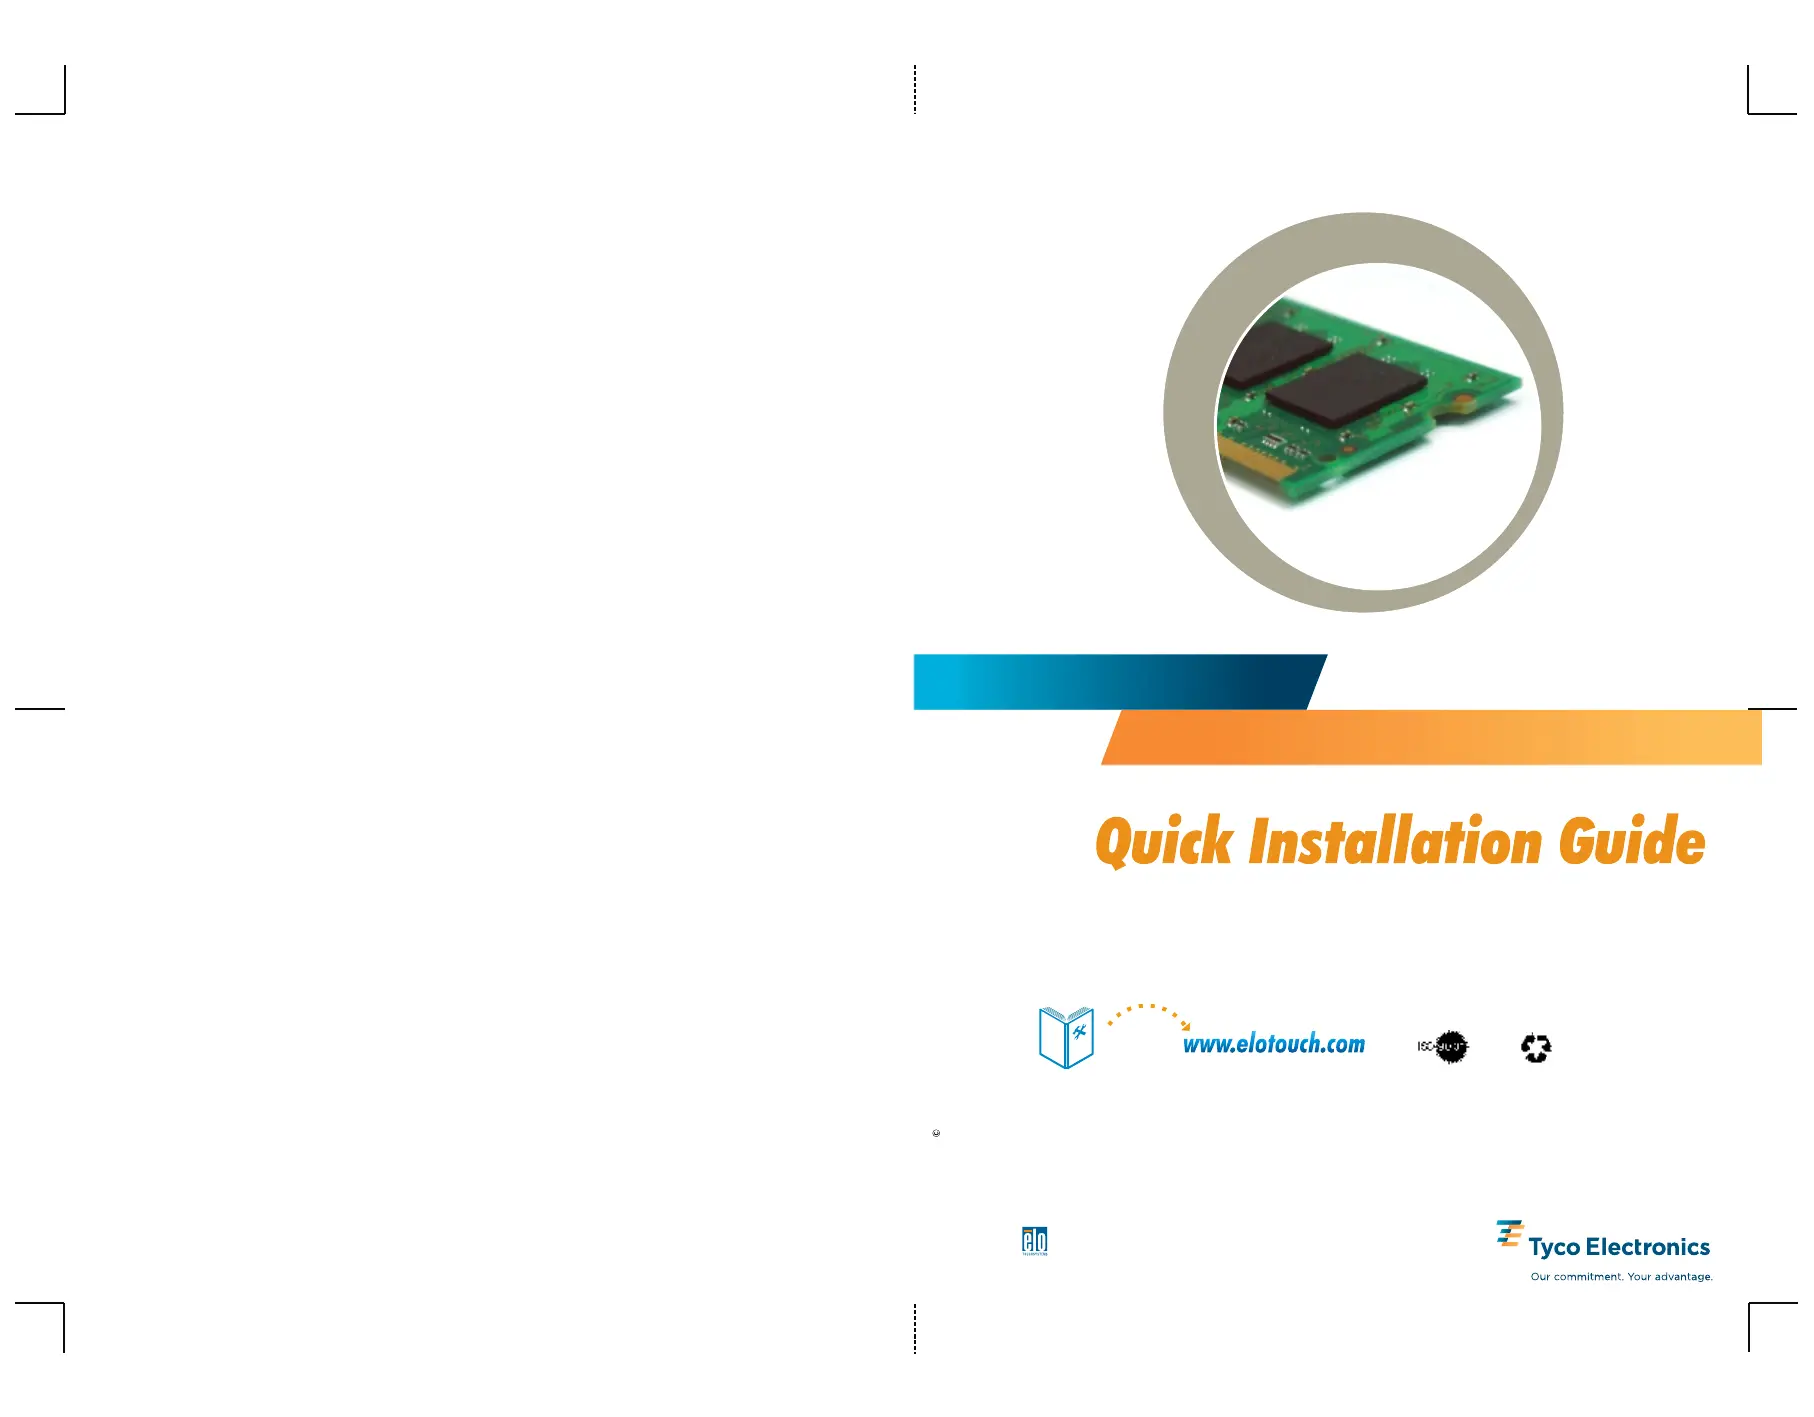
ELO 15A2 Manual
Læs gratis den danske manual til ELO 15A2 (2 sider) i kategorien Desktop. Denne vejledning er vurderet som hjælpsom af 20 personer og har en gennemsnitlig bedømmelse på 4.6 stjerner ud af 10.5 anmeldelser.
Har du et spørgsmål om ELO 15A2, eller vil du spørge andre brugere om produktet?
Produkt Specifikationer
| Mærke: | ELO |
| Kategori: | Desktop |
| Model: | 15A2 |
| Bredde: | 358 mm |
| Dybde: | 238 mm |
| Højde: | 339 mm |
| Vægt: | 7900 g |
| Produktfarve: | Grå |
| Produkttype: | PC |
| Skærm diagonal: | 15 " |
| Skærmopløsning: | 1024 x 768 pixel |
| Wi-Fi: | Ingen |
| Skærmens lysstyrke: | 230 cd/m² |
| Synsvinkel, horisontal: | 65 ° |
| Synsvinkel, vertikal: | 70 ° |
| Opbevaringstemperatur (T-T): | -20 - 60 °C |
| Relativ luftfugtighed ved drift (H-H): | 20 - 80 % |
| Relativ luftfugtighed ved opbevaring (H-H): | 5 - 95 % |
| DVI-port: | Ingen |
| Ethernet LAN-porte (RJ-45): | 1 |
| Antal USB 2.0-porte: | 4 |
| Udgange til hovedtelefoner: | 1 |
| Ethernet LAN: | Ja |
| Strømforbrug (typisk): | 101 W |
| Driftstemperatur (T-T): | 0 - 35 °C |
| Skærm: | LCD |
| Intern hukommelse: | 0.5 GB |
| Strømforsyningstype: | External DC |
| Operativsystem installeret: | Windows XP Professional |
| Fjernbetjening inkluderet: | Ingen |
| Certificering: | UL/cUL, FCC, CE, VCCI, Ctick, EN60950 |
| Indbygget kortlæser: | Ingen |
| Indbygget kamera: | Ingen |
| Strømforsyningens indgangsfrekvens: | 50 - 60 Hz |
| Processorfrekvens: | 1 GHz |
| Processorserie: | Intel® Celeron® |
| Intern hukommelsestype: | DDR2-SDRAM |
| Maksimal intern hukommelse: | 1 GB |
| Samlet lagringskapacitet: | 80 GB |
| Diskret grafikadaptermodel: | Intel® GMA 900 |
| On-board grafikkort: | Ja |
| Indbygget mikrofon: | Ingen |
| Mikrofonindgang: | Ja |
| Slot til kabellås: | Ja |
| Kompatible operativsystemer: | Windows XP Pro/XP Embedded/WEPOS Windows Vista |
| Grænseflade: | USB |
| Processorproducent: | Intel |
| Kontrastforhold (typisk): | 500:1 |
| Antal VGA-porte (D-sub): | 1 |
| Kabellåseslids type: | Kensington |
| TV-tuner, integreret: | Ingen |
| Højttalere: | Ja |
| Optisk drevtype: | Ingen |
| Skærm inkluderet: | Ja |
| I/O-porte: | 2 x RS232 (RJ45)\n1 x 3.5mm audio-out\n1 x 3.5mm mic-in |
| HDD-grænseflade: | SATA |
| Netværksfunktioner: | Ethernet |
| Strømforsyning indgangsspænding: | 100-240 V |
| Antal serielle porte: | 1 |
| Kabinettype: | Desktop |
| Antal PS/2-porte: | 1 |
| Processor front side bus: | 400 MHz |
| Modem-porte (RJ-11): | 1 |
| Floppy drive installed: | Ingen |
Har du brug for hjælp?
Hvis du har brug for hjælp til ELO 15A2 stil et spørgsmål nedenfor, og andre brugere vil svare dig
Desktop ELO Manualer


Desktop Manualer
Nyeste Desktop Manualer