IMPORTANT: Before using this product, make sure you read these instructions
and the safety instructions in the online User’s Guide.
Note: Your product may differ from the illustrations on this sheet, but the
instructions are the same.
Keep the projector level and place it at a height so its lens is even with the top
or bottom of the screen and is centered horizontally. If this isn’t possible, use the
lens shift feature to reposition the image (see “Adjust the image”).
See the online User’s Guide for more information on where to place your
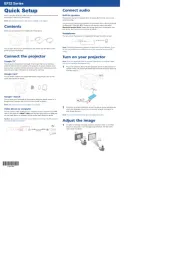
Connect multiple video devices and use the buttons on the remote Source
control or the button on the projector to switch between them. For Source
additional connection types, see the online User’s Guide.
• When projecting images at 4K 120Hz, use an HDMI 2.1 rated cable (ultra-high
• You can output audio to an external sound system that supports
• If you are connecting an optical HDMI cable that has a power supply USB cable,
you must also connect the cable’s USB power connector to the Opt.HDMI
Connect the projector to your network using an Ethernet cable. See “Wired
network configuration” for more information.
Press the power button on the projector or the button on the On
remote control. The shutter opens and the power light flashes blue,
Note: To shut down the projector, press the power button on the
projector or the button on the remote control, then press the Standby
button again to confirm, if necessary. Wait for cooldown to complete
before unplugging the projector.
Use the arrow and Enter buttons on the remote control to select the focus,
image orientation, and language settings.
Note: To change these settings, see the online User’s Guide.
Turn on your video source.
If you don’t see an image, press one of the Source buttons on the remote
control to select the image source.
Note: If you still see a blank screen or have other display problems, see the
troubleshooting tips on this sheet.
Install the batteries as shown (two AA batteries).
For more information on using the remote control, see the online User’s Guide.