Ice Watch Cocorico Manual

Ice Watch Ur Cocorico

Læs gratis den danske manual til Ice Watch Cocorico (8 sider) i kategorien Ur. Denne vejledning er vurderet som hjælpsom af 10 personer og har en gennemsnitlig bedømmelse på 4.3 stjerner ud af 5.5 anmeldelser. Har du et spørgsmål om Ice Watch Cocorico, eller vil du spørge andre brugere om produktet?

Side 1/8
ENGLISH
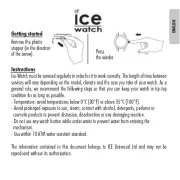
Getting started
Press
the winder.
Remove the plastic
stopper (in the direction
of the arrow).
Instructions
general rule, we recommend the following steps so that you can keep your watch in tip-top
condition for as long as possible.
- Temperature: avoid temperatures below 0°C (30°F) or above 35°C (100°F).
- Avoid prolonged exposure to sun, steam, contact with alcohol, detergents, perfume or
cosmetic products to prevent distorsion, discoloration or any damaging reaction.
- Do not use any watch or chronograph buttons while under water to prevent water from
entering the mechanism.
The information contained in this document belongs to ICE Universal Ltd and may not be
reproduced without its authorisation.
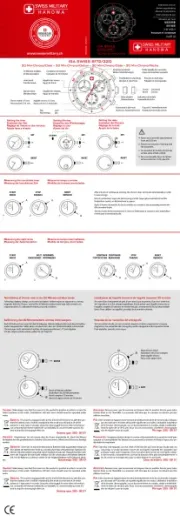
A) SETTING THE DATE
1. Gently pull the winder out to the 1st
position.
2. Turn the winder anticlockwise to set the
date. If the date is set between around 9pm
and 1am, it is possible that it will not change
the next day.
3. Return the winder to its normal position.
B) SETTING THE TIME
1. Gently pull the winder out to the 2nd
position.
2. Turn the winder to set the hour and minute
hands to the correct positions.
3. The second hand starts again when
the winder is pushed back into its normal
position.
C) USING THE CHRONOGRAPH
1. Press button A to start and stop the
chronograph (stop watch).
2. Press button B to re-set the chronograph.
D) CHOOSING THE CHRONOGRAPH’S
START POSITION
1. Gently pull the winder out to the 2nd
position.
2. Press button A to set the chronograph
second hand to the desired start position.
Hold down button A if you want to move the
chronograph hand forward quickly.
3. Return the winder to its normal position.
You should also use this procedure if the
chronograph hand does not return to its start
position after you press button B, as well as
when you replace the battery.
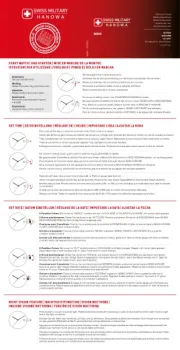
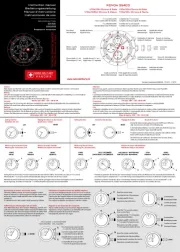
Second hand
Chrono minute hand
Minute hand
Button A
Button B
Chrono second hand
24 Hour Hand
1st position
2nd position
Normal winder position
Hour hand
Date
FRANÇAIS
Mise en marche
Appuyez
ensuite sur
le remontoir.
Enlevez le stopper
en plastique dans le
sens de la flèche.
Instructions
La montre doit être entretenue régulièrement pour garantir un bon fonctionnement. Les in-
tervalles d’interventions varient en fonction du modèle, du climat et du soin apporté à la
montre par son propriétaire. En règle générale, nous recommandons l’application des étapes
ci-dessous en vue de préserver le plus longtemps possible l’état irréprochable de votre montre.
- Température: évitez les températures en-dessous de 0°C (30°F) et au-dessus de 35°C
(100°F).
- Evitez une exposition prolongée au soleil, les contacts avec la vapeur, l’alcool, les
détergents, les parfums et tout produit cosmétique en vue de prévenir toute déformation,
décoloration ou autre mauvaise réaction.
- N’appuyez sur aucun bouton de la montre ou du chronographe sous l’eau afin d’éviter les
pénétrations d’eau dans le mécanisme.
Les informations contenues dans ce document sont la propriété de ICE Universal Ltd et ne
peuvent pas être reproduites sans son autorisation.
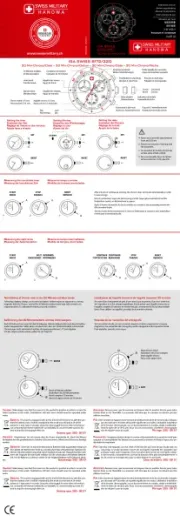
A) RÉGLAGE DE LA DATE
1. Tirez délicatement le remontoir dans sa
1ère position.
2. Tournez le remontoir à l’inverse des aiguilles
d’une montre pour régler la date. Si la date est
réglée entre environ 21h. et 01h., il est possible
que la date ne change pas le lendemain.
3. Repoussez le remontoir dans sa position
normale.
B) RÉGLAGE DE L’HEURE
1. Tirez délicatement le remontoir dans sa
2ème position.
2. Tournez le remontoir pour régler les aiguilles
des heures et des minutes.
3. L’aiguille des secondes redémarre lorsque
le remontoir est repoussé dans sa position
normale.
C) UTILISATION DU CHRONOGRAPHE
1. Le chronographe est lancé et arrêté à chaque
activation du bouton A.
2. L’activation du bouton B remet le chronographe
à la position de départ.
D) CHOIX DE LA POSITION DE DÉPART
DU CHRONOGRAPHE
1. Tirez délicatement le remontoir dans sa
2ème position.
2. Appuyez sur le bouton A pour amener l’aiguille
des secondes du chronographe à la position de
départ souhaitée. L’aiguille du chronographe
peut être avancée rapidement en appuyant sur le
bouton A en continu.
3.
Repoussez le remontoir dans sa position normale.
Cette procédure devra aussi être appliquée si
l’aiguille du chronographe ne revient pas à sa
position de départ après l’activation du bouton B,
ainsi qu’après un remplacement de la pile.
Aiguille des secondes
Aiguille des minutes du chrono
Aiguille des minutes
Bouton A
Bouton B
Aiguille des secondes du chrono
Aiguille de 24 heures
1ère position
2ème position
Position normale du remontoir
Aiguille des heures
Dateur


Produkt Specifikationer

Mærke: Ice Watch
Kategori: Ur
Model: Cocorico

Har du brug for hjælp?

Hvis du har brug for hjælp til Ice Watch Cocorico stil et spørgsmål nedenfor, og andre brugere vil svare dig