Karma V Singer Manual
Karma
Højttaleranlæg
V Singer
| Mærke: | Karma |
| Kategori: | Højttaleranlæg |
| Model: | V Singer |
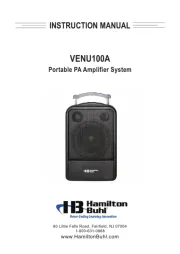
| Type: | Freestanding Public Address (PA) system |
| Tænd-/slukkontakt: | Ja |
| Bredde: | 206 mm |
| Dybde: | 170 mm |
| Højde: | 316 mm |
| Vægt: | 1200 g |
| Brugervejledning: | Ja |
| Produktfarve: | Sort |
| Batterispænding: | 3.7 V |
| Batterikapacitet: | 1500 mAh |
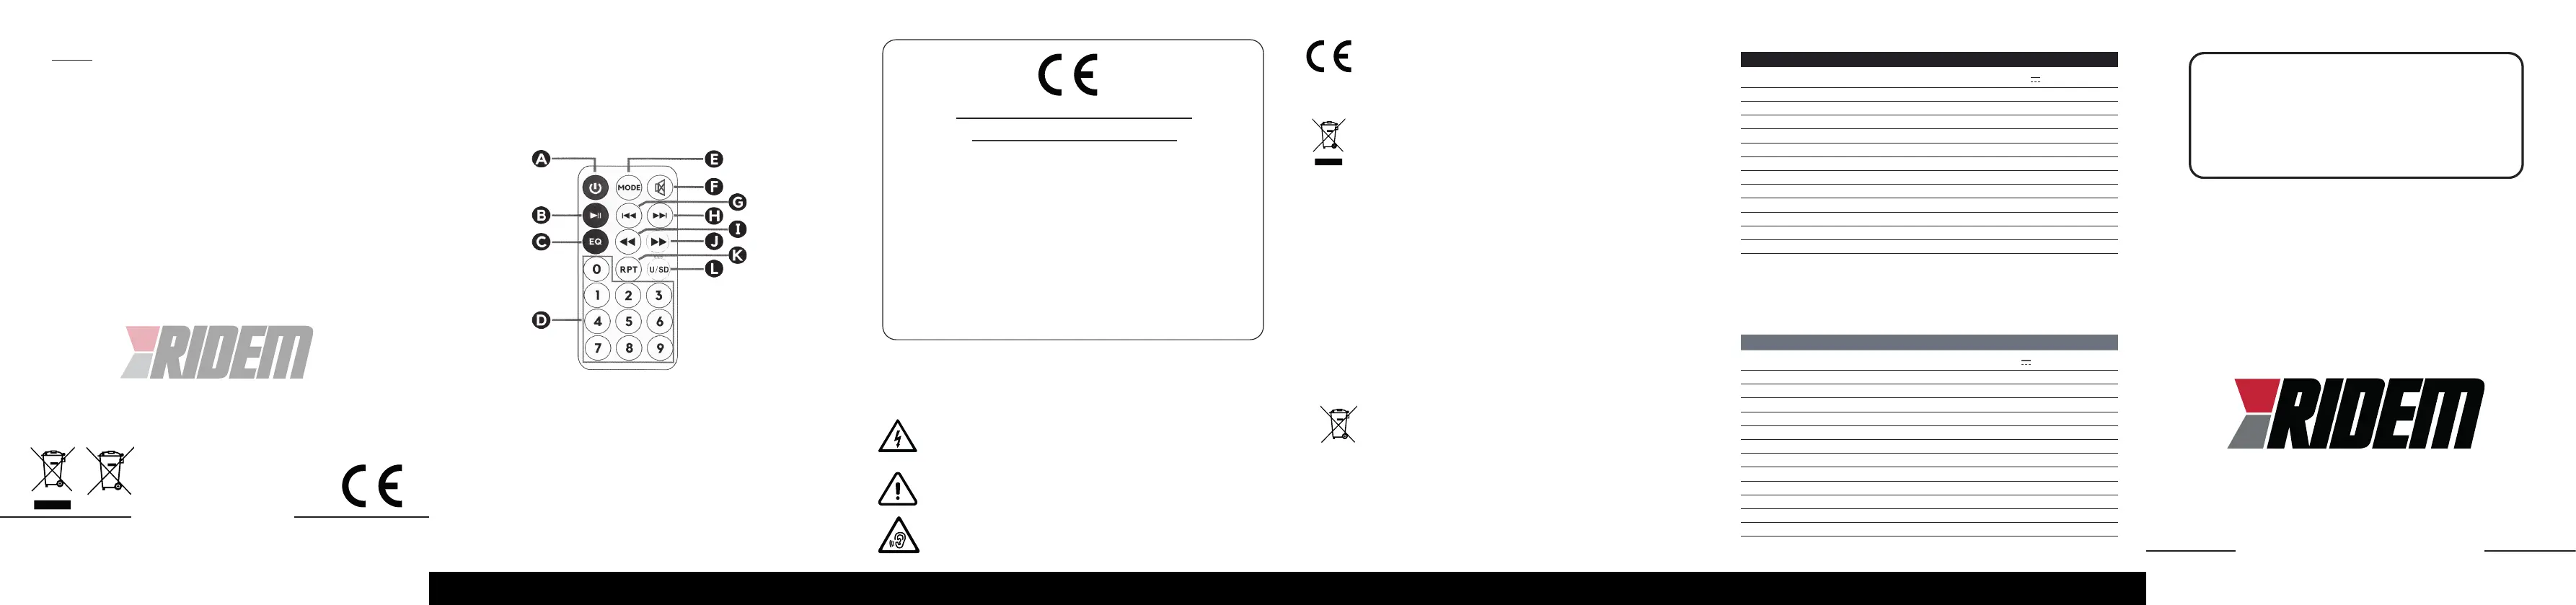
| Skærmtype: | LED |
| Kompatible hukommelseskort: | MicroSD (TransFlash) |
| Bluetooth: | Ja |
| Batteriteknologi: | Lithium-Ion (Li-Ion) |
| Antal højttalere: | 1 |
| Udgangseffekt (RMS): | 12 W |
| Understøttede lydformater: | MP3 |
| Volumenkontrol: | Dreje |
| Husmateriale: | Acrylonitrilbutadienstyren |
| Kabler inkluderet: | Lyd (3,5 mm) |
| Bluetooth-version: | 5.0 |
| Frekvensområde: | 20 - 18000 Hz |
| Forbindelsesteknologi: | Kabel & trådløs |
| DC-in-stik: | Ja |
| Strømkilde type: | Batteri |
| Indbygget kortlæser: | Ja |
| Håndtag: | Ja |
| AUX-indgang: | Ja |
| MP3-afspilning: | Ja |
| Mikrofonindgang: | Ja |
| Peak Music-Udgangseffekt (PMPO): | 100 W |
| Lyseffekter: | Ja |
| Skærm inkluderet: | Ja |
| Woofer diameter: | 163 mm |
| Forstærker: | Indbygget |
| Woofer diameter (britisk mål): | 6.5 " |
| Mikrofon inkluderet: | Ja |
Har du brug for hjælp?
Hvis du har brug for hjælp til Karma V Singer stil et spørgsmål nedenfor, og andre brugere vil svare dig
Højttaleranlæg Karma Manualer
12 September 2025
3 September 2024

27 August 2024
27 August 2024
27 August 2024
27 August 2024

27 August 2024
27 August 2024

27 August 2024

27 August 2024
Højttaleranlæg Manualer
- Korg
- Trust
- SuperSonic
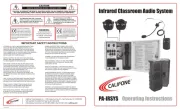
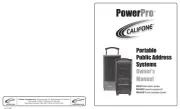
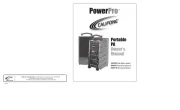
- Califone
- DAP-Audio
- Peavey
- Trevi
- Steren
- Vorago
- AmpliVox
- Hamilton Buhl
- Yamaha
- Adastra
- Pyle
- LTC
Nyeste Højttaleranlæg Manualer

7 November 2025
1 Oktober 2025
29 Juli 2025
25 Juli 2025
24 Juli 2025
23 Juli 2025
23 Juli 2025

22 Juli 2025
22 Juli 2025
22 Juli 2025