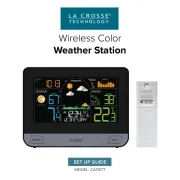
La Crosse Technology WS-8117U Manual
La Crosse Technology
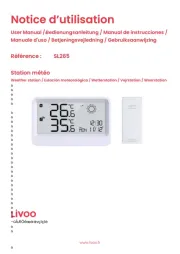
Vejrstation
WS-8117U

| Mærke: | La Crosse Technology |
| Kategori: | Vejrstation |
| Model: | WS-8117U |
| Produktfarve: | Sort |
| Indbygget skærm: | Ja |
| Vejrudsigt: | Ingen |
| Timer: | Ingen |
| Indikator for batteriniveau: | Ja |
| Kan monteres på væggen: | Ja |
| Batteritype: | AA |
| Baggrundsbelysning: | Ingen |
| Vis antal farver: | Monokrom |
| Temperatur, måleenheder: | F, °C |
| Ur-funktion: | Ja |
| Alarmfunktion: | Ja |
| DCF radiour: | Ingen |
| Målefunktioner: | Indoor thermometer, Outdoor thermometer |
| Trend visning af målefunktioner: | Termometer |
| Vejrstation, extremum data: | Termometer |
| Temperatur måleområde (indendørs) (T-T): | -9.9 - 37.8 °C |
| Temperatur måleområde (udendørs) (T-T): | -39.8 - 59.8 °C |
| Antal batterier (modtager): | 2 |
| Antal batterier (sensor): | 2 |
| Månefase: | Ja |
| Grafisk visning af målefunktioner: | Ja |
| Solopgang/solnedgang: | Ingen |
| Selvtømmende regnmåler: | Ingen |
Har du brug for hjælp?
Hvis du har brug for hjælp til La Crosse Technology WS-8117U stil et spørgsmål nedenfor, og andre brugere vil svare dig
Vejrstation La Crosse Technology Manualer
30 September 2025
21 August 2025
31 Juli 2025
31 Juli 2025
31 Juli 2025
21 Juli 2025

4 Marts 2025
8 Januar 2025
8 Januar 2025
26 December 2024
Vejrstation Manualer
- TFA Dostmann
- Avidsen
- Alecto
- Elgato
- Unitec
- König
- Steinberg
- Vitek
- AcuRite
- Clatronic
- Brandson
- Discovery
- Buienradar
- Theben
- Blaupunkt
Nyeste Vejrstation Manualer
3 November 2025
2 November 2025
25 Oktober 2025

20 Oktober 2025
13 Oktober 2025
5 Oktober 2025
5 Oktober 2025

5 Oktober 2025
2 Oktober 2025
23 September 2025