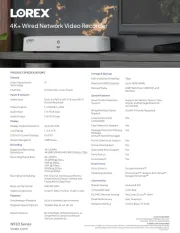
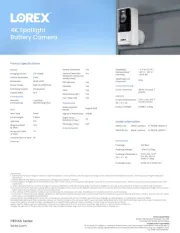
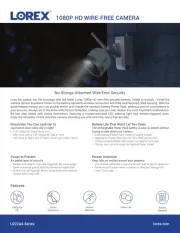
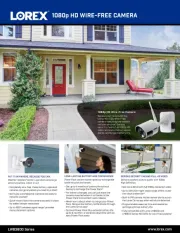
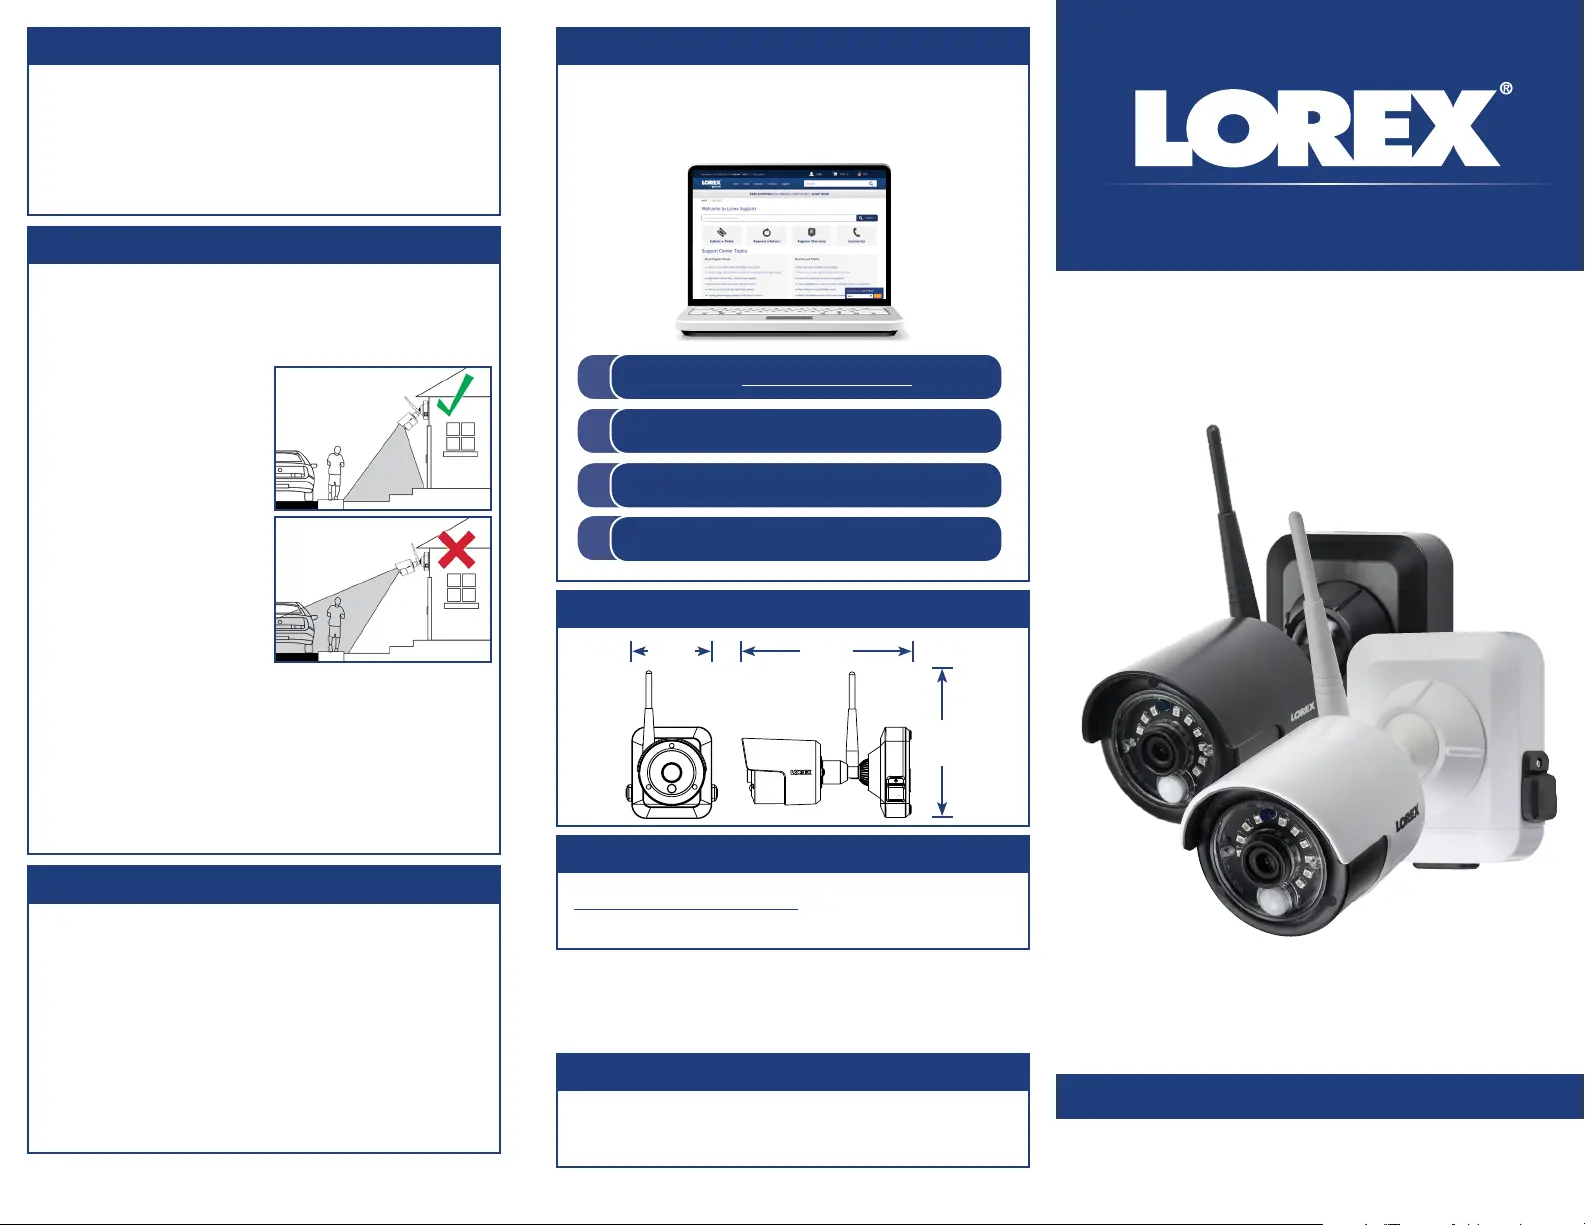
Lorex LWB3901AC1B Manual


Læs gratis den danske manual til Lorex LWB3901AC1B (2 sider) i kategorien Overvågningskamera. Denne vejledning er vurderet som hjælpsom af 7 personer og har en gennemsnitlig bedømmelse på 4.3 stjerner ud af 4 anmeldelser. Har du et spørgsmål om Lorex LWB3901AC1B, eller vil du spørge andre brugere om produktet?

Side 1/2
Resources
Installation Tips
See images to the right
for ideal setup. It is
recommended to place
your camera at least 6ft
(2m) above the ground and
angle it slightly downward
toward the monitoring area,
excluding any busy areas
(e.g., sidewalks or roadways).
Ensure the camera image
is free of obstructions (i.e.,
tree branches).
Position the camera no more
than 20ft (6m) away from
the area you wish to monitor.
For best performance,
position the camera so that objects of interest will move
from side-to-side across the camera image, rather than
moving towards or away from the camera.
Install the camera within range of the wireless receiver
(noted in the camera’s specifications).
This camera is weather resistant for outdoor use (IP65
rated). Installation in a sheltered location is recommended.
Battery life will vary based on temperature, settings and
number of events.
The wire-free cameras use a Passive InfraRed (PIR)
sensor to ensure video is only recorded when motion
is detected. Follow the tips below for more accurate
motion detection and to optimize battery life:
LWB3801AC1_LWB3901AC1_QSG_EN_R1
HD Wire-Free Add-On Security Camera
Camera Antenna*
Rechargeable Power Pack*
Power Pack Adapter*
Mounting Kit*
Quick Start Guide
Read this guide carefully and keep it for future reference.
Follow all instructions for safe use of the product and handle with
care.
Use the camera within given temperature, humidity and voltage
levels noted in the camera’s specifications.
Do not disassemble the camera.
Do not point the camera directly towards the sun or a source of
intense light.
Use only the supplied regulated power supply provided with the
product. Use of a non-regulated, non-conforming power supply
can damage the product and void the warranty.
Periodic cleaning may be required. Use a damp cloth only. Do not
use any harsh, chemical-based cleaners.
* Per camera in multi-camera packs.
Copyright © 2017 Lorex Corporation
As our products are subject to continuous improvement, Lorex reserves
the right to modify product design, specifications and prices, without
notice and without incurring any obligation. E&OE. All rights reserved.
Quick Start Guide
English Version 1.0
LWB3801AC1 / LWB3901AC1
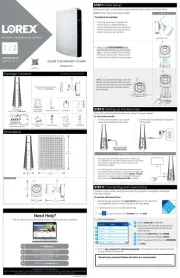
Package Contents
Safety Precautions
Dimensions
Need Help?
Visit us online for up-to-date software
and complete instruction manuals
Click on the Downloads tab
4
Visit lorextechnology.com
Search for the model number
of your product
Click on your product in the
search results
3
2
1
www.lorextechnology.com
For a full list of compatible recorders, visit
lorextechnology.com/compatibility
Not intended for submersion in water. Installation in a sheltered
location recommended.
Disclaimers
7.2” /
182mm
3.8” /
96mm
6.1” /
154mm
STEP 1: Initial Setup
STEP 2: Pairing the Camera
Charging the Power Pack
Installing the Camera (cont’d)
STEP 3: Installing the Camera
To prepare the camera:
Before you begin, you will need to prepare the power
pack and wire-free camera.
It is necessary to pair your camera to your wire-free system to
stream live video on the Lorex Secure App.
1. Peel off the PLEASE REMOVE label
covering the contacts on the power pack.
Insert the charged power pack into the
camera base. Push up until the power
pack ‘clicks firmly into place.
2. Twist the adjustment ring near
the camera base counterclockwise
to loosen and reposition the camera
as shown to the right. Connect the
white antenna to the camera.
NOTE: The power pack comes fully charged with no need for
initial charging.
* Top view
Adjustment ring
*
To install the camera:
1. Set the mounting bracket in the
desired mounting position. Mark holes
through the mounting bracket (shown
as orange X’s on the right).
2. Drill holes where marked for the
mounting screws.
3. Insert the included mounting screws
(×3) into the 3 holes closest to the
top of the mounting bracket.
Make sure all screws
are fastened tightly.
NOTES:
Insert the included drywall anchors if you
are mounting the camera onto drywall.
The hole at the bottom of the mounting bracket
will be used in step 5, once the camera is attached
to the mounting plate.
5. Insert the security screw
through the fastener on
the camera base to
secure the camera
to the mounting
bracket.
Tighten using the
included Allen key.
6. Insert the included power pack
into the bottom of the camera
base. Push up until the power
pack ‘clicks into place.
7. OPTIONAL: Lift up the
rubber seal on the right-side
release button. Insert the
locking screw and tighten
using the included Allen key
to secure the power pack in
place.
NOTE: You will need to loosen the
locking screw to remove the power pack in the future.
8. Twist the adjustment
ring near the camera
base counterclockwise to
loosen and reposition the
camera. Hold the camera
in the desired angle and
tighten the adjustment ring
completely to secure the
camera in place.
ATTENTION:
This camera includes an Auto Mechanical IR Cut Filter. When the camera
changes between Day/Night viewing modes, an audible clicking noise may
be heard from the camera. This clicking is normal, and indicates that the
camera filter is working.
ATTENTION:
It is recommended to test the camera and power pack prior to
selecting a permanent mounting location by inserting the power pack,
pairing the camera to your wire-free system and streaming live video
on the Lorex Secure App.
IMPORTANT: To complete the pairing process using the Lorex
Secure App, you must be logged in to the app with the admin
account, and your DVR must be turned on.
IMPORTANT: Remove the power pack
from the camera prior to installation
by pushing both release buttons*, then
pulling down on the power pack.
ATTENTION: Place your hand underneath
the power pack when removing to
prevent it from falling.
To pair the camera through the Lorex Secure App:
*
*
Follow the instructions below to secure the camera. It
is recommended that you refer to the “Installation Tips”
section to help you select a good mounting location.
4. Lower the camera base
onto the mounting bracket
so the tab in the mounting
bracket locks into the slot
in the camera base.
Use the included power adapter to charge the power pack. Connect
the power adapter to the micro USB port on the power pack. The LED
indicator on the power pack shows you the charging status (must be
plugged in).
LED Color Meaning
Green
Fully charged
Red
Currently charging
Power Pack Charge Time
2-cell
Approx. 4 hours
4-cell
Approx. 8 hours
1. From the home screen, tap the
channel you would like to pair a
camera to (open channels are marked
with a + sign).
The Pairing Wizard opens.
2. Tap PAIR. A timer for 30 seconds
appears.
3. Press and hold the pair button (P)
on the back of the camera for 3
seconds.
NOTE: A “pairing successful”
message should appear on screen.
If you do not see this message,
repeat the steps above.
4. Enter a name for your camera and tap Done. The home
screen opens and displays all connected cameras.
LWB3801AC1_LWB3901AC1_QSG_EN_R1


Produkt Specifikationer

Mærke: Lorex
Kategori: Overvågningskamera
Model: LWB3901AC1B

Har du brug for hjælp?

Hvis du har brug for hjælp til Lorex LWB3901AC1B stil et spørgsmål nedenfor, og andre brugere vil svare dig


Overvågningskamera Lorex Manualer

Lorex

Lorex LNZ44P12 Manual

11 August 2025
Lorex

Lorex LNB9383 Manual

9 August 2025
Lorex

Lorex C831CD Manual

9 August 2025
Lorex

Lorex C861XC-E Manual

9 August 2025
Lorex

Lorex LNE9252 Manual

9 August 2025
Lorex

Lorex E894ABB Manual

9 August 2025
Lorex

Lorex U471AA-F Manual

8 August 2025
Lorex

Lorex LNB9252 Manual

8 August 2025

Overvågningskamera Manualer

Nyeste Overvågningskamera Manualer