is and it can be called "tone". With low values, steep hills and valleys start occuring, producing more distinct resonances. With very low
values you may experience ringing and a sort of ambience or short reverberation. It is often useful to use mutliple resonators, with different
smoothing values, each controlling a different aspect of the audio.
Wideners
Wideners serve as a supplement to the resonators with main purpose - create artificial stereo. Whereas resonators mainly change the
spectral level profile, wideners produce spectral delay profile. So in a way wideners delay frequencies differently between left and right
channels, which is a similar process to what happens when doing a manual double tracking.
Wideners have pretty much the same parameters as the resonators and work similarly, but do a very different thing. With high enough
smoothing they can provide a very natural stereo expansion, almost like a double tracking, especially when inserted before a stereo amp.
With low smoothing you can again expect audible reverberation effects.
Using MCabinet and performance considerations
To use MCabinet, it's best to simply start with one of the global presets or profiles presets. Then use one or more resonators to get the
specific sound you want. Finally if you are into stereo processing, you can use a stereo resonator, but usually more effective is to use a
widener, which is designed for the job. On the other hand, if you are processing a mono signal and expect a mono output, it would be
desirable not to use any of the stereo tools, and potentially set the global Channel mode to M (as mid or mono) to save some CPU if your
DAW doesn't tell the plugin that it is processing a mono signal.
Flat profile and creative processing
MCabinet may be quite useful for general sound design as well. The classic profiles produce the specific sound character typical for say
guitar cabinets. But the default Flat profile doesn't initially alter the spectrum levels, so it becomes pretty natural and you can exploit the
resonators and wideners to create entirely original effects. Also consider producing profiles by analyzing samples that aren't really cabinet
IRs. You may also exploit the included modulators, but be aware that modulating any of the resonator & widener parameters may require
lots of CPU and since recalculation of the processing structures is performed in background, you may need to perform "live" rendering in
your DAW.
Easy screen vs. Edit screen
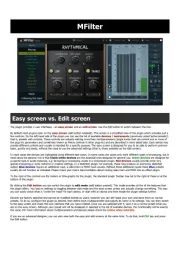
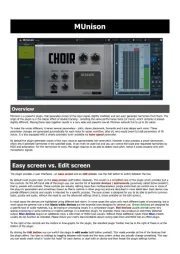
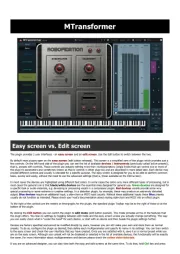
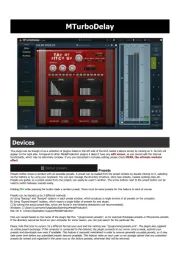
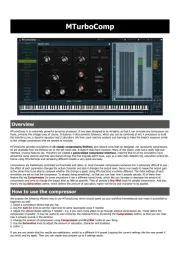
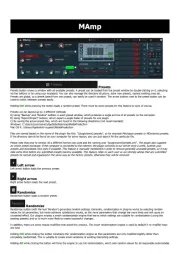
The plugin provides 2 user interfaces - an easy screen and an edit screen. Use the Edit button to switch between the two.
By default most plugins open on the easy screen (edit button released). This screen is a simplified view of the plugin which provides just a
few controls. On the left hand side of the plugin you can see the list of available devices / instruments (previously called 'active presets'),
that is, presets with controls. These controls are actually nothing more than multiparameters (single knobs that can control one or more of
the plug-in's parameters and sometimes known as Macro controls in other plug-ins) and are described in more detail later. Each device may
provide different controls and usually is intended for a specific purpose. The easy screen is designed for you to be able to perform common
tasks, quickly and easily, without the need to use the advanced settings (that is, those available on the Edit screen).
In most cases the devices are highlighted using different text colors. In some cases the colors only mark different types of processing, but in
most cases the general rule is that black/white devices are the essential ones designed for general use. Green devices are designed for
a specific task or audio materials, e.g. de-essing or processing vocals in a compressor plugin. Red devices usually provide some very
special processing or some extreme or creative settings. In a distortion plugin, for example, these may produce an extremely distorted
output. Blue devices require an additional input, a side-chain or MIDI input usually. Without these additional inputs these Blue presets
usually do not function as intended. Please check your host's documentation about routing side-chain and MIDI into an effect plugin.
To the right of the controls are the meters or time-graphs for the plugin; the standard plugin Toolbar may be to the right of these or at the
bottom of the plugin.
By clicking the Edit button you can switch the plugin to edit mode (edit button pushed). This mode provides all the of the features that
the plugin offers. You lose no settings by toggling between edit mode and the easy screen unless you actually change something. This way
you can easily check what is "under the hood" for each device, or start with an device and then tweak the plugin settings further.
Devices are factory specified and cannot be modified directly by users, however you can still make your own and store them as normal
presets. To do so, configure the plugin as desired, then define each multiparameter and specify its name in its settings. You can then switch
to the easy screen and check the user interface that you have created. Once you are satisfied with it, save it as a normal preset while you
are on the easy screen. Although your preset will not be displayed or selected in the list of available devices, the functionality will be exactly
the same. For more information about multiparameters and devices please check the online video tutorials.
If you are an advanced designer, you can also view both the easy and edit screens at the same time. To do that, hold Ctrl key and press
the Edit button.