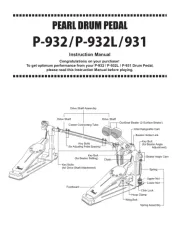
4. Insert the Pedal Clamp Plate into the Clamp Plate Base
as shown and tighten the Wing Bolt to secure. Loosen
the Wing Nut on the Bass Drum Spur and rotate it to the
position shown in Fig.6. Tighten the Wing Nut to secure.
Loosen the Wing Bolt and extend the Spurs making
sure that both sides are equal in length, and tighten the
Wing Bolt to secure. The Bass Drum Spurs have Spike
Tips (for added slip resistance) that can be exposed by
turning the Lock Nut and Rubber Tip clockwise (Fig.5).
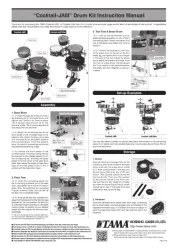
1. Place the Shell on a clean, solid surface with the front
side (the side with the Bass Drum Spurs attached)
facing upwards. Put the Front Head with Pearl Logo on
the Shell then attach the Bass Drum Hoop with flat side
down on the Rim of the Head (Fig.1).
3. Turn the shell over to the batter side and place the other
Head and Bass Drum Hoop on the Shell. Position the
Bass Drum Hoop so that the cut is aligned with the
Clamp Plate Base (Fig.3). Attach the Tension
Rods/Hooks in the same way as the front side (Fig.4).
The Bass Drum is packed with the Shell, Bass Drum
Hoops, Heads and Parts unassembled. Please follow the
instructions below to assemble the Bass Drum.
2. Pass a Tension Rod through a Hook, and hook it on the
Bass Drum Hoop above a Lug. Finger tighten the
Tension Rod into the Lug and do the same with the rest
of the Tension Rods/Hooks on this side of the drum
(Fig.2). Using a Tuning Key, tighten the Tension Rod
The Spike Tips are sharp. Be careful not to hurt yourself or
others when using them. Use the Spike Tips only on thick
carpeted surfaces to prevent damage to the flooring underneath.
The Bass Drum Hoop WITHOUT the cut is used on the front