Philips BG3027 Manual
Philips
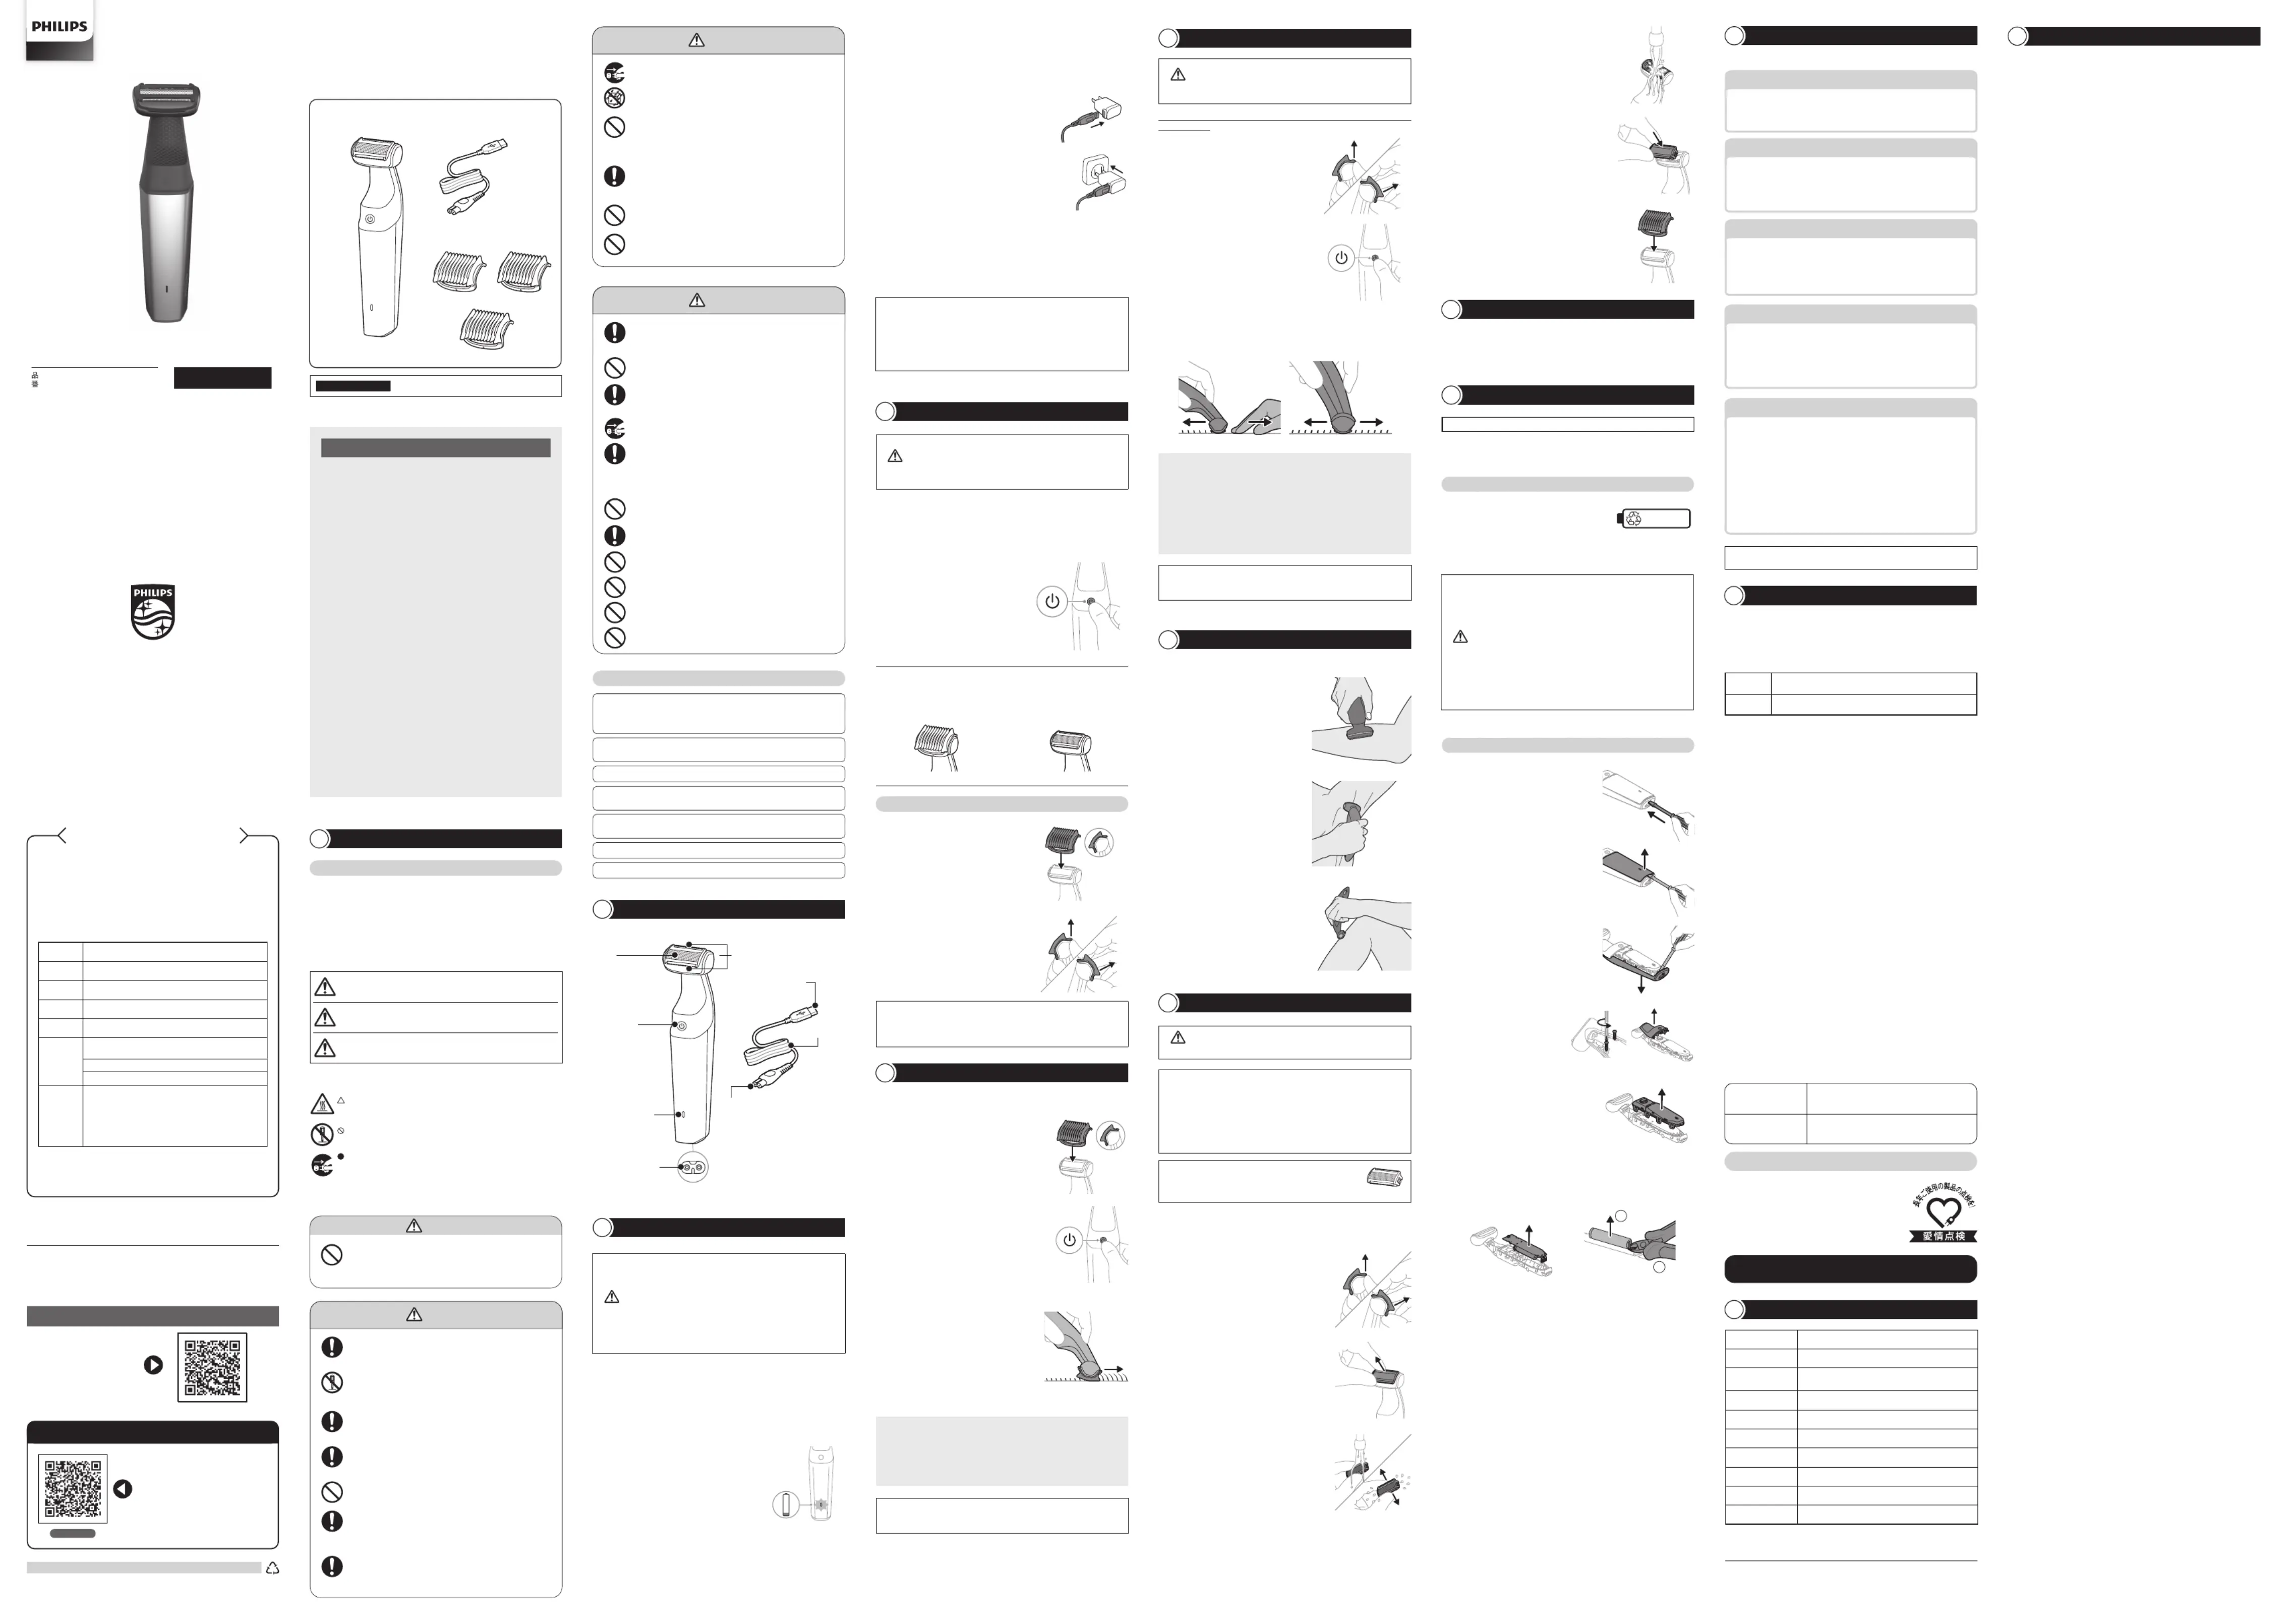
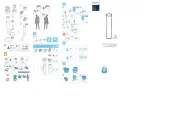
Skægtrimmer
BG3027
| Mærke: | Philips |
| Kategori: | Skægtrimmer |
| Model: | BG3027 |
| Produktfarve: | Black, Blue |
| Batteriteknologi: | Lithium-Ion (Li-Ion) |
| Vandfast: | Ja |
| Strømkilde: | Batteri |
| Strømforbrug (maks.): | 5 W |
| Ledningsfri: | Ja |
| Opladningstid for batteri: | 1 t |
| Indgangsspænding: | 5 V |
| Hurtig opladning: | Ja |
| Hurtig opladningstid: | 5 min. |
| Baberingssystem: | Folie shaver |
| Våd og tør: | Ja |
| Driftstid: | 60 min. |
| Antal trin, længde: | 3 |
| Antal kamme: | 3 |
Har du brug for hjælp?
Hvis du har brug for hjælp til Philips BG3027 stil et spørgsmål nedenfor, og andre brugere vil svare dig
Skægtrimmer Philips Manualer

26 November 2025

20 November 2025
7 November 2025
7 November 2025

3 November 2025

2 November 2025
2 November 2025

1 November 2025

1 November 2025
31 Oktober 2025
Skægtrimmer Manualer
- Electroline
- SilverCrest
- Aurora
- Cecotec
- Livoo
- Teesa
- Princess
- Becken
- StyleCraft
- G3 Ferrari
- Tondeo
- Panasonic
- Efalock
- Sencor
- Beurer
Nyeste Skægtrimmer Manualer

24 December 2025

24 December 2025

24 December 2025

23 December 2025

16 December 2025

25 November 2025

25 November 2025

23 November 2025
15 November 2025

13 November 2025