OPERATOR MANUAL
IMPORTANT INFORMATION, KEEP FOR OPERATOR
PART NUMBER PP MNL2104, REV. B (02/24)
This manual provides information for:
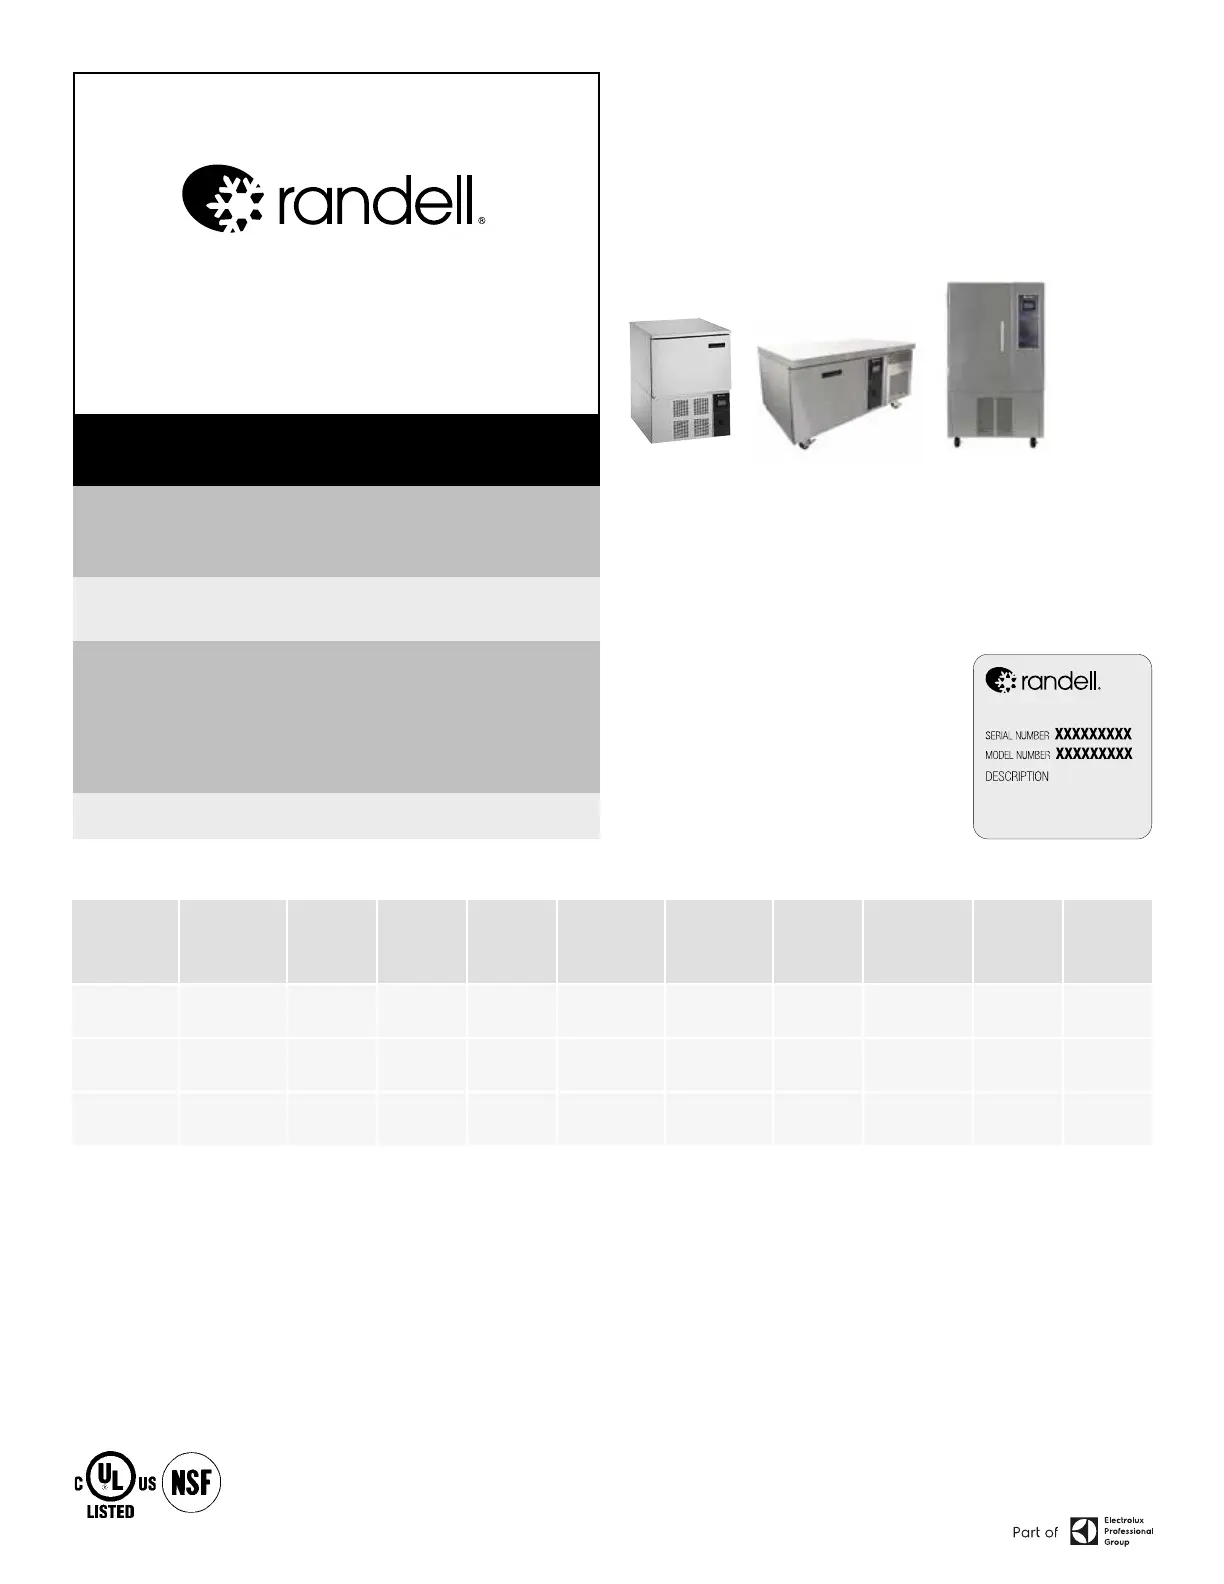
BLAST CHILLERS
BC-918RI, BC-510WT, BC-003UC
THIS MANUAL MUST BE RETAINED FOR FUTURE REFERENCE. READ,
UNDERSTAND AND FOLLOW THE INSTRUCTIONS AND WARNINGS CONTAINED
IN THIS MANUAL.
FOR YOUR SAFETY Do not store or use gasoline or other ammable vapors
and liquids in the vicinity of this or any other appliance.
NOTIFY CARRIER OF DAMAGE AT ONCE It is the responsibility of the
consignee to inspect the container upon receipt of same and to determine
the possibility of any damage, including concealed damage. Randell suggests
that if you are suspicious of damage to make a notation on the delivery
receipt. It will be the responsibility of the consignee to le a claim with the
carrier. We recommend that you do so at once.
Manufacture Service/Questions 888-994-7636.
RETAIN THIS MANUAL FOR FUTURE REFERENCE
NOTICE: Due to a continuous program of product improvement, Randell reserves the
right to make changes in design and specications without prior notice.
NOTICE: Please read the entire manual carefully before installation. If certain
recommended procedures are not followed, warranty claims will be denied.
MODEL NUMBER _________________________
SERIAL NUMBER _________________________
INSTALLATION DATE ______________________
The serial number is located on the interior rear wall
of the Blast Chiller.
EQUIPMENT DESCRIPTION
888-994-7636, fax 888-864-7636
uniedbrands.net
Model No. Body Style Length Depth Height Pan Capacity
(12” x 20” x
2.5”)
Pan Capacity
(18” x 26”)
NEMA BTU
Requirements
for Remote
Installations
HP Approx.
Weight
BC-003UC Undercounter 27” 30” 35” 3 - 5-20P
5400 @ 20F
Evap Temp
1/2 320
BC-510WT Worktop 59" 34” 36” 10 5 5-20P
6050 @20F
Evap Temp
3/4 565
BC-918RI Upright 40” 38.7” 71" 18 9 L14-20P
12100 @ 20F
Evap Temp
1-1/2 858
BC-918RIBC-510WTBC-003UC
Information contained in this document is known to be current and accurate at the time of printing/creation. Reference our product line website for the most updated
product information and specications. © 2024 Electrolux Professional, Inc. All Rights Reserved.