WAARSCHUWINGEN - 25791477A485/D
WAARSCHUWINGEN 257
Algemene veiligheidswaarschuwingen 257
Voor dit apparaat 261
Beoogd gebruik 262
Deze gebruiksaanwijzing 262
Aansprakelijkheid van de fabrikant 262
Typeplaatje 262
Verwerking 262
Indicaties voor toezichthoudende instanties in Europa
263
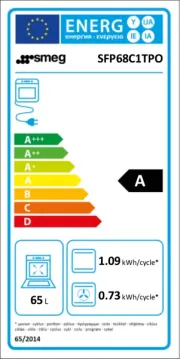
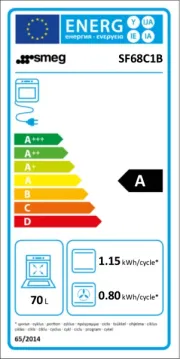
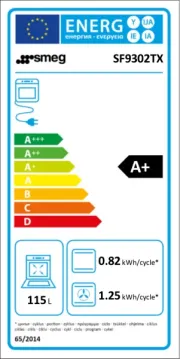
Technische gegevens energie-efficiëntie 263
Om energie te besparen 263
Lichtbronnen 263
Wegwijs in de gebruiksaanwijzing 263
BESCHRIJVING 264
Algemene beschrijving 264
Bedieningspaneel 265
Andere onderdelen 266
Accessoires 266
Optionele accessoires (apart verkrijgbaar) 267
Voordelen van bereiding met stoom en bevochtiging
268
GEBRUIK 268
Voorbereiding 268
Gebruik van de accessoires 269
Display 269
Eerste gebruik 270
Het gebruik van de oven 271
Gebruik van de temperatuursonde (alleen op
bepaalde modellen) 275
Advies voor bereidingen 285
Smart Cooking 290
Multistep-bereiding 291
Chronologie 291
Mini-handleiding accessoires 292
Ontdek de recepten 292
Aanwijzingen voor de toezichtinstellingen 292
Mijn recepten 293
Andere functies 294
Bij een stroomstoring 300
Instellingen 301
REINIGING EN ONDERHOUD 305
Reiniging van het apparaat 305
Reiniging van de deur 305
Reiniging van de ovenruimte 307
Vapor Clean (alleen op sommige modellen) 308
Ontkalken 309
Handmatig reinigen van het reservoir en het
hydraulische circuit 311
Kalibratie van het reservoir 313
Buitengewoon onderhoud 314
INSTALLATIE 314
Elektrische aansluiting 314
Plaatsing 315
We raden aan deze handleiding aandachtig door te lezen, omdat ze alle aanwijzingen bevat om
de esthetische en functionele kwaliteiten van het apparaat te behouden. Raadpleeg de website voor
verdere informatie over dit product: www.smeg.com
WAARSCHUWINGEN
Algemene
veiligheidswaarschuwingen
Persoonlijk letsel
• LET OP: Het apparaat en de
toegankelijke delen ervan
worden zeer heet tijdens het
gebruik Houd kleine kinderen
uit de buurt van het apparaat.
• LET OP: Het apparaat en de
toegankelijke delen ervan
worden zeer heet tijdens het
gebruik. Raak de
verwarmingselementen niet
aan tijdens gebruik.
• Bescherm de handen met
ovenwanten bij het hanteren
van voedsel in de ovenruimte.
• Probeer geen vlammen/brand
te doven met water: schakel het
apparaat uit en bedek het vuur
met een deksel of een
brandwerende deken.
• Gebruik van dit apparaat door