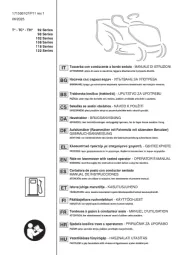
Stiga Estate 5092 HW Manual

| Mærke: | Stiga |
| Kategori: | Traktor |
| Model: | Estate 5092 HW |
Har du brug for hjælp?
Hvis du har brug for hjælp til Stiga Estate 5092 HW stil et spørgsmål nedenfor, og andre brugere vil svare dig
Traktor Stiga Manualer
9 September 2025

23 Februar 2025

23 Februar 2025

4 August 2024

28 Juli 2024

24 Juli 2024

22 Juli 2024

11 Juli 2024

28 Marts 2024

13 Marts 2024
Traktor Manualer
- Anova
- Jonsered
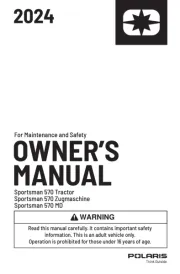
- Polaris
- Scheppach
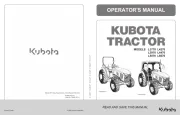
- Kubota
- Murray
- Hillvert
- Mahindra Yueda
- Linde Güldner
- Zetor
- Solo
- Bolinder-Munktell
- Husqvarna
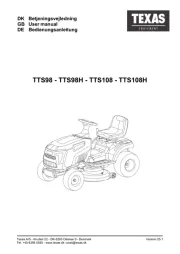
- Texas
- Yato
Nyeste Traktor Manualer

29 November 2025

4 November 2025

4 November 2025

31 Oktober 2025
31 Oktober 2025

30 Oktober 2025

30 Oktober 2025
7 September 2025
6 September 2025
3 September 2025