TOA ZM-9001 Manual
Læs gratis den danske manual til TOA ZM-9001 (2 sider) i kategorien Fjernbetjening. Denne vejledning er vurderet som hjælpsom af 35 personer og har en gennemsnitlig bedømmelse på 4.9 stjerner ud af 18 anmeldelser.
Har du et spørgsmål om TOA ZM-9001, eller vil du spørge andre brugere om produktet?

Produkt Specifikationer
| Mærke: | TOA |
| Kategori: | Fjernbetjening |
| Model: | ZM-9001 |
| Bredde: | 72 mm |
| Dybde: | 45 mm |
| Højde: | 127 mm |
| Vægt: | 170 g |
| Produktfarve: | Hvid |
| Indbygget skærm: | Ingen |
| Driftstemperatur (T-T): | -10 - 40 °C |
| Husmateriale: | Stål |
| Knapper med baggrundsbelysning: | Ingen |
| Antal knapper: | 6 |
| Grænseflade: | Ledningsført |
| Indbygget batteri: | Ingen |
| Kompatible produkter: | 9000 series amplifiers |
| Mærke kompatibilitet: | TOA |
| Fjernbetjening korrekt brug: | Lyd |
| Indgangstype: | Tryk på knapper |
| Maks. rækkevidde: | - m |
| Justerbar lydstyrke: | Ja |
| Brugerdefinerbare knapper: | Ja |
Har du brug for hjælp?
Hvis du har brug for hjælp til TOA ZM-9001 stil et spørgsmål nedenfor, og andre brugere vil svare dig
Fjernbetjening TOA Manualer

Fjernbetjening Manualer
- Vello
- DCU
- Vimar
- Neets
- Danfoss
- LogiLink
- Phoenix Technologies
- Valueline
- Elbe
- SpeakerCraft
- Logitech
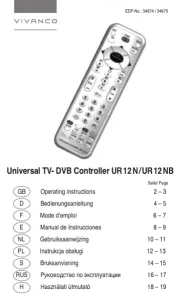
- Vivanco
- REVO
- American DJ
- Milwaukee
Nyeste Fjernbetjening Manualer