Trevi OM 3520 D Manual
Trevi
Clockradio
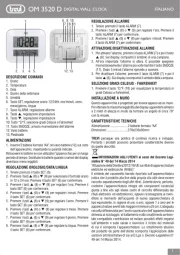
OM 3520 D
| Mærke: | Trevi |
| Kategori: | Clockradio |
| Model: | OM 3520 D |
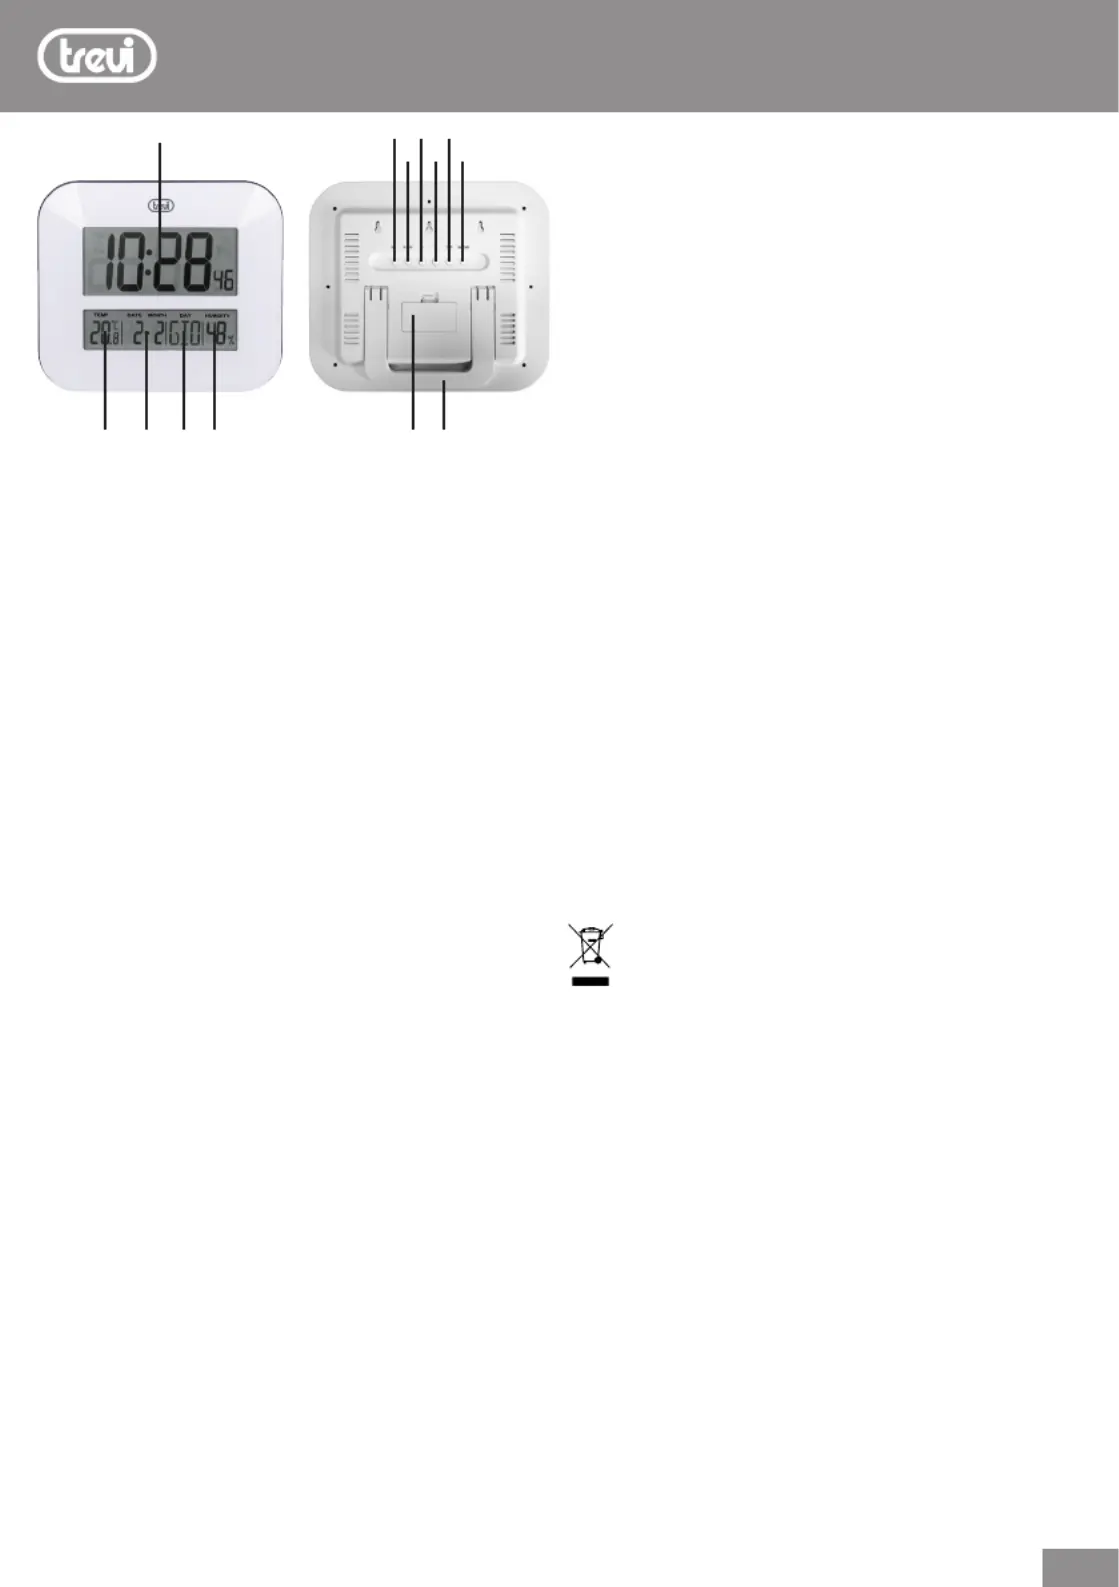
| Type: | Digitalt vægur |
| Bredde: | 270 mm |
| Dybde: | 30 mm |
| Højde: | 235 mm |
| Produktfarve: | Sort |
| Ramme, materiale: | Plast |
| Formfaktor: | Rektandel |
| Kalender: | Ja |
| Termometer: | Ja |
| Strømkilde type: | Batteri |
| Batteritype: | AA |
| Vækkeur: | Ja |
| Antal understøttede batterier: | 2 |
| Målgruppe: | Voksne |
| Afdækningsmateriale: | Plast |
| Stil: | Moderne |
Har du brug for hjælp?
Hvis du har brug for hjælp til Trevi OM 3520 D stil et spørgsmål nedenfor, og andre brugere vil svare dig
Clockradio Trevi Manualer

2 September 2024

1 September 2024
27 August 2024
27 August 2024
27 August 2024
27 August 2024

25 August 2024

4 August 2024

1 August 2024

23 Juli 2024
Clockradio Manualer
- Inovalley
- Xavax
- Perel
- Sonic Alert
- Tangent
- Roadstar
- Yoko
- E-bench
- Kruger Matz
- August
- Elta
- Lexon
- Watshome
- AKAI
- Thomson
Nyeste Clockradio Manualer
17 November 2025
16 November 2025
15 November 2025
13 November 2025
13 November 2025
13 November 2025
12 November 2025
12 November 2025
12 November 2025

12 November 2025