Air King AS70 Manual


Læs gratis den danske manual til Air King AS70 (8 sider) i kategorien Ventilator. Denne vejledning er vurderet som hjælpsom af 10 personer og har en gennemsnitlig bedømmelse på 3.5 stjerner ud af 5.5 anmeldelser. Har du et spørgsmål om Air King AS70, eller vil du spørge andre brugere om produktet?

Side 1/8
IMPORTANT INSTRUCTIONS -
OPERATING MANUAL
SAVE THESE INSTRUCTIONS
www.airkinglimited.com
210572050 Rev. H 12-15 1 of 8
Exhaust Fan
Models:
AS50, AS60, AS70, AS54
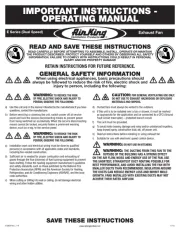
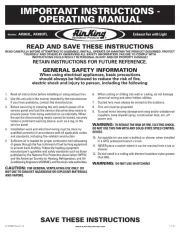
READ AND SAVE THESE INSTRUCTIONS
READ CAREFULLY BEFORE ATTEMPTING TO ASSEMBLE, INSTALL, OPERATE OR MAINTAIN
THE PRODUCT DESCRIBED. PROTECT YOURSELF AND OTHERS BY OBSERVING ALL SAFETY
INFORMATION. FAILURE TO COMPLY WITH INSTRUCTIONS COULD RESULT IN PERSONAL
INJURY AND/OR PROPERTY DAMAGE!
RETAIN INSTRUCTIONS FOR FUTURE REFERENCE.
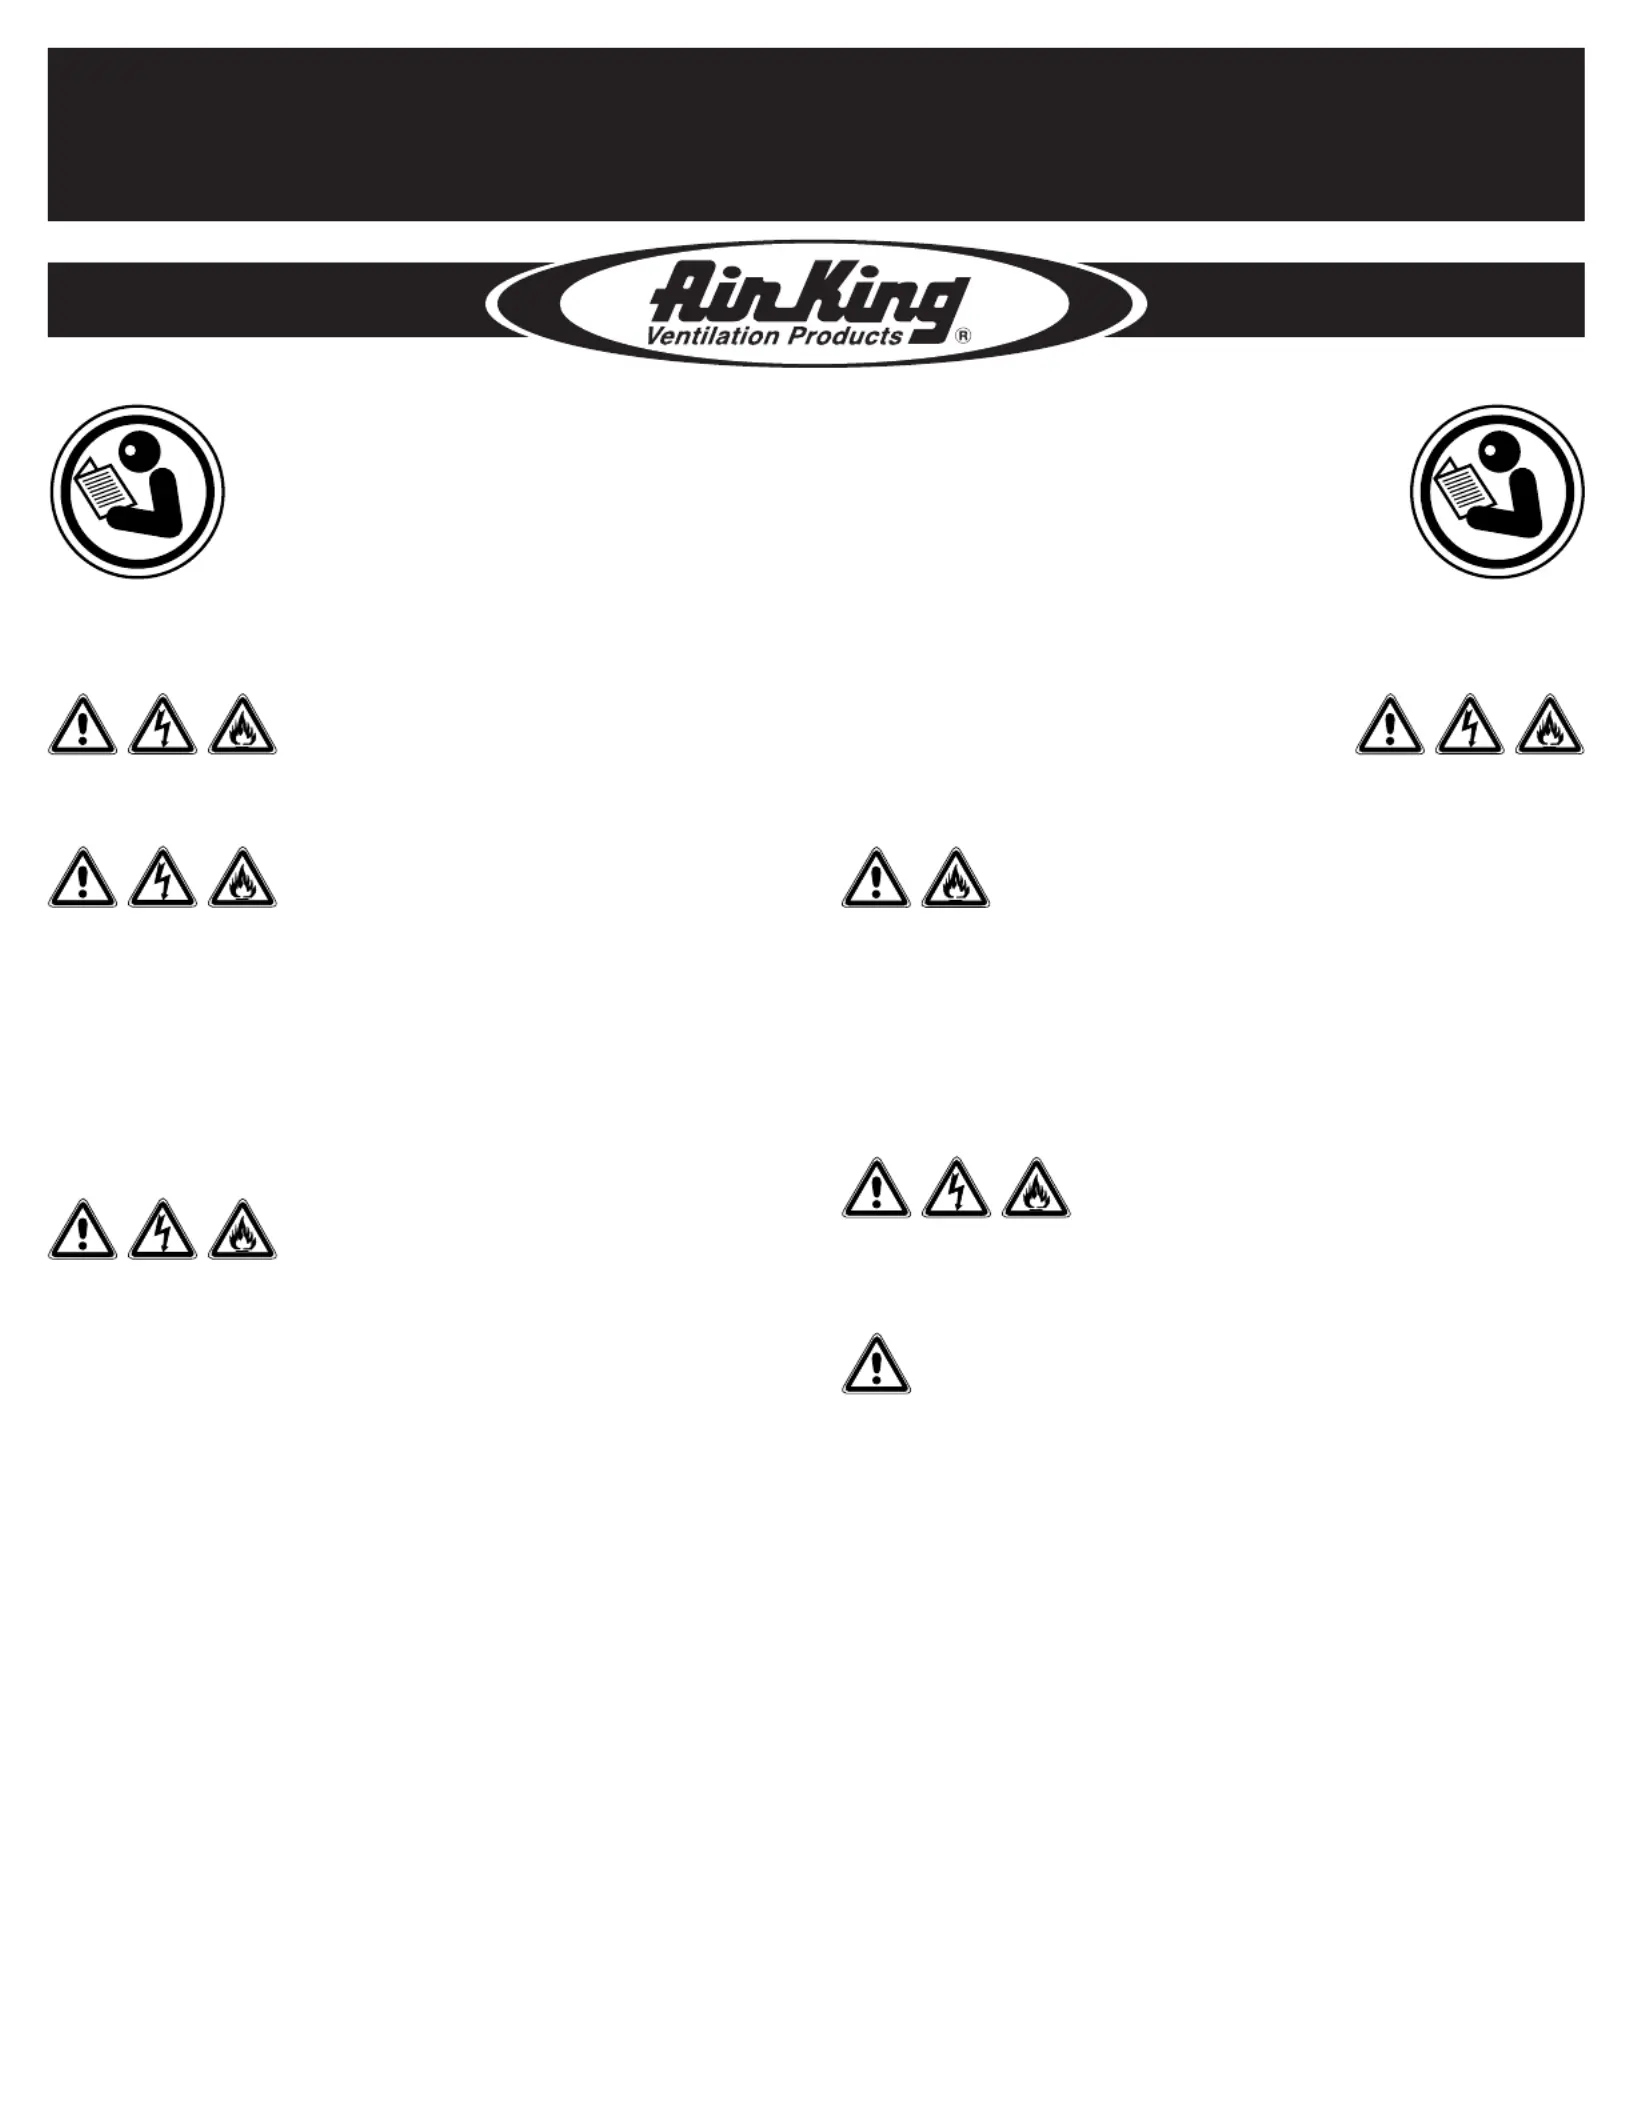
GENERAL SAFETY INFORMATION
When using electrical appliances, basic precautions should
always be followed to reduce the risk of fire, electric shock and
injury to person, including the following:
WARNING: TO REDUCE THE RISK
OF FIRE, ELECTRIC SHOCK AND INJURY TO
PERSON, OBSERVE THE FOLLOWING:
a) Use this unit only in the manner intended by the manufacturer.If you have
questions, contact the manufacturer.
b) Before servicing or cleaning the unit, switch power off at service
panel and lock the service disconnecting means to prevent power
from being switched on accidentally. When the service disconnecting
means cannot be locked, securely fasten a prominent warning
device, such as a tag, to the service panel.
WARNING: TO REDUCE THE RISK
OF FIRE, ELECTRIC SHOCK AND INJURY TO
PERSON, OBSERVE THE FOLLOWING:
a) Installation work and electrical wiring must be done by qualied
person(s) in accordance with all applicable codes and standards,
including fire-related construction.
b) Sufficient air is needed for proper combustion and exhausting of
gases through the flue (chimney) of fuel burning equipment to prevent
back drafting. Follow the heating equipment manufacturers guideline
and safety standards such as those published by the National Fire
Protection Association (NFPA) and the American Society for Heating,
Refrigeration, and Air Conditioning Engineers (ASHRAE), and the local
code authorities.
c) When cutting or drilling into wall or ceiling, do not damage electrical
wiring and other hidden utilities.
CAUTION: FOR GENERAL VENTILATING USE ONLY.
DO NOT USE TO EXHAUST HAZARDOUS OR EXPLOSIVE
MATERIALS AND VAPORS.
d) Ducted fans must always be vented to the outdoors.
e) This unit must be grounded.
f) To avoid motor bearing damage and noisy and/or unbalanced impellers,
keep drywall spray, construction dust, etc. off power unit.
g) Read all instructions before installing or using exhaust fan.
WARNING: TO REDUCE THE RISK OF FIRE,
ELECTRIC SHOCK, DO NOT USE THIS FAN WITH
ANY SOLID-STATE SPEED CONTROL DEVICE.
a) Acceptable for use over a bathtub or shower when installed in a
GFCI protected branch circuit.
WARNING: DO NOT USE IN KITCHENS.
INSTALLATION INSTRUCTIONS
CAUTION: MAKE SURE POWER IS SWITCHED OFF AT
SERVICE PANEL BEFORE STARTING INSTALLATION.
SECTION 1
Preparing the Exhaust Fan
1. Unpack fan from the carton and confirm that all pieces are present. In addition to the
exhaust fan you should have:
1 - Grill
1 - Damper Assembly (attached)
1 - Knockout Plug
1 - Instruction/Safety Sheet
2. Remove the fan’s venturi assembly, which is secured in place with one screw through the
venturi (Figure 1). This is a captive screw and will stay installed in the venturi. Keep the
venturi assembly and the grill in the carton until needed so they do not get damaged or lost.
3. Choose the location for your fan. To ensure the best
air and sound performance, it is recommended that
the length of ducting and the number of elbows be
kept to a minimum, and that insulated hard ducting
be used. Larger duct sizes will reduce noise and
airflow restrictions.
4. Select the most convenient electrical knockout hole
and insert the knockout plug into the 2nd knockout
hole (Figure 2).
SECTION 2
New Construction
1. Using the gauge on the fan’s housing , line up housing so that it will be flush with (Figure 3)
the finished ceiling or wall. Position the fan so that the tabs rest flat against the joist or stud
and secure with four nails (not provided) to ensure proper installation.
SECTION 3
Existing Construction
1. Position housing against the joist or stud and trace an outline of the housing onto the
ceiling/wall material Set housing aside and cut opening, being careful not (Figure 4).
to cut or damage any electrical or other hidden utilities. Place housing next to the joist
or stud and insure that it is flush with the finished ceiling. Secure with four nails (not
provided) to ensure proper installation (Figure 3).
www.airkinglimited.com
210572050 Rev. H 12-15 2 of 8
SECTION 4
Ducting
CAUTION: ALL DUCTING MUST COMPLY WITH LOCAL AND NATIONAL
BUILDING CODES.
1. Connect the ducting to the fan’s duct collar . Secure in place using tape or (Figure 4)
screw clamp. Always duct the fan to the outside through a wall or roof cap.
NOTE: If damper detaches from unit, reattach by snapping the collar back onto the unit. It is
designed to only fit one way.
SECTION 5
Wiring
CAUTION: MAKE SURE POWER IS SWITCHED OFF AT
SERVICE PANEL BEFORE STARTING INSTALLATION.
CAUTION: ALL ELECTRICAL CONNECTIONS MUST BE
MADE IN ACCORDANCE WITH LOCAL CODES, ORDINANCES, OR
NATIONAL ELECTRICAL CODE. IF YOU ARE UNFAMILIAR WITH METHODS OF INSTALLING
ELECTRICAL WIRING, SECURE THE SERVICES OF A QUALIFIED ELECTRICIAN.
1. Run wiring from an approved wall switch carrying the appropriate rating. One neutral (white),
one ground (green or bare copper), and one hot (black lead connected to the switch). Secure
the electrical wires to the housing with an approved electrical connector. Make sure you
leave enough wiring in the box to make the connection to the fan’s receptacle.
2. From where you have access to inside the fan’s junction box, connect the White wire from
the house to the White wire from the fan’s receptacle. Connect the Black wire from the
wall switch to the Black wire from the fan’s receptacle. Connect the ground wire from the
house to the Green wire from the fan’s receptacle . Use approved methods for (Figure 6)
all connections.
Figure 1
Figure 2
Figure 3
Figure 4
Figure 5
Supply
from
house
Figure 6
White Hot (Black)
Ground


Produkt Specifikationer

Mærke: Air King
Kategori: Ventilator
Model: AS70

Har du brug for hjælp?

Hvis du har brug for hjælp til Air King AS70 stil et spørgsmål nedenfor, og andre brugere vil svare dig


Ventilator Air King Manualer

Air King

Air King E130SH Manual

10 Oktober 2024
Air King

Air King AK100L Manual

27 September 2024
Air King

Air King 9071 Manual

23 September 2024
Air King

Air King 9145 Manual

23 September 2024
Air King

Air King 9723 Manual

22 September 2024
Air King

Air King 9312 Manual

20 September 2024
Air King

Air King 9018 Manual

15 September 2024
Air King

Air King 9170 Manual

13 September 2024
Air King

Air King 9075 Manual

10 September 2024
Air King

Air King 9220 Manual

7 September 2024

Ventilator Manualer

Nyeste Ventilator Manualer