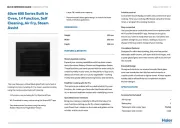
Hotpoint FA2 540 P BL HA Manual
| Mærke: | Hotpoint |
| Kategori: | Ovn |
| Model: | FA2 540 P BL HA |
| Vekselstrømsindgangsspænding: | 220 - 240 V |
| Vekselstrømsindgangsfrekvens: | 50 - 60 Hz |
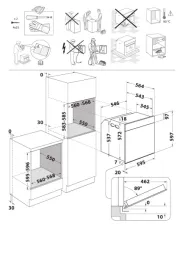
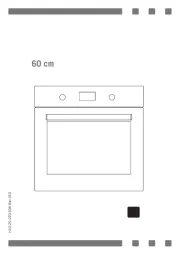
| Bredde: | 595 mm |
| Dybde: | 551 mm |
| Højde: | 595 mm |
| Vægt: | 25000 g |
| Produktfarve: | Sort |
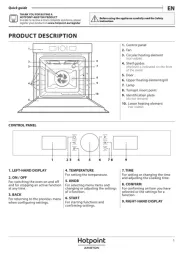
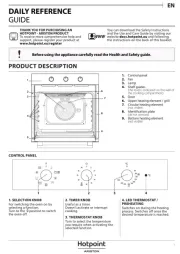
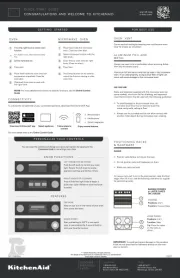
| Kontroltype: | Rotary, Touch |
| Indbygget skærm: | Ja |
| Placering af apparat: | Indbygget |
| Installationsrum bredde: | 568 mm |
| Installationsrum dybde: | 560 mm |
| Installationsrum højde: | 585 mm |
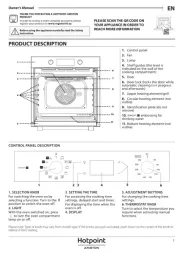
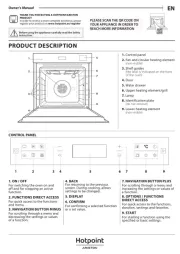
| Antal madlavningsprogrammer: | 8 |
| Grill: | Ja |
| Konvektion madlavning: | Ja |
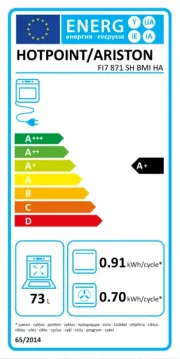
| Energieffektivitetsskala: | A+++ til D |
| Selvrensende: | Ja |
| Kontrolposition: | Front |
| Rengøringstype: | Pyrolyse |
| Varmebeskyttende dør: | Ja |
| Ovn - størrelse: | Medium |
| Ovntype: | Elektrisk ovn |
| Samlet indvendig ovn kapacitet: | 66 L |
| Strøm for samtlige ovne: | 3300 W |
| Antal ovne: | 1 |
| Ovn nettokapacitet: | 66 L |
| Pizza fremstillingsfunktion: | Ja |
| Energiforbrug (konventionel): | 0.89 kWh |
| Energiforbrug (tvungen konvektion): | 0.79 kWh |
| Blæser grillfunktion: | Ja |
| Brødfremstilling kapacitet: | Ja |
| Turbo-tilstand: | Ja |
| Ovntilberedningsmetode: | Blæserassisteret |
Har du brug for hjælp?
Hvis du har brug for hjælp til Hotpoint FA2 540 P BL HA stil et spørgsmål nedenfor, og andre brugere vil svare dig
Ovn Hotpoint Manualer
8 Oktober 2025
13 August 2025
13 August 2025

12 August 2025
12 August 2025
1 August 2025

1 August 2025
1 August 2025
1 August 2025
30 Juli 2025
Ovn Manualer
- ELIN
- St George
- Emilia
- Luxell
- Seiki
- AFK
- Everdure
- Imperial
- Coyote
- Airforce
- Neff
- Tiger
- TriStar
- Melchioni
- Ices
Nyeste Ovn Manualer
4 November 2025

3 November 2025

3 November 2025

3 November 2025

3 November 2025

2 November 2025
1 November 2025
1 November 2025
1 November 2025
31 Oktober 2025