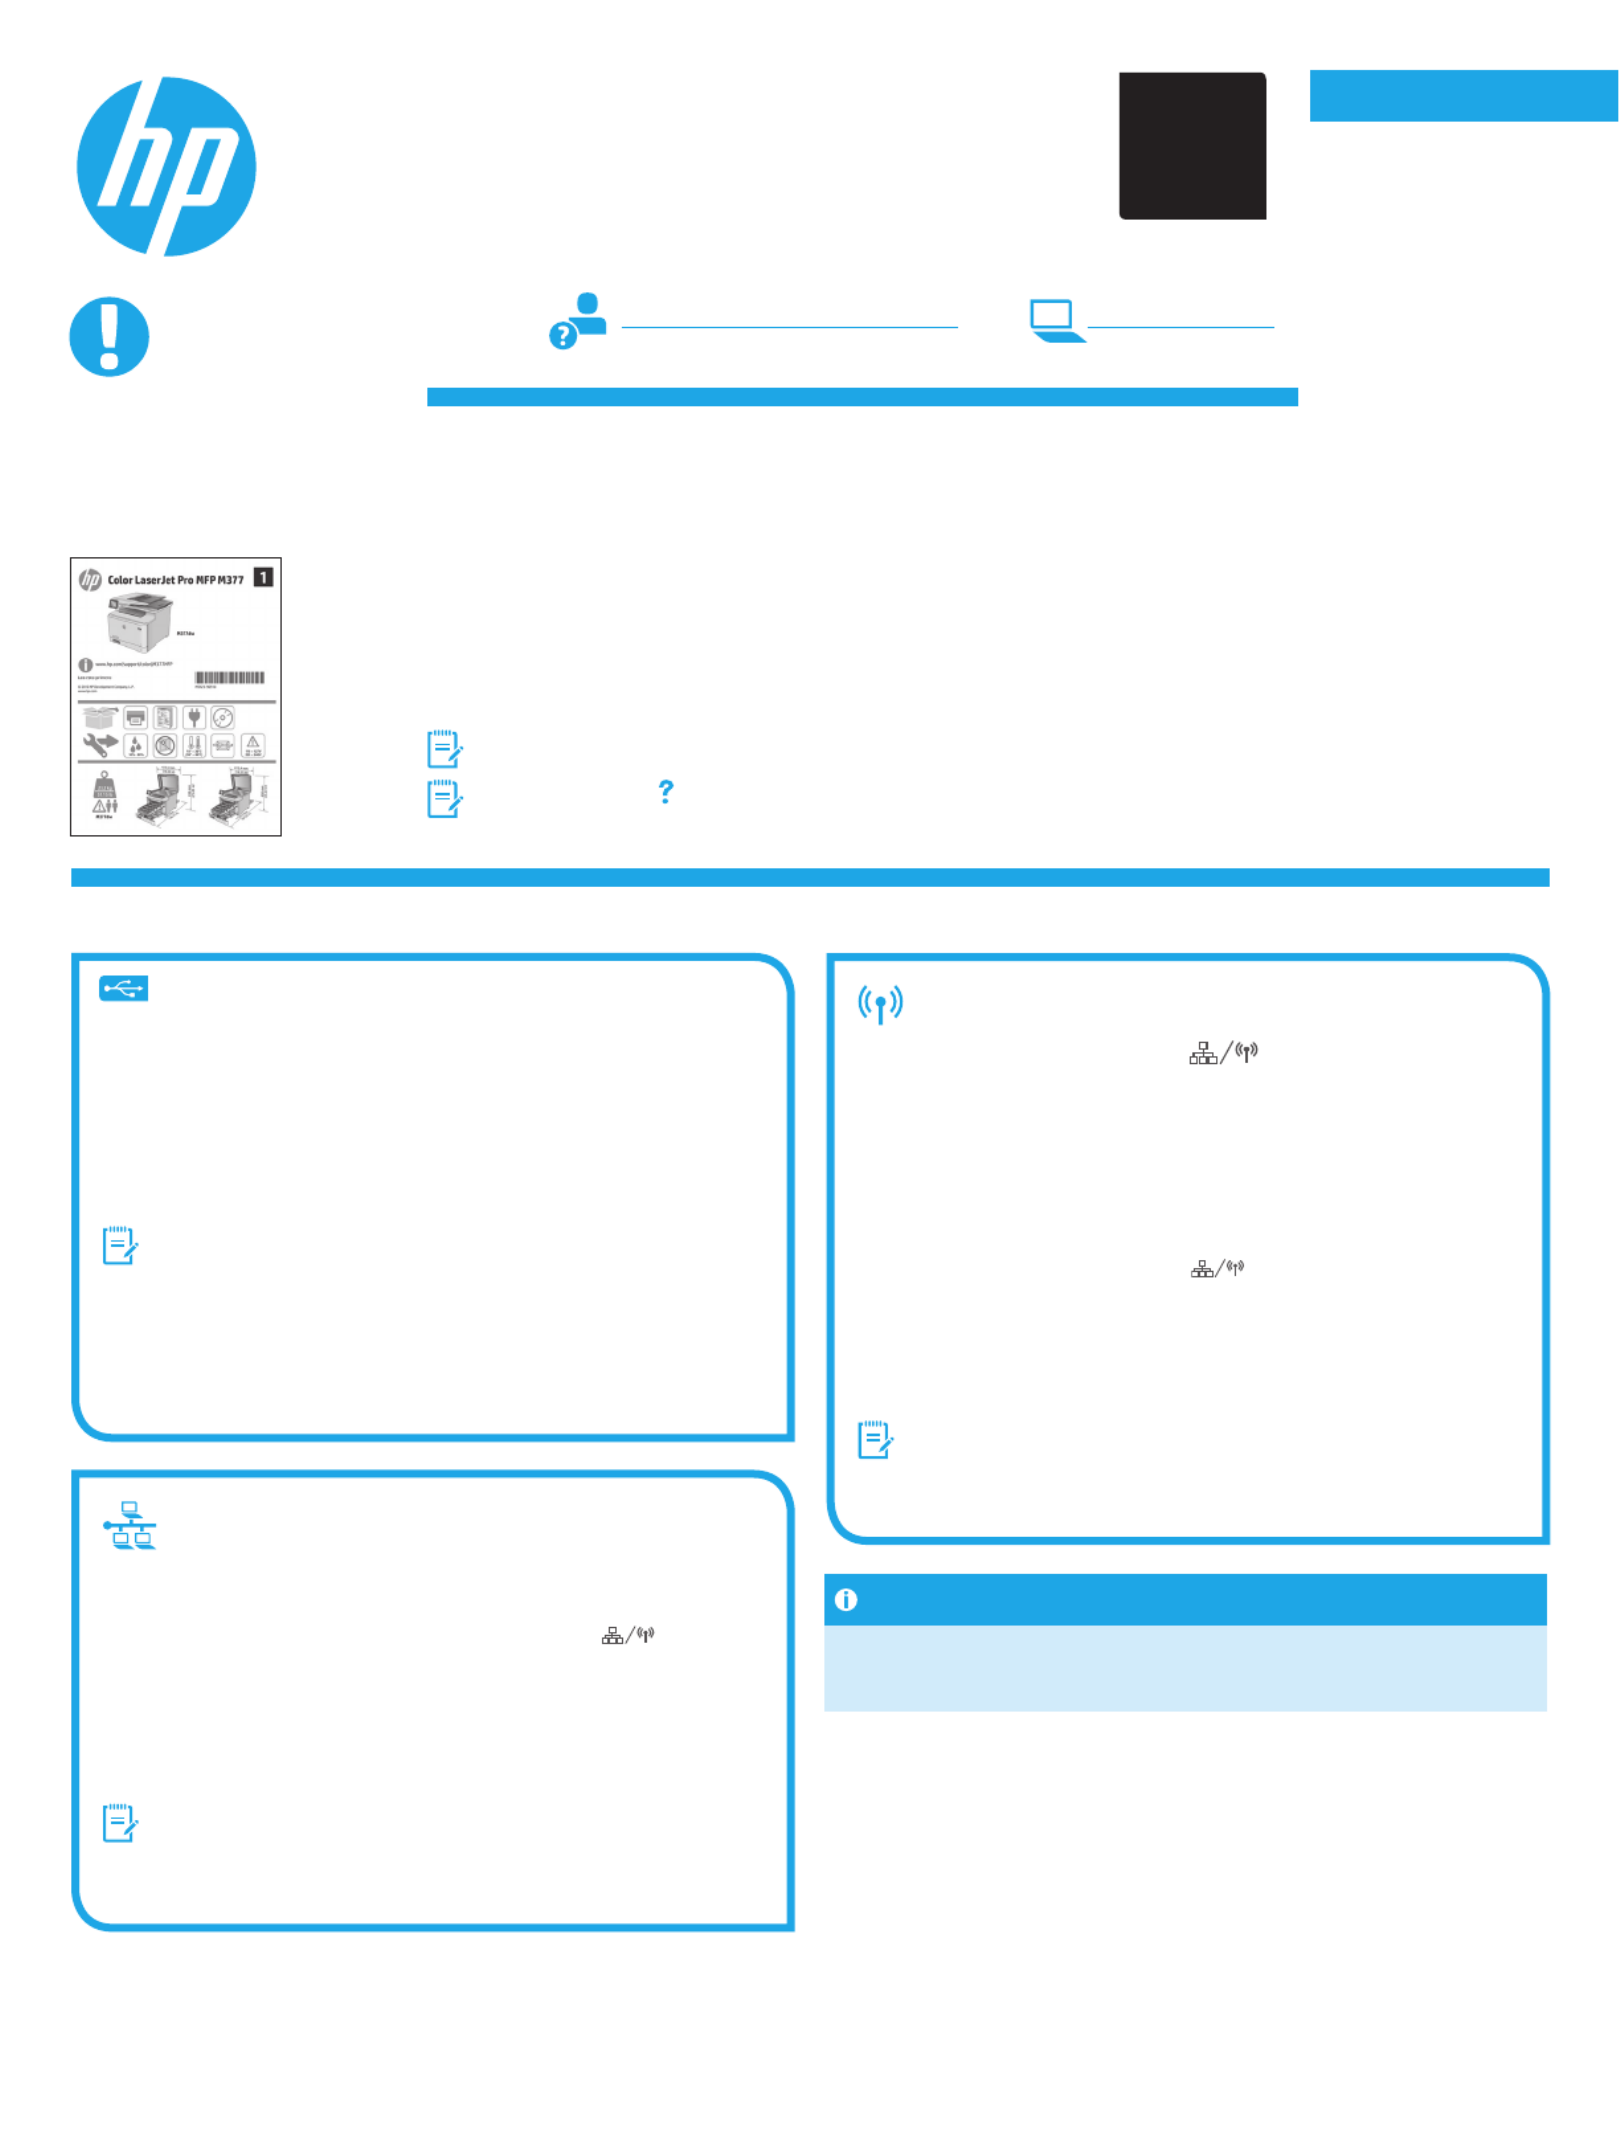
HP Color LaserJet Pro MFP M377 Manual

HP Ikke kategoriseret Color LaserJet Pro MFP M377

Læs gratis den danske manual til HP Color LaserJet Pro MFP M377 (41 sider) i kategorien Ikke kategoriseret. Denne vejledning er vurderet som hjælpsom af 16 personer og har en gennemsnitlig bedømmelse på 4.8 stjerner ud af 8.5 anmeldelser. Har du et spørgsmål om HP Color LaserJet Pro MFP M377, eller vil du spørge andre brugere om produktet?

Side 1/41
Dansk 19 .............
Català 16 .............
Español 13 ...........
Italiano 10 ...........
Deutsch 7 .............
Français 4 ............
English 1 ..............
Svenska 34 ..........
Português 31 .......
Norsk 28 ..............
Suomi 25 .............
Nederlands 22 ......
Color LaserJet Pro MFP M377
Getting Started Guide
www.hp.com/support/colorljM377MFP www.register.hp.com
5. Select a connection method and prepare for software installation
Windows
1. Do not connect the USB cable before installing the software. If the cable
is already connected, disconnect it before continuing. The installation
process prompts to connect the cable at the appropriate time.
2. Continue with 6. Locate or download the software installation les.”
NOTE: During software installation, select the option to Directly connect
this computer using a USB cable. (Windows only)
Mac
1. For Mac, connect the USB cable between the computer and the printer
before installing the software.
2. Continue with 6. Locate or download the software installation les.
Built-in wireless network connection
1. Touch the Connection Information button.
2. Touch the button.Network Wi-Fi OFF
3. Touch the button.Settings
4. Touch the Wireless Setup Wizard item.
5. Select the correct network SSID from the list. If you do not see the SSID,
touch Enter SSID and provide the network SSID manually.
6. Use the keyboard to enter the passphrase, and then touch the button.OK
7. Wait while the printer establishes a network connection.
8. Touch the Connection Information button. If an IP address is
listed, the network connection has been established. If not, wait a few
more minutes and try again. Note the IP address for use during software
installation. Example IP address: 192.168.0.1
9. To print from a computer, continue with “6. Locate or download the
software installation les.” To print from a phone or tablet only, continue
with 8. Mobile and wireless printing.”
NOTE: During software installation, select the option to Connect through
a network. (Windows only)
Manually congure the IP address
See the printer user guide for information on how to manually congure the IP
address. See the “Troubleshooting” section of this guide.
Wired (Ethernet) network connection
Use a standard network cable. (Cable not included.)
1. Connect the network cable to the printer and to the network. Wait a few
minutes for the printer to acquire a network address.
2. On the control panel, touch the Connection Information button. If
an IP address is listed, the network connection has been established. If not,
wait a few more minutes and try again. Note the IP address for use during
software installation. Example IP address: 192.168.0.1
To manually congure the IP address, see Manually congure the IP
address.”
3. Continue with 6. Locate or download the software installation les.
NOTE: During software installation, select the option to Connect through
a network. (Windows only)
IMPORTANT:
Follow Steps 1 - 3 on the
printer hardware setup
poster, and then continue
with Step 4.
4. Initial setup on the control panel
After turning on the printer, wait for it to initialize. To navigate the control panel, use touch, swipe, and
scroll gestures. Follow the prompts on the control panel to congure these settings:
Language
Location
Default Settings
Under Default Settings select one of these options:
Self-managed: Optimized default settings for most users that include guided setup and
conguration steps and automatic updates.
IT-managed: Optimized default settings for eet manageability.
Settings are fully customizable after initial setup.
NOTE: Select Print Information Page to print a page that instructs how to change the default
settings.
NOTE: Touch the Help button on the printer control panel to access help topics.
USB connection directly between the
printer and the computer
Use an A-to-B type USB cable (not included with all models).
*M5H23-90902
*
*M5H23-90902
*
0+
2
2
Windows solution
1. The software installer detects the language of the operating system, and
then it displays the main menu of the installation program in the same
language. When installing from the CD, if the installer program does not
start after 30 seconds, browse the CD drive on the computer and launch
the le named SETUP.EXE.
2. The Software Selection screen details the software to be installed.
The recommended software installation includes the print driver and
software for all available printer features.
To customize the software installed, click the Customize software
selections link. When nished, click the Next button.
3. Follow the on-screen instructions to install the software.
4. When prompted to select a connection type, select the appropriate
option for the type of connection:
Directly connect this computer using a USB cable
Connect through a network
Help me set up a rst-time wireless connection
NOTE: When connecting through a network, the easiest way to detect
the printer is to select Automatically nd my printer on the network.
NOTE: For wireless installation, select the option to Help me set up
a rst-time wireless connection, and then select Yes, retrieve the
wireless settings on my computer.
OS X solution
1. The software installer detects the language of the operating system, and
then it displays the main menu of the installation program in the same
language.
2. Follow the on-screen instructions to install the software. When
prompted, connect the printer using the appropriate cable for the
connection type, or ensure that the printer is prepared for wireless
communication.
3. At the end of the software installation process, use the HP Utility Setup
Assistant to congure printer options.
7. Install the software
Download from the Web
HP Easy Start
1. Go to 123.hp.com.
2. Select the printer model, and then click Begin.
3. Follow the onscreen instructions. Follow the prompts to save the le to the
computer.
4. Launch the software le from the folder where the le was saved, and continue
with 7. Install the software.”
Product support Web site
1. Go to www.hp.com/support/colorljM377MFP.
2. Under Download options, click drivers, software, & rmware, and then select
the appropriate operating system.
3. From Driver - Product Installation Software, determine which software option
to use, and then click the Download button next to it. Follow the prompts to save
the le to the computer.
4. Launch the software le from the folder where the le was saved, and continue
with 7. Install the software.”
Install from the printer CD
For Windows, the software installation les are provided on the CD that came with the
printer.
For OS X, the le on the CD includes a link to download the les from the Web.
1. Insert the printer CD into the computer.
2. Continue with 7. Install the software.”
Install Notes
For more details about the software for the printer, see the install notes
le on the printer CD.
6. Locate or download the software installation les
To print from a phone or tablet, connect the device to the same wireless network as
the printer.
Apple iOS devices (AirPrint): Open the item to print, and select the icon. Select Action
Print, select the printer, and then select Print.
Newer Android devices (4.4 or newer): Open the item to print, and select the Menu
button. Select , select the printer, and select Print Print.
Some devices require downloading the HP Print Service plugin app from the Google
Play store.
Older Android devices (4.3 or older): Download the HP ePrint app from the Google
Play store.
Windows Phone: Download the HP AiO Remote app from the Windows Store.
Learn More About Mobile Printing
To learn more about other mobile printing options,
including additional ePrint solutions, scan the QR code,
or see the “Mobile printing” section of the user guide.
8. Mobile and wireless printing (optional)
Wi-Fi Direct
Wi-Fi Direct enables close-proximity printing from a wireless mobile device directly
to a Wi-Fi Direct-enabled printer without requiring a connection to a network or the
Internet.
Enable Wi-Fi Direct
1. Touch the Connection Information button.
2. Touch the button.Wi-Fi Direct OFF
3. Touch the button. Settings
4. Select the On/O item, and then select .On
5. For secure printing, select , and then select . Note the passphrase that Security On
displays. Use this passphrase to allow access to the mobile devices.
To allow unsecured printing, select , and then select Security O.
For more information on wireless printing and wireless setup, go to
www.hp.com/go/wirelessprinting.
Install Notes
Not all software components are available for all operating systems.
For more information, see the install notes le on the printer CD.


Produkt Specifikationer

Mærke: HP
Kategori: Ikke kategoriseret
Model: Color LaserJet Pro MFP M377

Har du brug for hjælp?

Hvis du har brug for hjælp til HP Color LaserJet Pro MFP M377 stil et spørgsmål nedenfor, og andre brugere vil svare dig