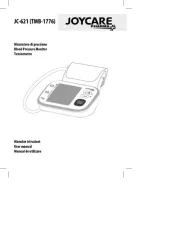
Caratteristiche...................................................................................3
Installazione batterie o adattatore AC.....................................4
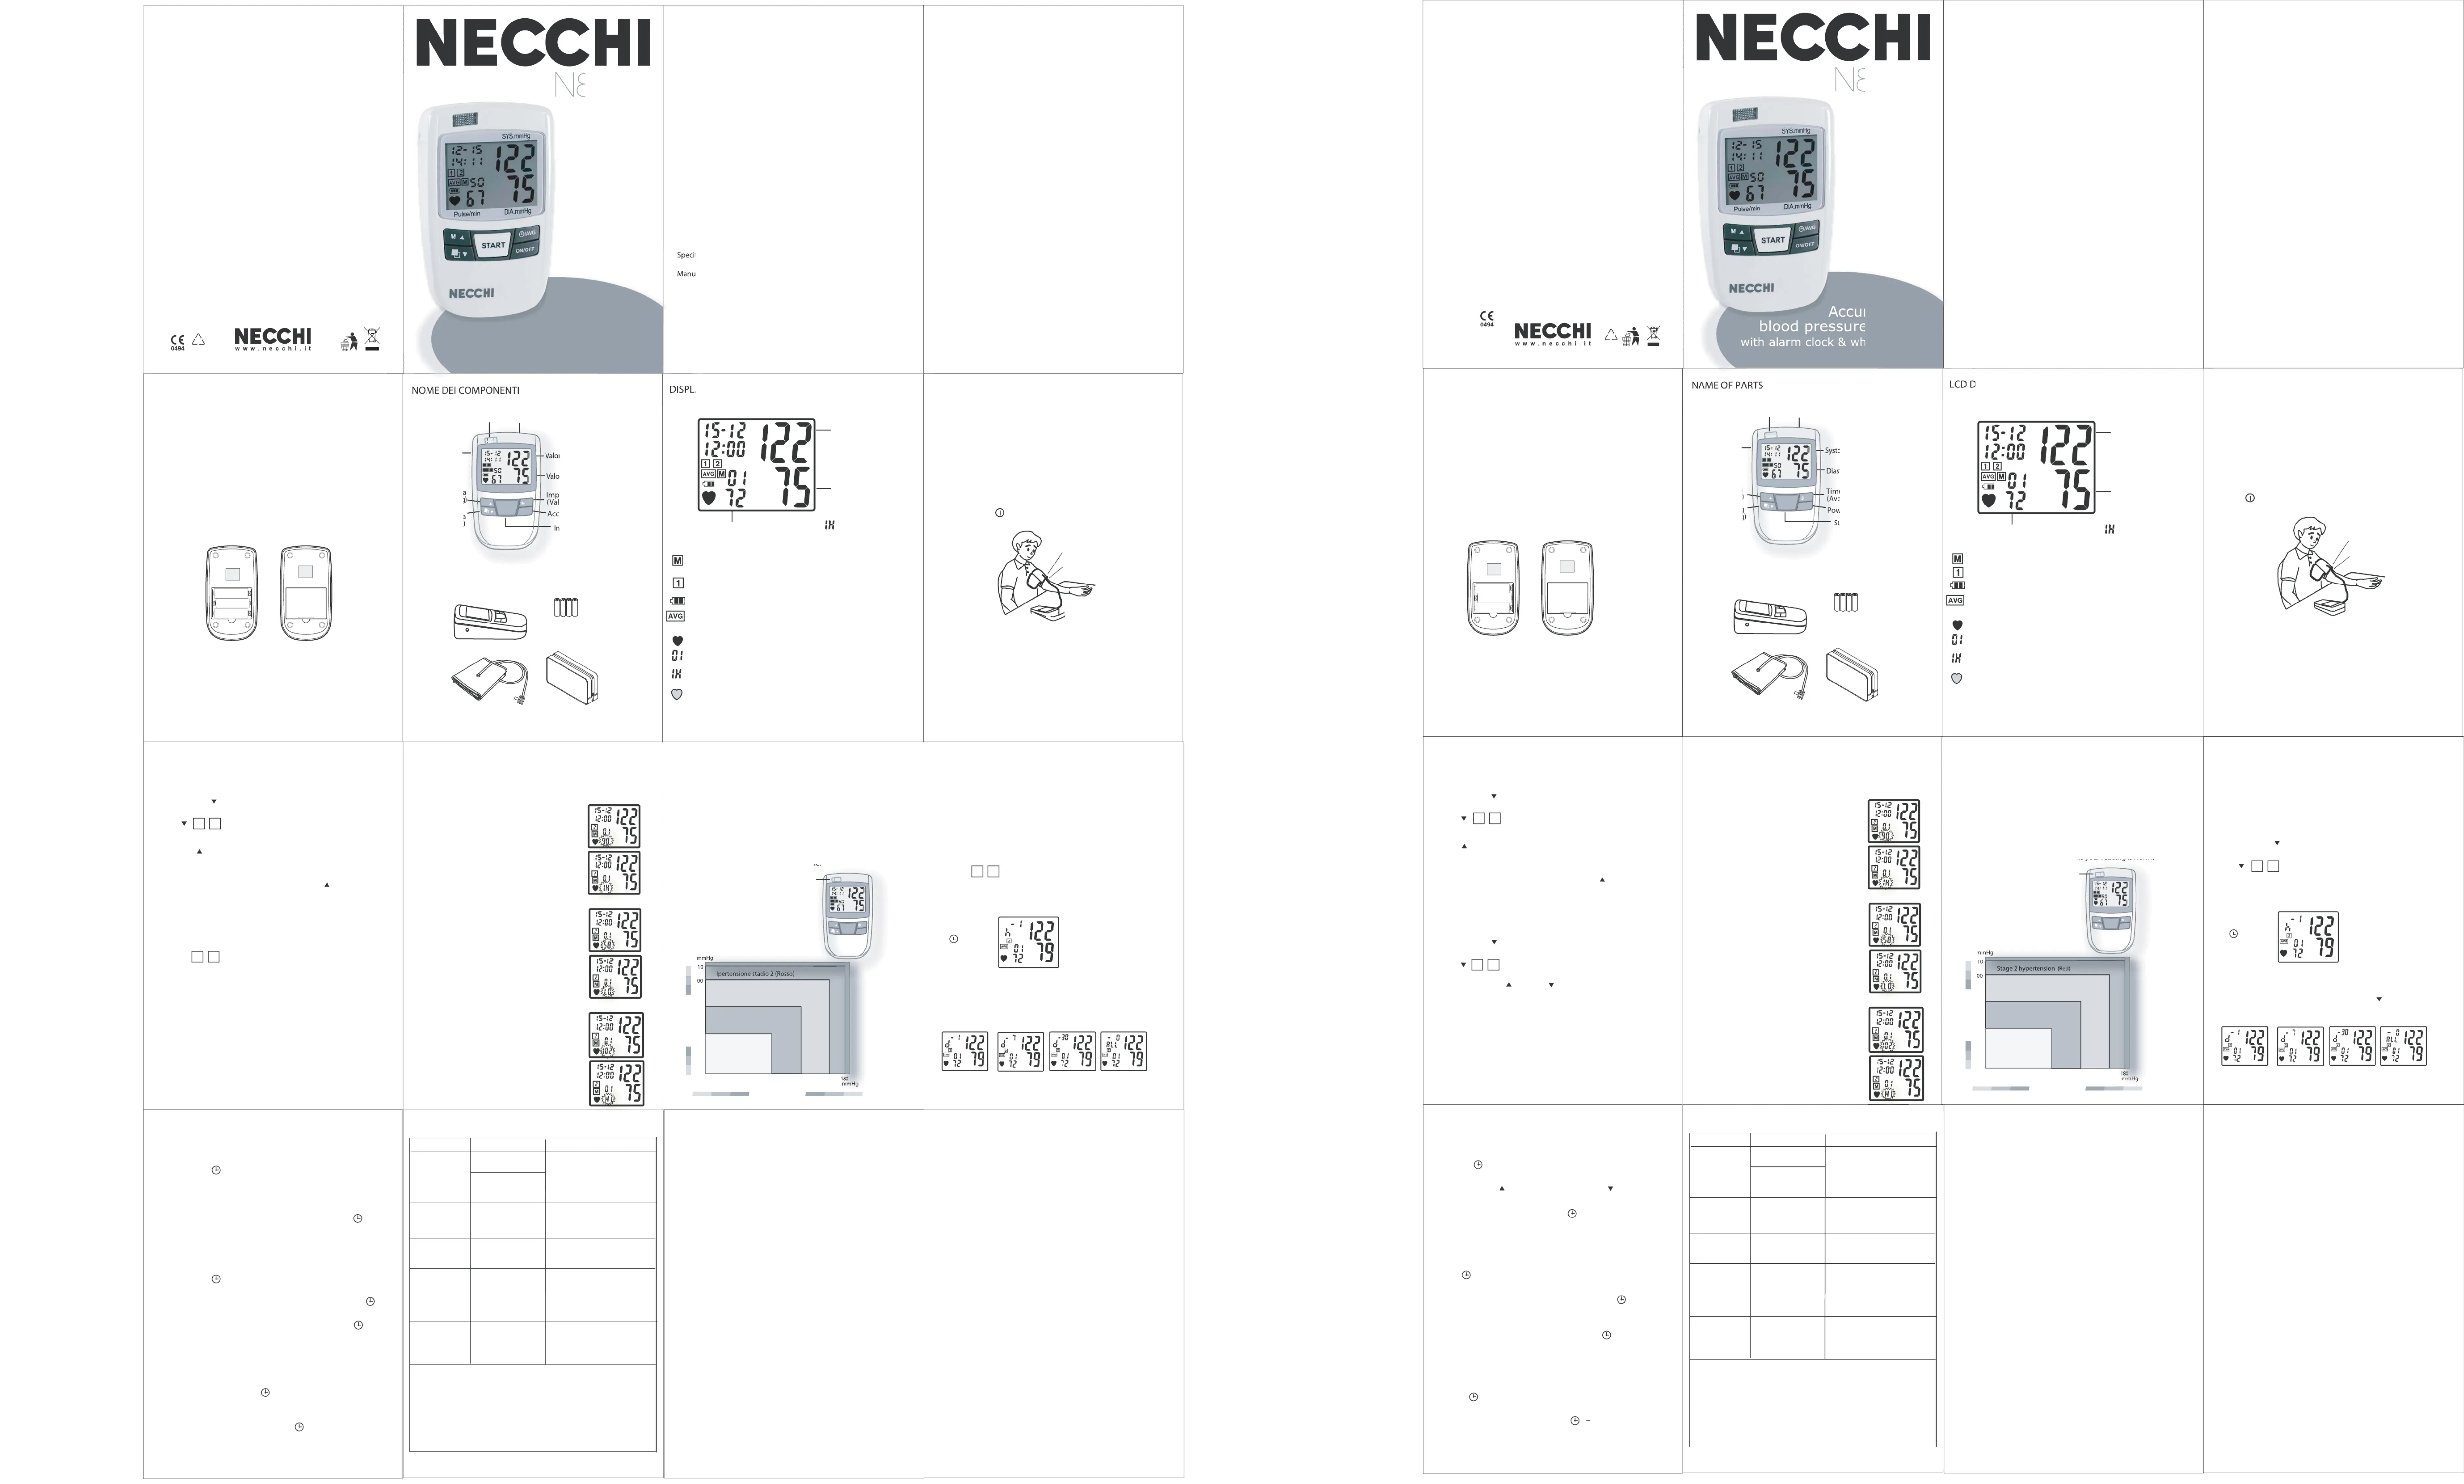
Nome componenti..........................................................................5
Display LCD........................................................................................6
Come misurare.................................................................................7
Richiamo e cancellazione memoria..........................................8
Lettura battito irregolare..............................................................9
Indicatore luminoso OMS..........................................................10
Richiamo media.............................................................................11
Impostazione orologio e allarme............................................12
Individuazione guasti..................................................................13
fiche........................................................................................14
utenzione e conservazione apparecchio....................15
Consultate il centro assistenza
Assicuratevi che il manicotto sia
all’apparecchio o controllate il
tubicino dell’aria. Se è rotto, sostituitelo
L’utilizzatore si è mosso.
Stare fermi durante la misurazione.
Rimuovete la fonte di interferenza,
ad es. magneti e telefoni cellulari
Nota: Se dopo aver individuato il guasto non è ancora possibile ottenere
una misurazione corretta, consultate il rivenditore, non smontate
l’apparecchio. In alcuni rari casi, l’errore potrebbe essere causato dalle
condizioni fisiche della persona. In questi casi, consultate il medico.
Se sul display non appare l’orologio, regolate l’impostazione dell’orologio.
1. Per impostare ora e data
(1) Premete il tasto e trattenetelo per almeno 5 secondi. Potete iniziare
a impostare l’anno quando lampeggia YEAR.
Premete MEMO per aumentare l’anno e il tasto PAGE per diminuirlo.
(3) Terminata l’impostazione dell’anno, premete ancora il tasto .
Ora potete regolare mese/data/ora e minuti come desiderate.
2. Per impostare l’allarme
(1) Premete il tasto per almeno 5 secondi e aspettate
che lampeggi YEAR. Regolate data e ora.
(2) Quando sul display LCD lampeggia ON, potete premere il tasto per
regolare il tempo di allarme desiderato premendo i tasti PAGE o MEMO.
(3) Mantenete il display LCD in posizione ON e premete il tasto per
impostare un secondo allarme.
Se desiderate interrompere l’impostazione dell’Allarme, premete i tasti
MEMO o PAGE. Il display LCD indicherà la posizione OFF e l’impostazione
dell’allarme si interromperà.
Se durante l’impostazione si verificano problemi, potete interrompere
semplicemente premendo il tasto e l’apparecchio mostrerà di nuovo
Questo apparecchio propone 4 impostazioni di allarme, una ogni 45 secondi
o potete fermare l’allarme premendo il tasto .
IMPOSTAZIONE DELL’OROLOGIO
LETTURA DEL BATTITO CARDIACO
Rilevazione di un battito regolare
Durante la rilevazione della pressione sanguigna,
se viene rilevato un valore superiore a 100 battiti
al minuto l’apparecchio mostra il valore delle pulsazioni
Nota: se desiderate far apparire TIMER sul display LCD, dovete avere
impostato almeno un allarme sull’apparecchio.
1. Per visualizzare i valori precedentemente misurati
(1) Premete il tasto PAGE per selezionare una delle due Aree di memoria
(2) Una volta selezionata una delle Aree di memoria premete due volte
il tasto MEMO. Apparirà la prima lettura della pressione sanguigna.
(3) Per rivedere altre letture premete in successione il tasto MEMO
per passare attraverso le varie letture (1-50).(1~50)
2. Per cancellare la memoria
(1) Premete il tasto PAGE per selezionare una delle due Aree di memoria
poi premete insieme i tasti MEMO & PAGE per 5 secondi.
Sul display apparirà “ALL EE” e le memorie descrescenti
richiamate simultaneamente.
Nota: Viene mostrata per prima la lettura più recente.
Dopo la registrazione di 50 letture le nuove letture prendono
il posto di quelle più vecchie in memoria.
Un battito cardiaco irregolare può causare o indicare problemi cardiaci.
Questo apparecchio p1-ha una speciale funzione che avvisa l’utilizzatore
della presenza di un battito irregolare.
Lettura di un battito irregolare
Durante la rilevazione della pressione, se viene rilevato
un battito irregolare l’apparecchio mostrerà il valore
delle pulsazioni alternato al simbolo “IH”.
E’ consigliabile che avvisiate il vostro medico se il simbolo
di battito irregolare IH appare spesso.
Rilevazione di un battito regolare
Durante la rilevazione della pressione sanguigna,
se viene rilevato un valore inferiore a 60 battiti
al minuto l’apparecchio mostra il valore delle pulsazioni
COME MISURARE LA PRESSIONE SANGUIGNA
Collegate correttamente il tubicino del manicotto all’apparecchio.
1. Per applicare il manicotto.
(1) Ruotate verso l’alto il palmo della mano. Posizionate il manicotto
con il segno di riferimento all’interno, in modo che la parte finale
si trovi a circa 1-2 cm dalla piega del gomito e avvolgete
il manicotto sul braccio.
(2) Trattenete la parte terminale del manicotto e avvolgetelo
delicatamente in modo che il manicotto aderisca perfettamente
(3) Premete il tasto per misurare la pressione del sangue dopo
aver avvolto bene il manicotto.
2. Per iniziare la misurazione
Nota: Per ottenere una misurazione corretta ed evitare di rilevare
valori errati, tenete fermi braccio, mano e dita durante la misurazione,
restando seduti ed in silenzio.
(A) Premete il bottone Power, il manicotto si gonfierà automaticamente.
(B) Dopo che l’apparecchio avrà rilevato i valori di pressione sistolica/
diastolica e le pulsazioni, tutte le misurazioni compariranno sul display LCD.
(C)Togliete il manicotto dal braccio mentre il manicotto si sgonfia
Il valore della pulsazione può indicare
alternativamente il segnale IH quando
viene rilevato un battito irregolare
Ipertensione stadio 1 (Viola)
Esempio: se la lettura della vostra pressione è 122/75, l’indicatore luminoso
sarà verde, che significa che la lettura è normale.
• Pre-ipertensione --- blu
• Ipertensione stadio 1 -- viola
• Ipertensione stadio 2 -- Rosso
: Appare quando l’apparecchio viene usato dall’Utilizzatore 1 dopo l’Utilizzatore
: Le batterie sono quasi esaurite o devono essere sostituite.
: Memoria media - Mostra i valori medi per un’ora, un giorno, una settimana,
un mese e tutte le letture nell’area Memoria.
: Simbolo pulsazione – Mostra le pulsazioni per minuto.
: Richiamo Memoria – Mostra le precedenti letture (da 1 a 50).
: Rilevatore battito irregolare – Indica quando viene rilevato
: Indicatore luminoso OMS – Mostra quattro diversi segnali luminosi
di letture di pressione sanguigna, in base alle linee guida
dell’Organizzazione Mondiale per la Sanità (vd. pag. 10).
: Conserva in memoria le letture degli Utilizzatori 1 e 2,
fino a 50 letture ciascuno.
Tenete una distanza di 1-2
cm tra manicotto e piega del gomito
Indicazione di livelli lettura pressione sanguigna
Gli standard per la valutazione della pressione sanguigna alta,
indipendentemente dall’età, sono stati fissati dall’Organizzazione Mondiale
per la Sanità (OMS) come illustrato nella tabella sottostante.
Questo apparecchio è dotato di 4 segnalazioni luminose colorate che si
attivano dopo la misurazione. L’indicazione luminosa aiuta ad individuare
la situazione. Ai differenti livelli corrisponde un diverso colore.
Metodo di misura: Oscillometrico
Intervallo di misura: Pressione 20/280 mmHg
Pulsazioni 40/195 battiti/minuto
Precisione: Pressione entro -/+ 3 mmHg
Pulsazioni entro -/+ 5% della lettura
Rilevamento pressione: Semi-conduttore
Alimentazione: 4 batterie AA o adattatore AC/DC
Spegnimento automatico: 3 minuti dopo l’ultima operazione a tasti
Valori ambiente di operatività: da +10° a +40° C, da 30% a 85%
Valori ambiente di conservazione: da –20° a +60° C, da 10% a 95%
Peso apparecchio principale: 260 gr (senza batterie), manicotto 120 gr.
Circonferenza braccio: 22-34 cm
MANUTENZIONE E CONSERVAZIONE DELL’APPARECCHIO
1. Usate un panno morbido e asciutto per pulire l’apparecchio o,
se desiderate, un panno leggermente inumidito con acqua del rubinetto.
2. Non usate alcool, solventi con benzene o altri prodotti chimici per pulire
3. Prima di effettuare la misurazione lavatevi le mani. Non lavate o bagnate
4. Tenete lontano da luce diretta del sole, forte umidità o polvere durante
Nota: Quando l’apparecchio non viene usato per molto tempo,
assicuratevi di rimuovere le batterie. In caso contrario, le batterie
potrebbero colare e danneggiare l’unità.
airomem omai
h
c
iR
(Time increasing
Questo monitor propone automaticamente un set di cinque valori medi:
ora, giorno, settimana, mese e complessivo. Offre a voi o al vostro medico
un modo semplice per individuare le variazioni di pressione sistolica,
Per vedere la media delle precedenti misurazioni
Premete il tasto PAGE per selezionare una delle due Aree di memoria.
(2) Una volta scelta una delle due Aree di memoria, premete due volte
il tasto AVG. Apparirà la media per ora.
(3) Per vedere la media per giorno, settimana, mese e complessiva
continuate a premere il tasto AVG (come illustrato sopra).
(4) Per vedere un’altra Area di memoria, premete il tasto PAGE una volta
e poi premete il tasto AVG per vedere le medie.
( Giorno ) ( Settimana) ( Mese ) ( Complessivo )
• Operazione a sfioramento
• Rilevamento battito cardiaco irregolare: questo apparecchio
può rilevare un disturbo del ritmo regolare del battito cardiaco,
che può causare o indicare disturbi cardiovascolari.
• 2 modalità: Pressione sanguigna & Orologio.
• Aree memoria per 2 persone, ciascuna con 50 letture.
• 4 impostazioni allarme.
• 5 modalità funzione media: imposta la media fino a 50 letture
per ogni area per ora, giorno, settimana, mese e complessiva.
• Indicatore OMS: mostra 4 diversi segnali luminosi per indicare
il vostro stato di salute, in base alle linee guida dell’Organizzazione
• Autospegnimento: l’apparecchio si spegne automaticamente
dopo 3 minuti, per risparmiare energia.
• Funzionamento con 4 batterie AA o con adattatore
1. Per inserire le batterie
A. Rimuovete il coperchio del vano batterie seguendo
la direzione della freccia.
B. Inserite 4 batterie AA. Assicuratevi che le polarità (+,-) combacino.
C. Riposizionate il coperchio del vano batterie inserendo
i due agganci del fondo nella fessura, premendo
poi sulla parte superiore.
Nota: Quando non utilizzate l’apparecchio per lungo tempo, assicuratevi
di aver tolto le batterie che, in caso contrario, potrebbero colare e
danneggiare l’apparecchio.
2. Per collegare l’adattatore AC 6V (optional)
Se avete acquistato l’adattatore AC 6V, collegatelo alla presa posta
in fondo all’apparecchio (come illustrato nella figura).
Nota: rimuovete le batterie quando utilizzate l’adattatore AC
Features........................................................................................... 3
Installation of batteries or AC adaptor.................................. 4
Name of parts................................................................................. 5
LCD Display .................................................................................... 6
How to measure............................................................................ 7
Memory recall & Delete Memory............................................. 8
Irregular Heartbeat reading....................................................... 9
WHO lighted indicator .............................................................. 10
Average recall................................................................................ 11
Clock & Alarm setting................................................................. 12
Troubleshooting.......................................................................... 13
Specifications................................................................................ 14
How to maintain and store the unit...................................... 15
Replace the batteries with
SolutionProblemPhenomenon
Make sure the cuff is connected to
the unit properly or Check air tube.
Keep still when taking measurement
Remove interfence source.
Re-insert the batteries in the
Note: If correct measurement is impossible after troubleshooting,
consult store of purchase. (Do not disassemble unit). In some
rare cases, there may be error due to the physical condition of the
person. In such cases, please consult your physician. If the clock
doesn't show on the LCD, please adjust the clock settings.
(1) Press the " " button and hold for at least 5 seconds. You can
start setting the year when the "YEAR" digit blinks.
Then Press "MEMO " to increase the year and "PAGE " button
(3) After finishing "YEAR" SETTING, PRESS " " button again.
Now you can adjust Month/Date/Hour and Minute digits as you desire.
Press " " button at least 5 seconds and wait " YEAR " blinking,
At this point, adjusting Date & Time accordingly.
(2) The LCD display blinks the word "ON", you may press " "
button to adjust desired time for the alarm by pressing the PAGE or
(3) Keep LCD display in the "ON" position, and Press " " button to
continue second alarm setting
If you need to stop Alarm setting, just press MEMO or PAGE buttons,
the LCD display will transfer to the "OFF" position, alarm setting stopped.
(5) During the setting, if there is any confused, you may simply to stop
by press " " button, then this unit will re-display TIMER function.
This unit offers 4- Alarm setting, each Alarm time is 45 seconds or
you may stop the alarm by pressing the " '' button.
An irregular heartbeat may cause or indicate cardiovascular disease.
This unit has a unique function that alerts the user to the presence of
Irregular Heartbeat reading
While taking your Blood Pressure reading, if
you are experiencing an irregular heartbeat
the unit will display the Pulse Value and "IH"
It is advised that you consult your physician
if the irregular heartbeat symbol "IH" appears often
Regular Heartbeat reading but below
When taking your Blood Pressure reading, if
your reading displays a value below 60 beats/
then the unit will display the Pulse Value
Regular Heartbeat reading but above
When taking your Blood Pressure reading, If
your reading displays a value above 100 beats/
sec. then the unit will display the Pulse Value
and "HI" symbols alternately.
Note : If you need to show TIMER on the LCD Display, you may
have at least one Alarm setting in the unit.
1. To see the previously measured values.
(1) Push the " PAGE " button to select one of the two Memory Zones
(2) Once one of the four Memory Zones has been selected, push the
" MEMO " Button twice. The first blood pressure reading will be
(3) To review additional readings, puth the " MEMO " button
successively to go through the various readings.(1~50) )
(1) Push the " PAGE " button to select one of the two Memory Zones.
then hold the " MEMO '' & " PAGE '' button together for 5 seconds.
The LCD will display "ALL EE" and the decreasing memory recall
Note: The most recent reading is shown first. After all 50 readings are
recorded. New readings replace the oldest reading in memory.
HOW TO MEASURE BLOOD PRESSURE
Connect the tube of arm cuff to the unit properly.
1. To apply the arm cuff.
(1) Turn palm of your hand upward. Place mark cloth inside your
arm and match the end of arm cuff to approximately 1~2 cm
from the flexed side of the elbow joint of your arm (nipple level)
and wrap the arm cuff on the arm.
(2) Hold the end of the Arm cuff and wrap it up by gently pulling so
that there is no gap between the arm cuff and the arm.
(3) Press " " button to measure blood pressure monitor after
wrapped the arm cuff properly.
Note: In order to get correct measurement results and to avoid
unnecessary erroneous measurement, arm, hand and fingers should
be still during the measurement, you may seat and keep silence.
(A) Push Power button, the cuff will inflation automatically
(B) After main unit detecting Systolic/Diastolic and Pulse values, all
of the measured values will be displayed on the LCD display.
Release Arm Cuff from your arm while the cuff deflates completely.
elbow joint and arm cuf f
Pulse Value may indicate the sign of
Stage 1 hypertension (Purple)
Showing levels of Blood Pressure Reading
Standards for assessing high blood pressure, without regard to
age, have been established by the World Health Organization (WHO)
as shown in the chart as below. This unit offers 4-color light signs
after user's measuring. From the light sign, it will help users to find out
Different levels show the corresponding light color.
Example: If your Blood Pressure reading is 122/75, then light sign
will indicate the color Yellow which means your reading is Normal
• Pre-hypertension --- Blue
• Stage 1 hypertension -- Purple
• Stage 2 hypertension -- Red
: : Appears when the unit is being operated by User 1 through User 2.
: Appears when the batteries are low or need replacement.
: Memory Average- Shows the average values for an hour, a day, a week,
a month and all readings in the Memory zone.
: Pulse Symbol- Shows the pulse rate per minute
: Memroy recall- Shows the past readings (1~50 readings available)
: Irregular Heartbeat Detector-Indicates when an irregular heartbeat is
: WHO Light Indicator. Displays four different light signs of Blood Pressure
readings against the guidelines set by the World Health Organization
: : Holds the memory reads for User 1~ 2, for up to 50 readings each.
alternately ,while user's irregular heartbeat be
Operation environment: +10
Arm circumference : 22-34 cm (special size extra ordered.)
Weight of Main unit : 260g (without battery), cuff 120g
External Dimension : 53.15" (L) x 31.50" (W) x 15.75" (H)
Measurement method: Oscillometric
Measurement Range : Pressure : 20 - 280 mmHg
Accuracy : Pressure : within -/+3 mmHg
Pressure Detection : Semi - conductor
Power supply : 4 X AA batteries or AC/DC adaptor
Auto Power off : 3 minutes after last key operation
Pulse rate : 40 - 195 beats / Min.
Pulse rate : within -/+ 5% of reading
HOW TO MAINTAIN AND STORE THE UNIT
1. Use a dry, soft cloth to clean the unit, if desired, or use a cloth
lightly dampened with tap water.
2. Do not use alcohol, benzene thinner or other harsh chemicals to
3. Before measuring, please wash your hand. Do not wash or wet
4. Keep away direct sunlight, high humidity or dust for storage.
Note: When the unit will not be used for a long time, be sure to remove
the batteries. Otherwise, the batteries may leak damage the unit.
R omeM ecall
r
cni
emiT( easing)
2 person memory zones, 50 readings each
• 4 Alarm Clock Settings.
• 5 Mode Average Function:
Sets the average for up to 50 readings
for each zone by hour,day,week month and overall.
• Irregular Heartbeat Detector:
This unit can detect a disturbance in
the regular rhythrn of the heartbeat, which may cause or indicate
Shows 4 different light signs to indicate your state of
health based on the World Health Organization guidelines.
• Auto shut-off : Unit automatically turns off in 3 Minutes, power saving.
• Operated by 4 x AA batteries or AC/DC adaptor (option)
• 2 Modes: Blood Pressure Mode & Clock Mode
1. To insert the batteries.
A. Remove the battery cover in accordance with the direction of arrow
Insert 4 x "AA" batteries. Make sure to
match polarities (+,-) on the
Replace the battery cover by inserting
the two hooks at the bottom
into the slot, then push on the top area.
Note: When the unit will not be used for a long time, be sure to remove
the batteries. Otherwise, the batteries may leak and damage the unit.
2. To connect AC 6V adaptor (Optional)
If you have ordered AC 6V adaptor, please plut it iinto the jack which
located at the buttom of this unit (shown in the diagram)
Note: Remove Batteries when using the AC Adaptor for an extended
This unique monitor automatically offers a set of five average values:
(Hour, Day, Week, Month and All) It offers you or your doctor an easy
way to find out the cariation in Systolic, Diastolic and Pulse values.
To see the average of previously measured values
Push the " PAGE '' button to select one of the two Memory Zones.
(2) Once one of the two Memory Zone has been selected. Push the
"AVG" button twice. The average for the Hour will be displayed.
(3) To view the averages for the Day, Week, Month & All. Keep pushing
the "AVG" button. (as above shown)
(4) To view another Memory Zone, push the " PAGE " button once,
then push the "AVG" button to view the averages.
( Day ) ( Week ) ( Month ) ( All )
STARTSTART
START
START
START
START
Nota: le specifiche tecniche possono essere soggette
a modifiche senza alcun preavviso al fine di ottimizzare
il funzionamento dell’apparecchio.
Conforme alla Direttiva Europea
93/42 (Dispositivi medici)
In compliance with the European Directive
93/42 for the medical devices
CE 0494 BREMED Ltd. Hong Kong
Importato e distribuito da / Imported and distributed by
Alpian Italia spa - Via Cancelliera 60
Rappresentante nella CEE / EC Representative
Via Alviano 4/1 Gorizia Italy
STARTSTART
ST
ST
ST
START
ART
ART
ART
Nota: le specifiche tecniche possono essere soggette
a modifiche senza alcun preavviso al fine di ottimizzare
il funzionamento dell’apparecchio.
Conforme alla Direttiva Europea
93/42 (Dispositivi medici)
In compliance with the European Directive
93/42 for the medical devices
CE 0494 BREMED Ltd. Hong Kong
Importato e distribuito da / Imported and distributed by
Alpian Italia spa - Via Cancelliera 60
Rappresentante nella CEE / EC Representative
Via Alviano 4/1 Gorizia Italy
con allarme e segnale luminoso OMS