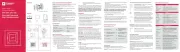
Smart Climate Wall Thermostat (SWT)
Usage: The Smart Thermostat functions as a standalone wall mounted
unit or in conjunction with compatible Hubs and Apps.
Temperature Control: It efficiently manages room air and floor
Heating System Compatibility: Controls standard electric heating
Interface: Features a display with information and settings,
complemented by four user-friendly buttons.
Three Heating Modes: Continuous Mode which maintains steady
heating, Schedule Mode which allows the setting of specific heating
times and Boost Mode which provides a swift, temporary heat increase.
Installation: Fits standard wall boxes (single gang pattress box) used
for electrical installations.
Floor Sensor: Includes a floor temperature sensor, compatible with
various sensors for system upgrades.
Extra Features: The unit also has a power regulator function which
manages heating without frequent temperature checks and a Wet
System function to allow for flexibility and use cases.
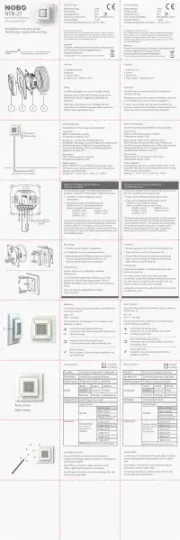
Floor Sensor (included): NTC, 22kOhm at 25°C
Zigbee operating frequency 2.4GHz
SELECT / ENTER; Opens the menu.
Inside the menu, this button will confirm a selection
Note: If the floor sensor is connected at install, by default the unit
will activate floor sensor as the sensor type, to use an alternative
sensor type this must be selected through an App or product menus.
WARNING: If using a non standard floor sensor, please ensure to
select the appropriate sensor resistance value from the Advanced
settings menu. Failure to do so will lead to inaccurate control and
could lead to over heating of the floor and room.
This product must be installed by a certified electrician!
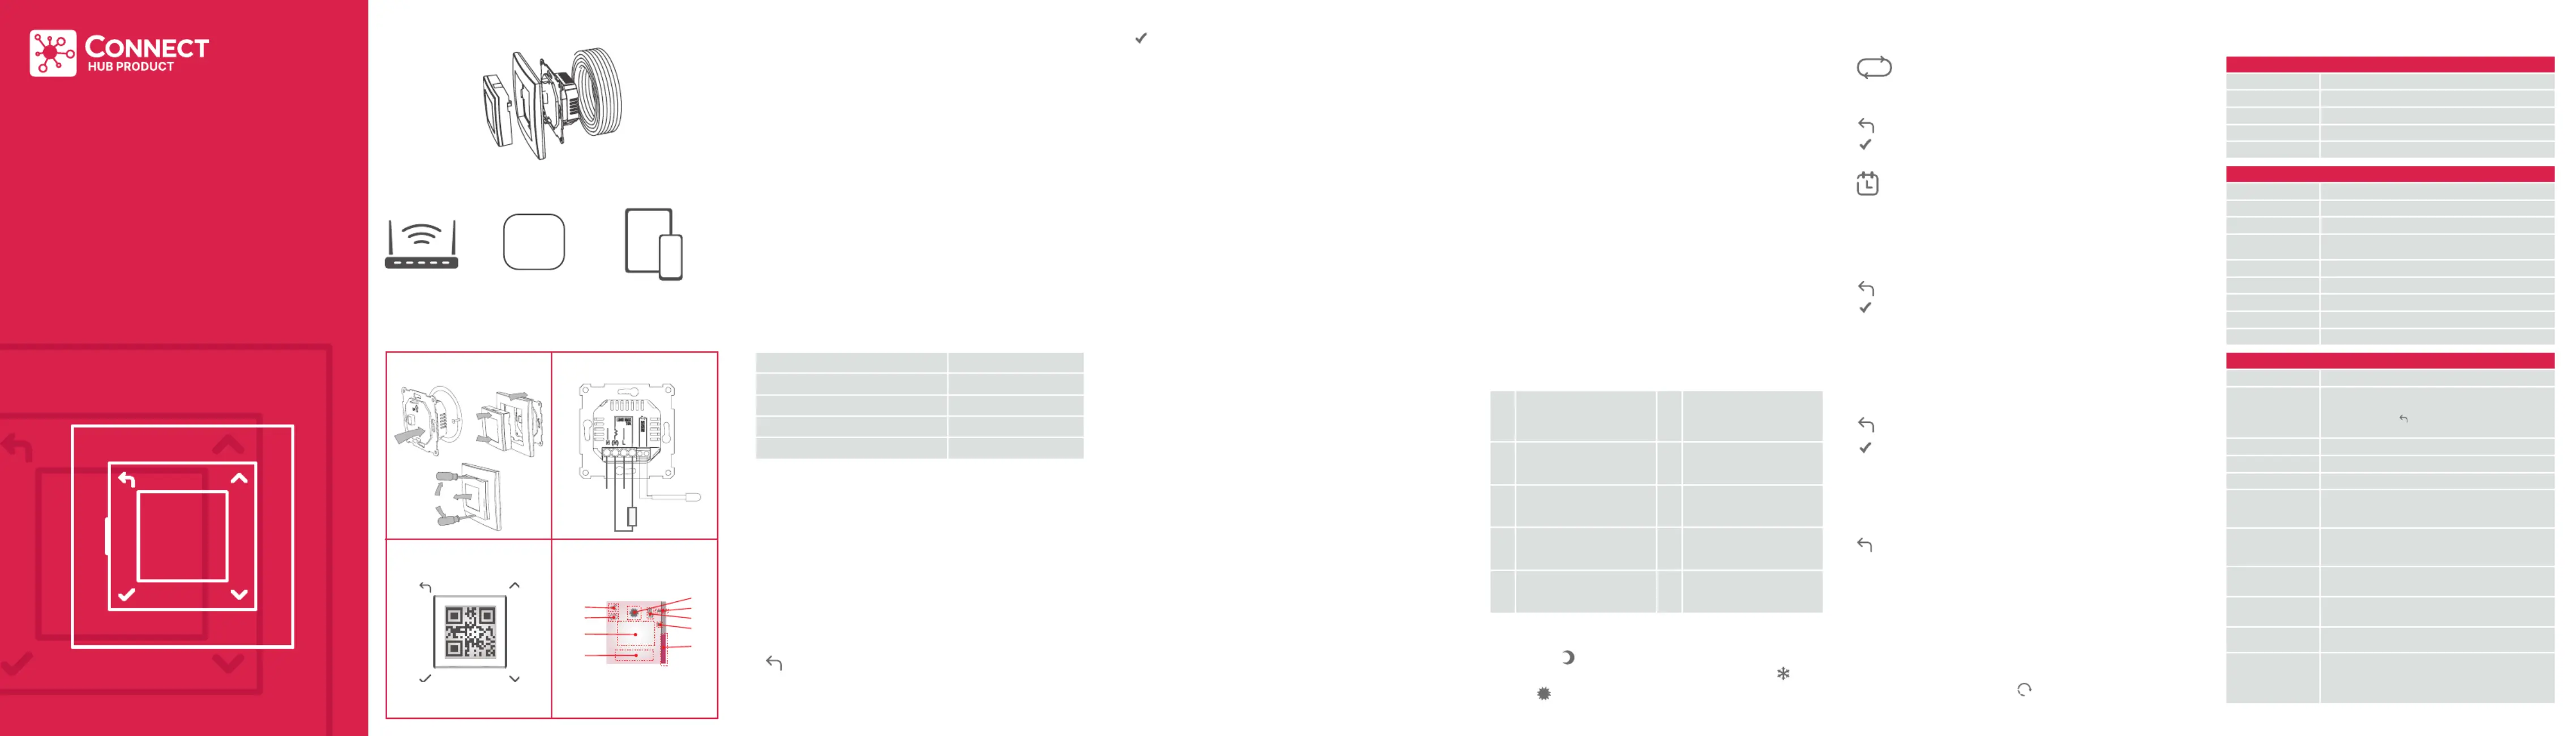
1. Choose a suitable location and install the SWT,
2. Power up the unit and install using the and App (if appropriate) or
alternatively install manually by following the on screen instructions.
3. Make any necessary system adjustments, specific to the
application, such as Sensor type, etc.
4. The SWT is set up and ready for use. The buttons can be used
to control or alter the product settings.
Used to set the desired temperature and navigate
BACK ; to toggle Eco and Comfort in continuous mode.
Or advance period in schedule mode.
Used as Back button when navigating the menus.
: adjustable heat setting, default 18°C.
Note: If setback is disabled this state will be frost protect
: adjustable heat setting, default 22°C.
Schedule mode, will operate based on a time and
temperature schedule which has been set by the user.
Comfort state will be active during scheduled times
and Eco/setback will be active at all other times.
Boost mode, A selectable time limited mode where a defined
temperature will operate for a defined period, the unit will return
to the previous mode/state when the boost period has elapsed.
Continuous mode, this state will run indefinitely or
until the user makes a change.
2. On first time startup, select ‘Yes’ to use app and confirm using the
3. A QR code will be displayed on screen, See Fig.3, using the app,
scan the QR code to complete the connection.
4. The SWT should be assigned to a room or zone, the sensor type
can be selected, for floor sensors the sensor value should be set.
IMPORTANT, It is necessary to check and ensure the desired
sensor type and value (floor sensor only) has been correctly
configured. This can be checked in the advanced menu.
To setup the SWT as unconnected / standalone;
1. On first time startup, select ‘No’ to use app, and confirm
2. Follow on screen instructions to set Language, Time and Date.
3. If the floor sensor has been fitted during installation, the SWT
will default to using this as the sensor type. If floor sensor is not
detected, set the desired sensor type at setup.
Note: If a non-standard floor sensor is used, the correct value of this
sensor be selected through advanced menu/Sensor value. must
The SWT can be setup using an appropriate App or can be set up
manually on the appliance.
1. Ensure the App is compatible and capable of configuring the SWT,
a suitable hub is available and operating. Some apps can control
the SWT but cannot be used for setup.
The SWT mounts directly to a single gang pattress box:
To Install the Room and Floor Thermostat:
1. Squeeze (or use a flat head screwdriver) the top and bottom of
the SWT to unclip and release the interface unit from the frame
and power unit beneath, see Fig.1
2. Wire the product in accordance with the product schematic,
see Fig.2. If required, ensure the floor sensor is connected and
the sensing head is suitably located.
3. Secure the power unit to the pattress box using suitable screws.
4. Locate the frame on top of the power unit, then carefully push
the SWT interface unit ensuring it clicks into position.
Sensor options / control type
There are four available sensor options to choose from. These must
be selected at setup or through the Advanced Settings menu.
Floor Sensor - will monitor and regulate the floor temperature.
Room Sensor – will monitor and regulate room ambient temperature.
Room + Floor – will monitor and regulate room ambient temperature
but can limit the floor temperature. This is useful where underfloor
heating is used in conjunction with a thermal sensitive floor covering.
Power Regulator
not monitor or adjust based on temperature feedback. At setting 1,
its on for 2 minutes, off for 18. At setting 5, its on for 10 minutes, off for
10 and at setting 10 its continuously on. Each increase in setting adds
Adjust the set point temp. Changes are stored and will be
returned the next time the mode/state is entered
Toggle between the heating state, Eco/setback & Comfort
Enter the Menu, to change Operating mode or settings
Adjust the set point temp. changes to Comfort state are
temporary and will not modify the schedule. Changes to
the Eco temp are stored and will return for future Eco states.
Advance the program schedule. This will switch the
state until the next programmed state change.
Enter the Menu, to change Operating mode or settings.
Adjust the Boost temperature.
Cancel boost and return to the previous mode and state.
Enter the Menu to change Operating mode or settings
Home screen info, See Fig.4
Active State, Open Window
Floor Limit (Pulsing if floor
DT Day & Time CS Connectivity status
This setting will override any active mode. By enabling Open Window
Detection, the SWT will automatically reduce the heating output if it
senses an open window in the room that its operating. User can hold
for 10 seconds to dismiss the triggered mode. This feature can be
disabled in the settings menu.
Adaptive start (scheduled mode only)
The control unit has an Adaptive Start function that allows it to learn
the rooms heating characteristics to determine when it needs to start
heating so that it can reach the set target temperature in advance
of the “Heating On” period. This feature is only available when using
the local weekly program. This feature can be disabled in the
If Adaptive start is operating the
icon will be visible in the active
Operating modes: There are three main modes of operation:
Boost Setup & activate boost mode
Week Program Activate, modify & Preview schedule mode
Continuous Activate continuous mode in Comfort state.
Language To change the language on the screen
Day/time To set Day & Time
To adjust the duration the backlight remains
Open Window To enable or disable open window detection
Adaptive To enable or disable adaptive start
Setback To enable or disable setback (Eco) state
Comms Toggle RF and Bluetooth communications
Advanced Advanced menu options
Restore factory settings, Alternatively; with
the standby switch in the ‘Standby’ position,
slide the switch to the ‘On’ position
Sound To enable or disable Key tones
Start Wizard To re run the first time start up setup wizard
To view the QR pairing code, Alternatively,
it will be printed along with a manual install
code on the rear of the user interface module
Adjust the resistance value or the floor sensor,
only required when non standard sensor is used.
To calibrate the SWT set point temperature
to a known/ measured value
To adjust the floor temperature limit.
Bespoke operating mode for use on wet
systems, (floor sensor only)
Adjust the default power factor settings,
this will define the settings used for power
regulator when using in schedule mode.