Rockustics OmniPlanter 6.5 Manual

Rockustics Højttaler OmniPlanter 6.5

Læs gratis den danske manual til Rockustics OmniPlanter 6.5 (2 sider) i kategorien Højttaler. Denne vejledning er vurderet som hjælpsom af 2 personer og har en gennemsnitlig bedømmelse på 4.8 stjerner ud af 1.5 anmeldelser. Har du et spørgsmål om Rockustics OmniPlanter 6.5, eller vil du spørge andre brugere om produktet?

Side 1/2
Planter Speakers
INSTALL INSTRUCTIONS
© 2021 MSE Audio. Rev. 02.19.2021
Ultra-Fidelity Outdoor Speakers
Contact: MSE Audio, 855.663.5600 / 913.663.5600 / sales@mseaudio.com
Please read the following instructions carefully before installing
your Rockustics
®
Planter speaker. If you have any questions
directions, please contact your local sound contractor or the
Rockustics
®
/MSE Audio
®
technical support team.
Basic Wiring & Set Up
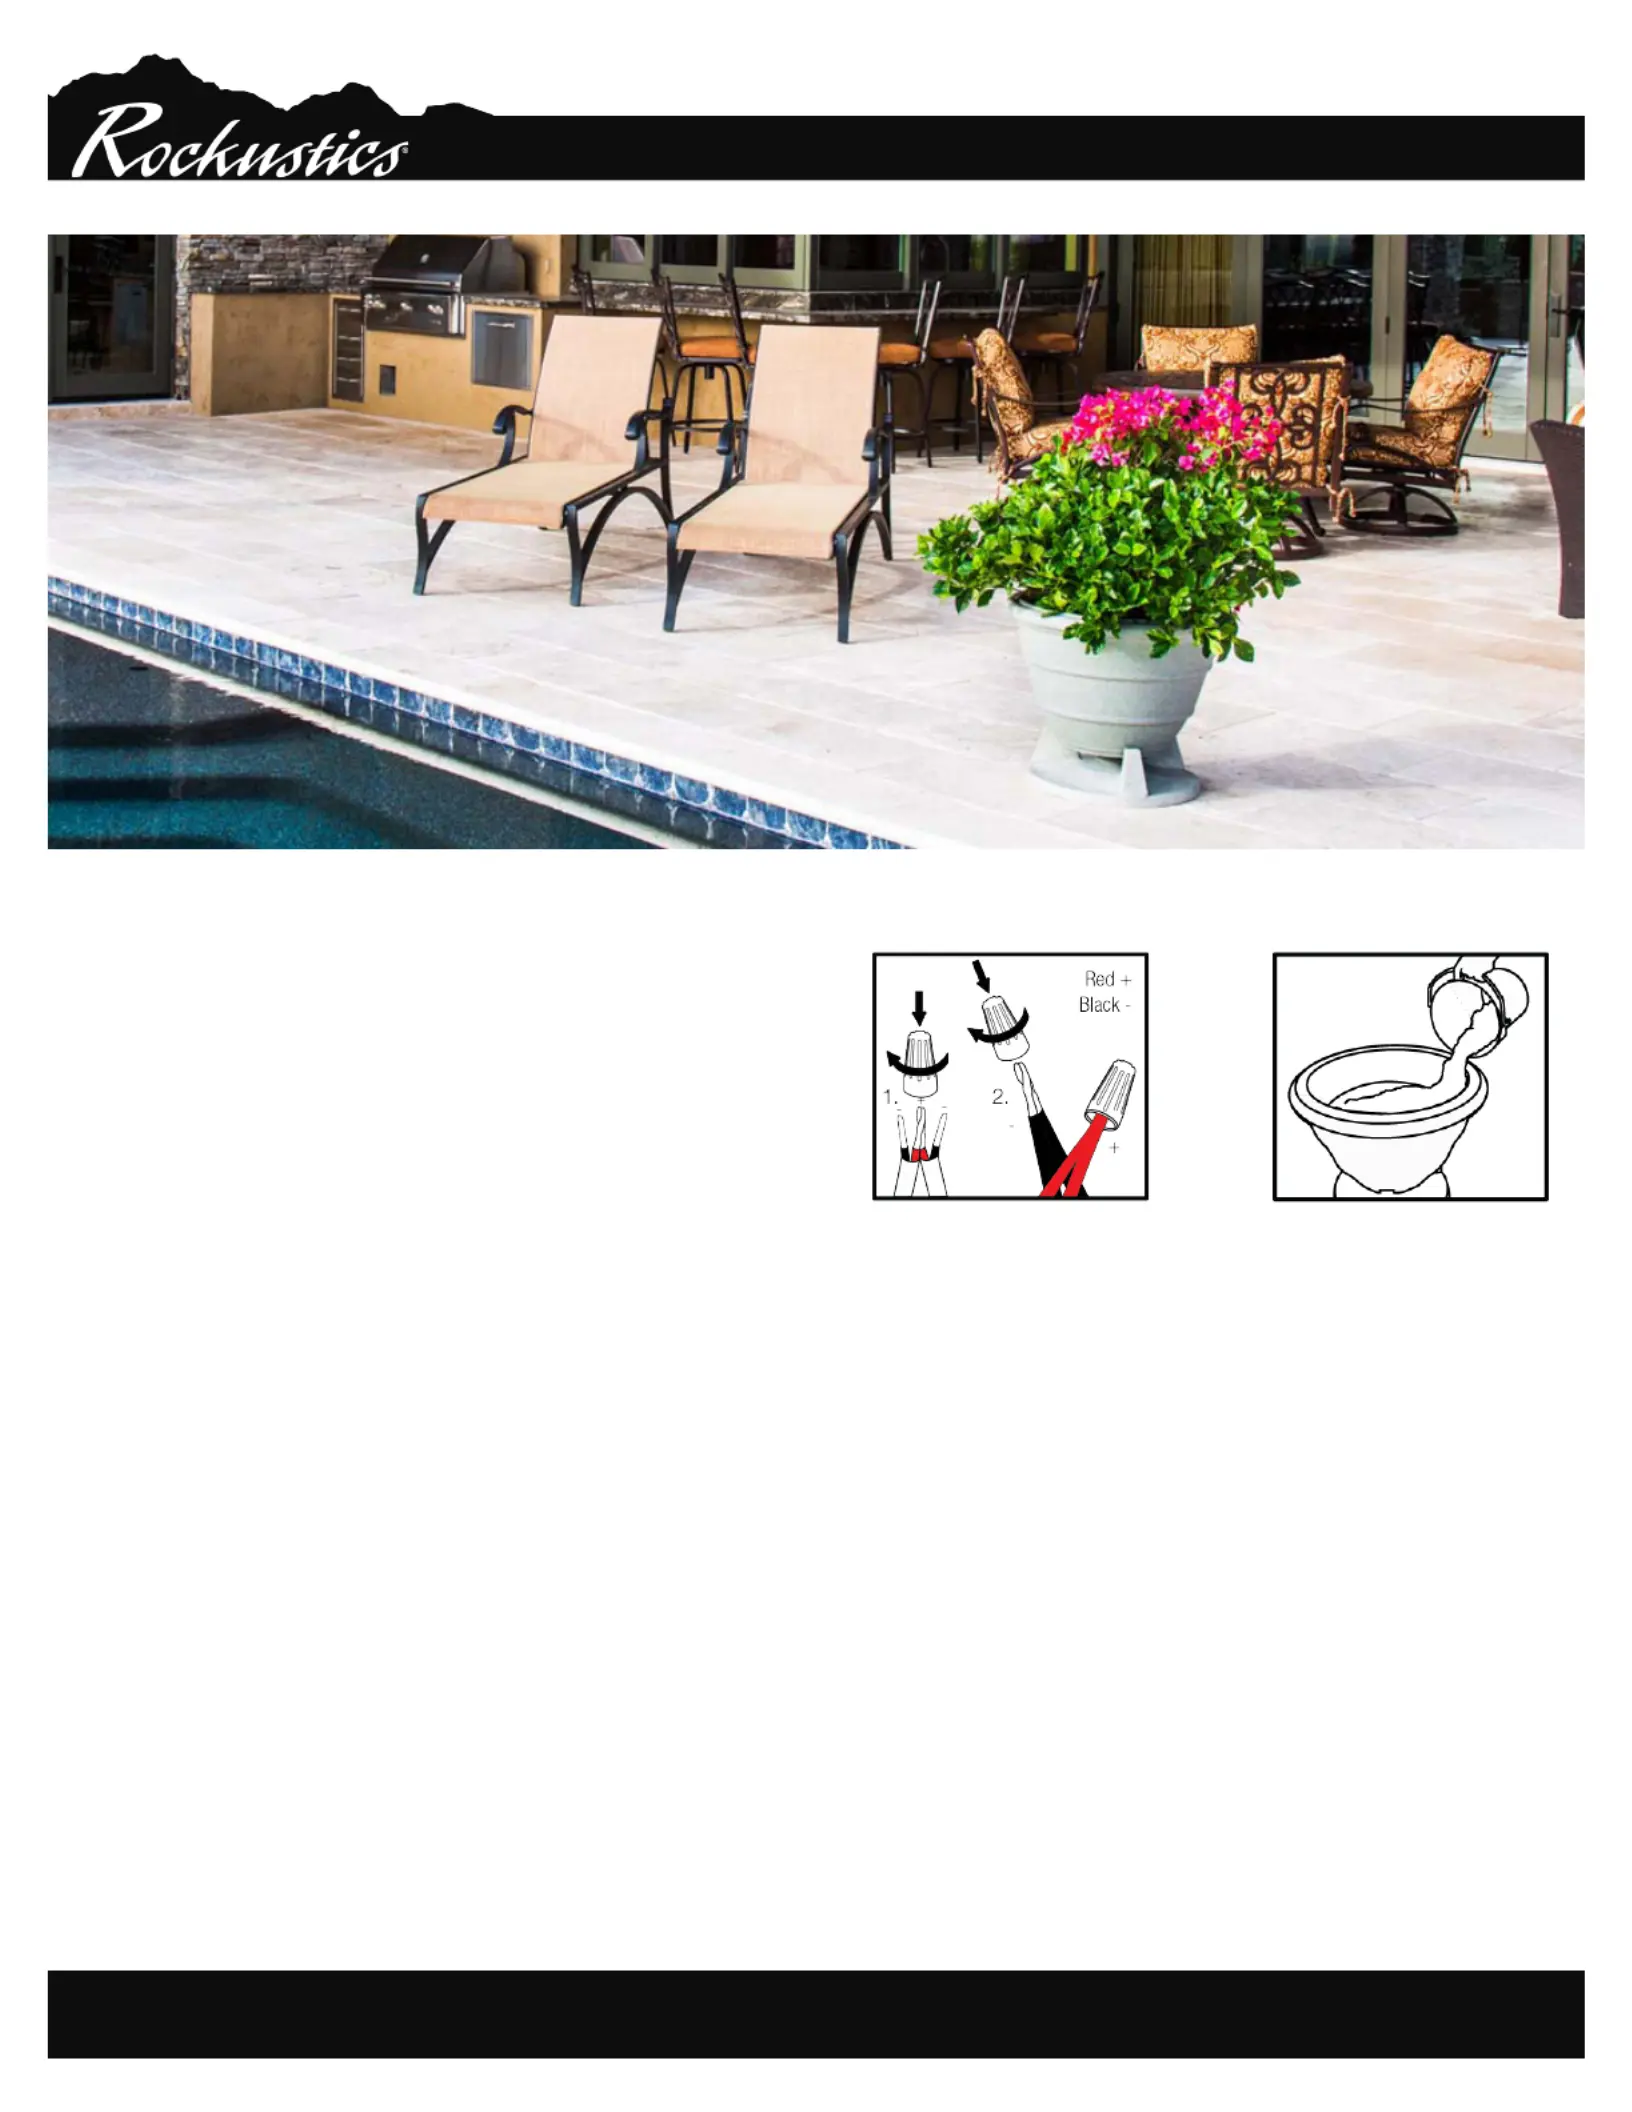
1) ( ) Locate the speaker wires on the underside of Diagram A
the planter. If necessary, trim the wire to the appropriate length
and strip the wire ends. Use the supplied silicone wire nut to
connect the positive (red) leads of the speaker and input wires.
Repeat this step with the negative (black) leads. Rockustics
recommends using 14ga or heavier direct burial cable for the
connection between the amplier and the speakers.
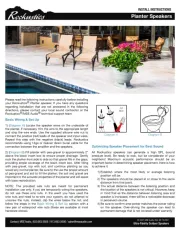
2) ( ) Fill planter with pea-gravel to approximately 2” Diagram B
above the black insert box to ensure proper drainage. Gently
rock the planter from side to side so that gravel lls in the gaps,
providing ample coverage of the black insert box. After lling
would any normal planter. Be sure to the use the proper amount
of pea-gravel and soil to ll the planter; the soil and gravel are
important to the acoustic properties of the planter and will assist
with bass reproduction.
NOTE: The provided wire nuts are meant for permanent
installation use only. If you are temporarily wiring the speakers,
do not use these wire nuts. In the event you have used the
wire nuts and need to re-wire your system, do not attempt to
unscrew the nuts. Instead, clip the wires below the nut, and
follow the steps in the section with a Basic Wiring & Set Up
new pair of waterproof wire nuts (these are available at most
hardware stores).
Optimizing Speaker Placement for Best Sound
All Rockustics speakers can generate a high SPL (sound
pressure level). Be ready to rock, but be considerate of your
neighbors! Maximum acoustic performance should be an
important factor in determining speaker placement. Here is how
to achieve it:
1) Establish where the most likely or average listening
position will be.
2) The speakers should be placed at or close to the same
distance from that point.
3) The actual distance between the listening position and
the location of the speakers is not critical. However, keep
in mind that as the distance between listening area and
speaker is increased, there will be a noticeable decrease
in perceived volume.
4) Be sure to conrm amp power matches the power rating
on the speaker. Over-driving the speaker can lead to
permanent damage that is not covered under warranty.
Diagram BDiagram A
Planter Speakers
INSTALL INSTRUCTIONS
© 2021 MSE Audio. Rev. 02.19.2021
Ultra-Fidelity Outdoor Speakers
Contact: MSE Audio, 855.663.5600 / 913.663.5600 / sales@mseaudio.com
Audio coverage patterns vary depending on the type of speaker
( ):Diagram C
Planter models provide omnidirectional coverage and are
better suited for full 360 degree audio. Use these models on
the interior of your listening area where coverage is required all
around the speaker.
Cautions and Maintenance
All Rockustics speakers are sealed and fully weatherproof.
However, DO NOT place speakers where the speaker will be in
the path of a sprinkler system. Sprinklers typically have a high
water pressure level that can damage speaker cones if hit directly.
(Diagram D) DO NOT place soil or wood chips between the
planter urn and base, where the speaker grille is located. If
the grilles accumulate a build up of soil, the speaker may
become damaged. Accumulated soil may also promote undesired
insect trafc into the speaker. Insects may eat through the
speaker surround. Chemical sprays may also cause damage to the
rubber of the speaker surround. This includes bug spray, deck
sealant, some fertilizers and oil based products. Speakers
MUST be covered when applying these treatments or chemicals
in your yard.
For environments that get snow and ice during the winter
months, be sure to check that the openings and woofer cone
are clear and there is no hard-packed snow or ice built up in
these areas before playing. If there is ice or snow present on
the cone, use a hair dryer set on a low setting to melt it away. If
the speakers are not going to be used during winter months, it
is recommended that they either be disconnected and brought
indoors, or covered with a plastic bag to help protect the
speaker components.
Wiring for 70V/100V Applications
For speakers with transformers, use to nd the propDiagram E -
er wire selection for your desired tap setting. Once the desired
tap setting is conrmed, trim the unused wires to minimize cor-
rosion. For harsh and wet environments, it is recommended to
apply a bead of silicone to the end of the unused wires for added
protection.
If daisy-chaining, follow wire preparations as outlined in the
Basic Wiring & Set Up Diagram Fsection. Review for a typical
daisy-chain wiring system for 70V and 100V applications. Be
sure to connect the wires going to the next speaker in the chain
as shown in . There should be three pairs of wires at Diagram G
each speaker, but the last speaker in the chain will only have
two pair. Follow standard protocol for polarity and make sure all
units are wired with the same polarity.
Diagram C
Planter
Diagram D
Leave Clear
Diagram E
Diagram F
Diagram G


Produkt Specifikationer

Mærke: Rockustics
Kategori: Højttaler
Model: OmniPlanter 6.5

Har du brug for hjælp?

Hvis du har brug for hjælp til Rockustics OmniPlanter 6.5 stil et spørgsmål nedenfor, og andre brugere vil svare dig