SSV Works US-10 Manual


Læs gratis den danske manual til SSV Works US-10 (3 sider) i kategorien Subwoofer. Denne vejledning er vurderet som hjælpsom af 3 personer og har en gennemsnitlig bedømmelse på 4.6 stjerner ud af 2 anmeldelser. Har du et spørgsmål om SSV Works US-10, eller vil du spørge andre brugere om produktet?

Side 1/3
1
!
Please read and understand these
instructions completely before
installation to avoid possible injury, or
damage to the accessory or vehicle.
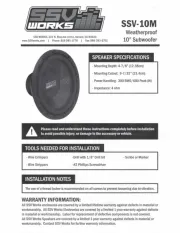
WARRANTY INFORMATION:
All SSV Works enclosures are covered by a limited lifetime warranty against defects in
material or workmanship. All SSV Works Electronics are covered by a limited 1 year warranty
limited 1 year warranty against defects in material or workmanship. Labor for replacement of
defective components is not covered. Contact SSV Works for further warranty information.
TOOLS NEEDED FOR INSTALLATION
- T30 torx
- #2 screw driver
SSV WORKS, 201 N. Rice Ave Unit A, Oxnard, CA 93030
www.SSVworks.com | Phone: 818-991-1778 | Fax: 866-293-6751
Universal Subwoofer
US-10
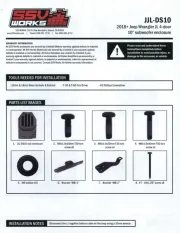
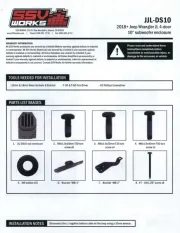
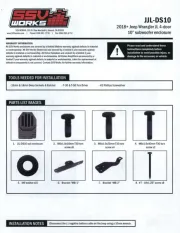
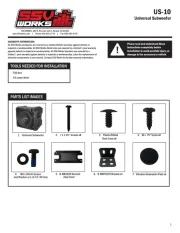
PARTS LIST IMAGES
2. Plastic Ribbed
Rivet 5mm x6
6. B-MBP2659 Bracket x4
2. 7 x 1.25 Screws x8
4. M6 x 16mm Screws
and Washers p1-x12 (T-30 torx)
3. 10 x .75 Screw x8
5. B-MB2628 Bracket
Amp Cover
1. Universal Subwoofer
7. Vibration Absorption Pads x6
2
Sub Enclosure Assembly and Installation
C. Depending on installation location, attach all four mounting
brackets on the bottom installation position or the back
installation position. Use M6x16mm Button Head Torx Screws
and M6 Washers to secure the brackets.
C
E
E.Insert Olastic Ribbed Rivets into any unused bracket mounting
holes.
F. Depending on installation location, attach all four mounting
brackets on the bottom installation position or the back
installation position into the vehicle. Use 10 x .75 Screws to
secure the sub enclosure into the vehicle.
F
A
A. Before installing the Sub into the enclosure, connect the
enclosures positive and negative speaker wire into the posts on
the Sub.
B
B. Using the (8) 7 x 1.25 Screws, attach the Subwoofer into the
Sub Enclosure.
D
D. Attach Amp Cover to Enclosure using four M6x16mm Torx Screws
and M6 Washers. Route Sub Wiring through hole cut. Attach all six
Vibration Absorption Pads to the back or bottom, depending on
which position you orient the enclosure into your vehicle.


Produkt Specifikationer

Mærke: SSV Works
Kategori: Subwoofer
Model: US-10

Har du brug for hjælp?

Hvis du har brug for hjælp til SSV Works US-10 stil et spørgsmål nedenfor, og andre brugere vil svare dig


Subwoofer SSV Works Manualer
Subwoofer Manualer

Nyeste Subwoofer Manualer

Kicker

Kicker 50CVX152 Manual

16 August 2025
Sonos

Sonos Sub 4 Manual

16 August 2025
Philips

Philips TAC5936 Manual

15 August 2025
Philips

Philips TAC3856 Manual

15 August 2025
Pioneer

Pioneer TS-W311S4 Manual

14 August 2025
RCF

RCF FLB60673 Manual

12 August 2025
RCF

RCF CMR-S 60T Manual

12 August 2025
RCF

RCF FLB60676 Manual

12 August 2025