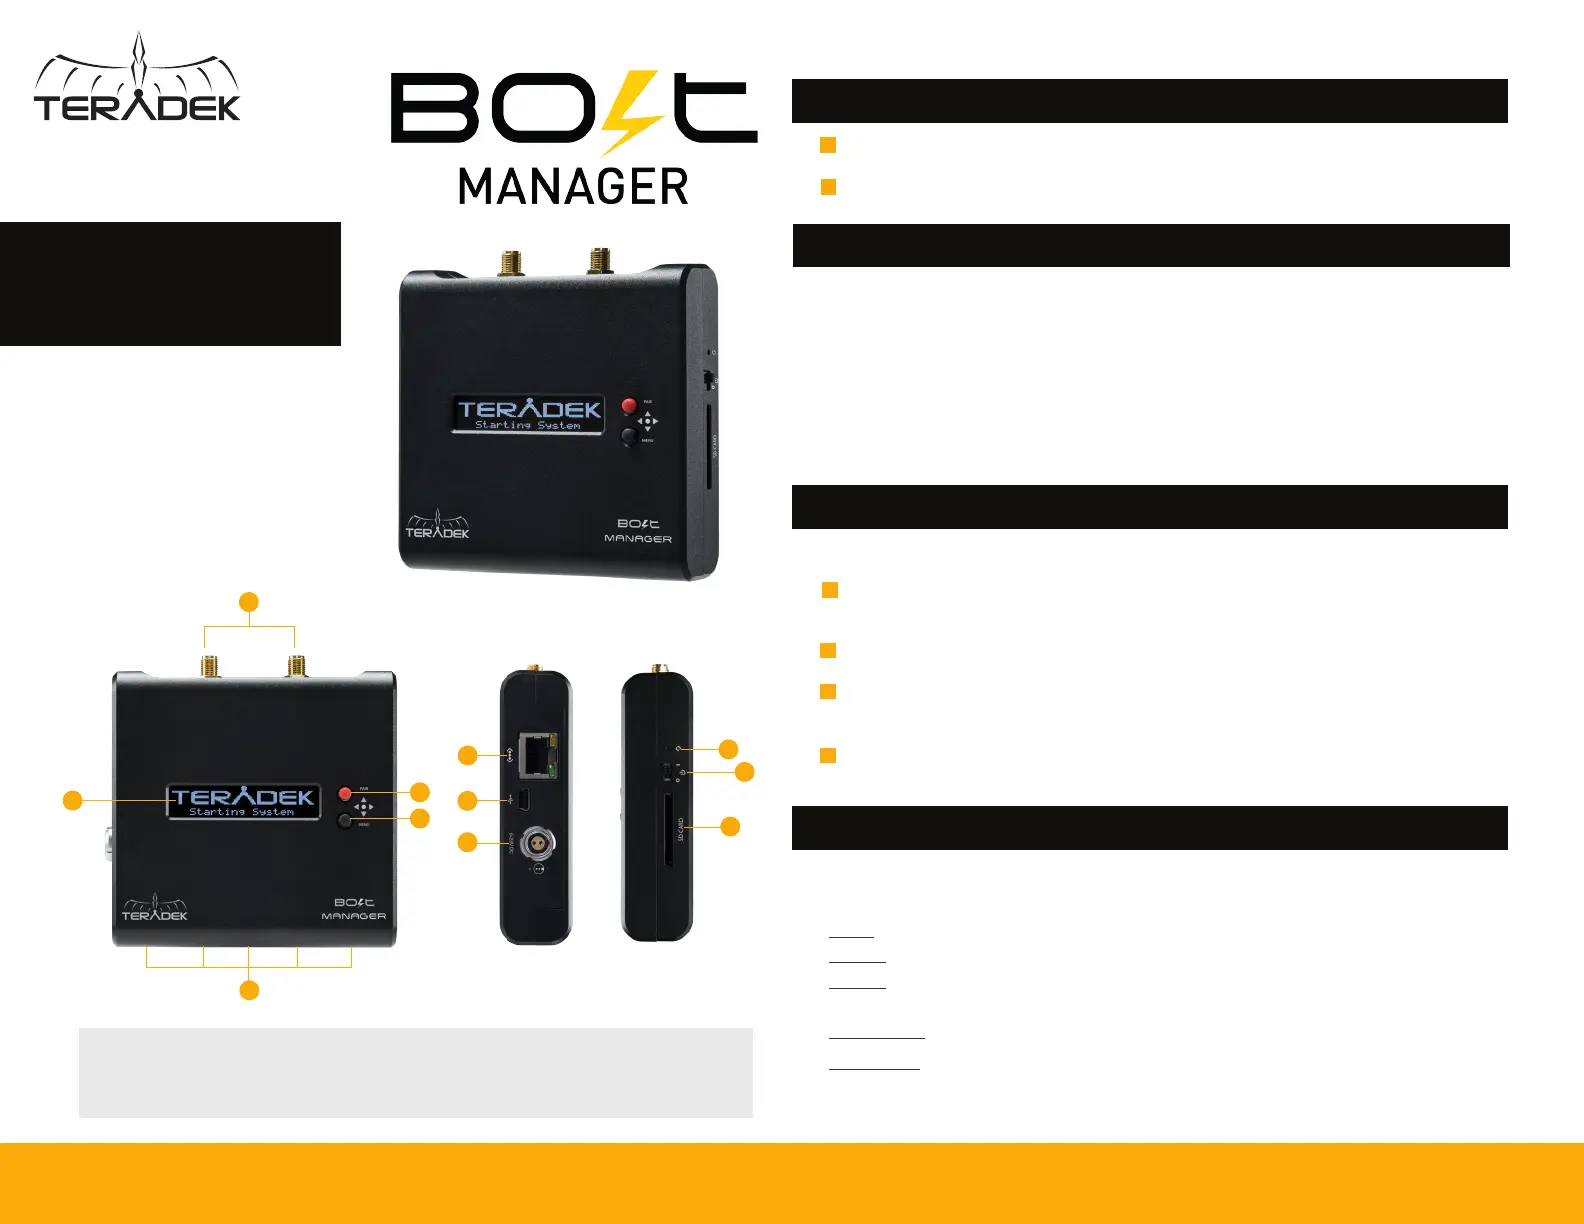
A: RP-SMA connectors
B: Front panel display
C: USB ports
D: Pairing joystick
E: Menu joystick
F: 10/100/1000 Ethernet
G: Mini USB port
H: 6-28V DC input
I: Reset button
J: Power switch
K: SD/MMC card slot
NEED MORE HELP?
Support: http://support.teradek.com → Contains tips, information and all the latest firmware & software updates.
TERADEK SUPPORT STAFF: support@teradek.com or call 888−941−2111 ext2 (Mon−Fri 7am to 6pm PST)
H
K
J
I
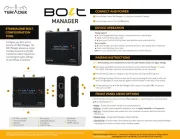
CONNECT AND POWER
Configure your Bolt system
quickly with Bolt Manager. The
Bolt Manager allows you to pair
multiple receivers to any Bolt
transmitter, select frequencies,
and configure region settings
on set without a computer.
Connect power to your Bolt Manager (H) using the included A/C adapter.
1
Launch the Main menu by pressing the black Menu Joystick (D). Cycle through the menus by pressing
▲,▼ on either joystick (D, E).
C
Teradek regularly releases new firmware versions to improve performance, add new features, or to fix vulnerabilities.
Visit https://www.teradek.com to update your device with the latest firmware.
Move the power switch (J) to the ON position.
2
After powering the Bolt transmitter and receiver(s), connect them to Bolt Manager (C) using
Mini-USB to USB cables. Up to four receivers and a transmitter can be connected.
1
PAIRING INSTRUCTIONS
Scroll through and select the devices you want to pair by pressing the Menu joystick while the
device is highlighted. A check mark will appear next to the name of each device to be paired.
To begin pairing, press
▲
on the Bolt Manager’s Menu joystick, then select OK. This process
takes up to a minute.
Press the Pairing joystick, or navigate to the Pairing menu by using the Menu joystick.
2
4
3
A
D
E
F
STANDALONE BOLT
CONFIGURATION
TOOL
DEVICE OPERATION
NOTE: Before pairing, ensure all Bolt devices have the same firmware version and region settings.
B
G
Menu Joystick:
▲,▼: Cycle through menu items, display connected devices on main display, select characters
: Back, move to previous menu level
,● (button press): Access Main screen, open selected menu, confirm selection
▲
▲
Pairing Joystick:
▲,▼: Cycle through menu items, display connected devices on main display
: Back, move to previous menu level
, ● (button press): Shortcut to Pairing menu, open selected menu, confirm selection
▲
▲
FRONT PANEL MENU OPTIONS
• Pairing - Allows you to select and pair the connected devices.
• Settings - Configure device operation parameters, such as region, bandwidth, and frequencies.
• Bolt Info - Displays model, serial number, and other important information about the connected
Bolt devices.
• Network Setup - Configure Bolt Manager’s network settings.
• System Setup - Displays model, serial number, and other important information about the Bolt Manager
and allows you to perform a factory reset or firmware update.