The table below shows common problems and solutions for operators.
If you have followed the simple troubleshooting methods but the printer is still not
functioning properly, please contact the customer service department of your dealer
a. The communication cable is not properly
connected to the printer and PC host.
b. Communication interface setting error.
a. Reconnect the communication cable.
a. The paper is not centered.
a. Adjust the paper position.
b. Set the correct label size.
b. Open the cover to confirm whether the seam
label detection component is offset.
For black label paper, move the seam label
detection component according to the black
label position so that the detection
photocoupler can detect the black label.
Label paper/continuous paper: The detection
photocoupler must be in the paper range.
c. Use the setting tool to open the printer
information and confirm whether the paper
type is the same as the paper loaded
in the printer, which can be changed by using
a. Label learning is not performed.
b. Seam label detection photocoupler
a. Label learning is performed.
b. Print density/speed setting error.
c P. rint head/rubber roller has dust
or adhesive accumulation.
d.The print head is damaged.
b.The printer power switch is not on.
b. Label size setting is incorrect.
Warning: Do not touch the paper cutting knife or paper-tearing knife of the printer.
Warning: The print head is a heating component. Do not touch the print head and
its surrounding components when the printer is still warm in temperature.
Warning: Do not touch the surface of the thermal print head and connectors,
to avoid electrostatic damage to the print head.
Warning: This product is only suitable for the use in non-tropical climates.
Please install the printer on a stable surface to avoid printer suffered from any
Connect the printer's power adapter to an appropriate grounding socket. Avoid
using the same socket with large motors or other equipment that may cause
vo tage fluctuation of power supply.l
In order to ensure the printing quality and prolong the service life of the product,
it is recommended to use the recommended or equivalent thermal printing paper.
When plugging and unplugging the printer power cord, please hold the arrow
position of the printer power connector with your hand, not the cord of the
Please keep this manual for the future use and reference.
Stop using keeping the product in any case of unusual circumstances such as
the presence of high temprature, high humidity and serious pollution.
Do not get the product wet. Do not insert foreign objects(e.g. metal) into the
product, and once it occurs, immediately turn off the power supply.
Unplug the product from the power outlet if the printer is idle for a long time.
Do not disassemble or modify the product personally.
Use only the power adapter specified in this instruction.
Do not plug/unplug the product with the product powered on.
Never use the printer without paper, otherwise it will seriously damage the
printing rubber roller and thermal head.
Before use, make sure the accessories are included in the package(the following
picture is an example). If any thing is missing, contact the supplier or manufacturer.
Quick installation guide: 1 pcs
The pictures are for reference only, please subject to practicality.
(1) Facing the back of the machine, hold the paper guide with both hands, and adjust
the distance between the left and right guides according to the folded paper size.
(2) Insert the folded paper into the paper guide.
(3) Confirm that the printer has detected paper feeding, automatically feeds paper
and delivers paper normally.
Continuous printing process
Press and hold + turn on the printer
Enter label specification learning mode
Automatically feed one blank label sheet
Indicator always lights up
Function description of buttons
Storage temperature:- °C10 ~ 60 ,
S 0 ~ 90%torage humidity: 1
Thickness of printing paper
Operating temperature: 0 ~ 45°C,
Operating humidity: 20 ~ 90%
Easy paper loading/auto paper feeding
Actual speed detection 50:1 mm/s
Continuous paper, label paper, black label paper
ASCII Font A: 12x24 ASCII
Font B: 9x17 Chinese character 24x24
(1) Confirm that the printer is connected to power supply and the paper roll
(2) Confirm that the printer is turned off and the top cover is closed in place.
(3 Press and hold the FEED button, then press the POWER button to turn )
on the printer; release the button after the printer is turned on.
The self-test method is as follows:
When the printer is initially installed or there are any problems with the printer,
you can run self-test program to confirm the following status�firmware version,
pr nter parameter setting status, print quality, and related setting information of i
exte nal devices, etc. After confirming that there is no problem with the printer r
afte the self-test, please check other devices or software. This function runs r
indepe ently of other devices or software.nd
(1) To install Windows driver, please refer to "Driver Installation Instruction".
(2) Set the "port" of the Windows driver as the appropriate interface to use.
Print the test page with the "Print test page" function of Windows driver.
(1) Confirm that the power switch is in off (0) state.
(2) Connect the power adapter to the printer.
(3) Connect the power line to the power adapter.
Use the special power adapter for the printer.
The connection diagram is as follows:
(4) Connect the other end of the power line to a nearby socket.
(1) Connect the USB cable to the printer.
(2) Connect the USB cable to the PC host.
(3) Turn the power switch to on (I) state.
Connect to the PC host
Connect the printer and the computer, and turn on the printer power.
Open computer settings --> Devices --> Devices and printers.
Find the Nuprint 400 printer and set it as the default printer. And change the
properties of the printer, such as paper size. But we recommend
using 4x6" or 100*150mm paper size for better printing results.
At this step, you have fully installed the printer, then please open the document and
try to print a test. Please use 4x6 labels and open the test document "USPS Test1.
pdf" attached to the USB flash drive. Please select 4x6" or 100*150mm for the
print preview paper size. (Attention, if you encounter unable to print, please turn
off the printer power and restart the printer).
If the computer prompts that the document cannot be verified, please open "Security
and Privacy", agree to open the driver document, and continue the installation.
Back to the installation step, this step will verify the account security, enter the
computer password or fingerprint to continue the installation.
At this step, the driver has been installed correctly, then we add the printer to
the computer. Open “printers & scanners”, Add a Nuprint 400 Thermal
At this step, you have fully installed the printer, then please open the document
and try to print a test. Please use 4x6 labels and open the test document
"USPS Test1.pdf" attached to the USB flash drive. Please select 4x6" or 100*150mm
for the print preview paper size. (Attention, if you encounter unable to print, please
turn off the printer power and restart the printer)
The driver has been installed
please close the interface.
Click Printer & Scanners.
Click"+" to add a Printer.
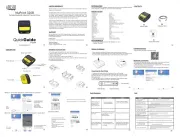
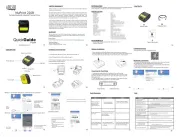
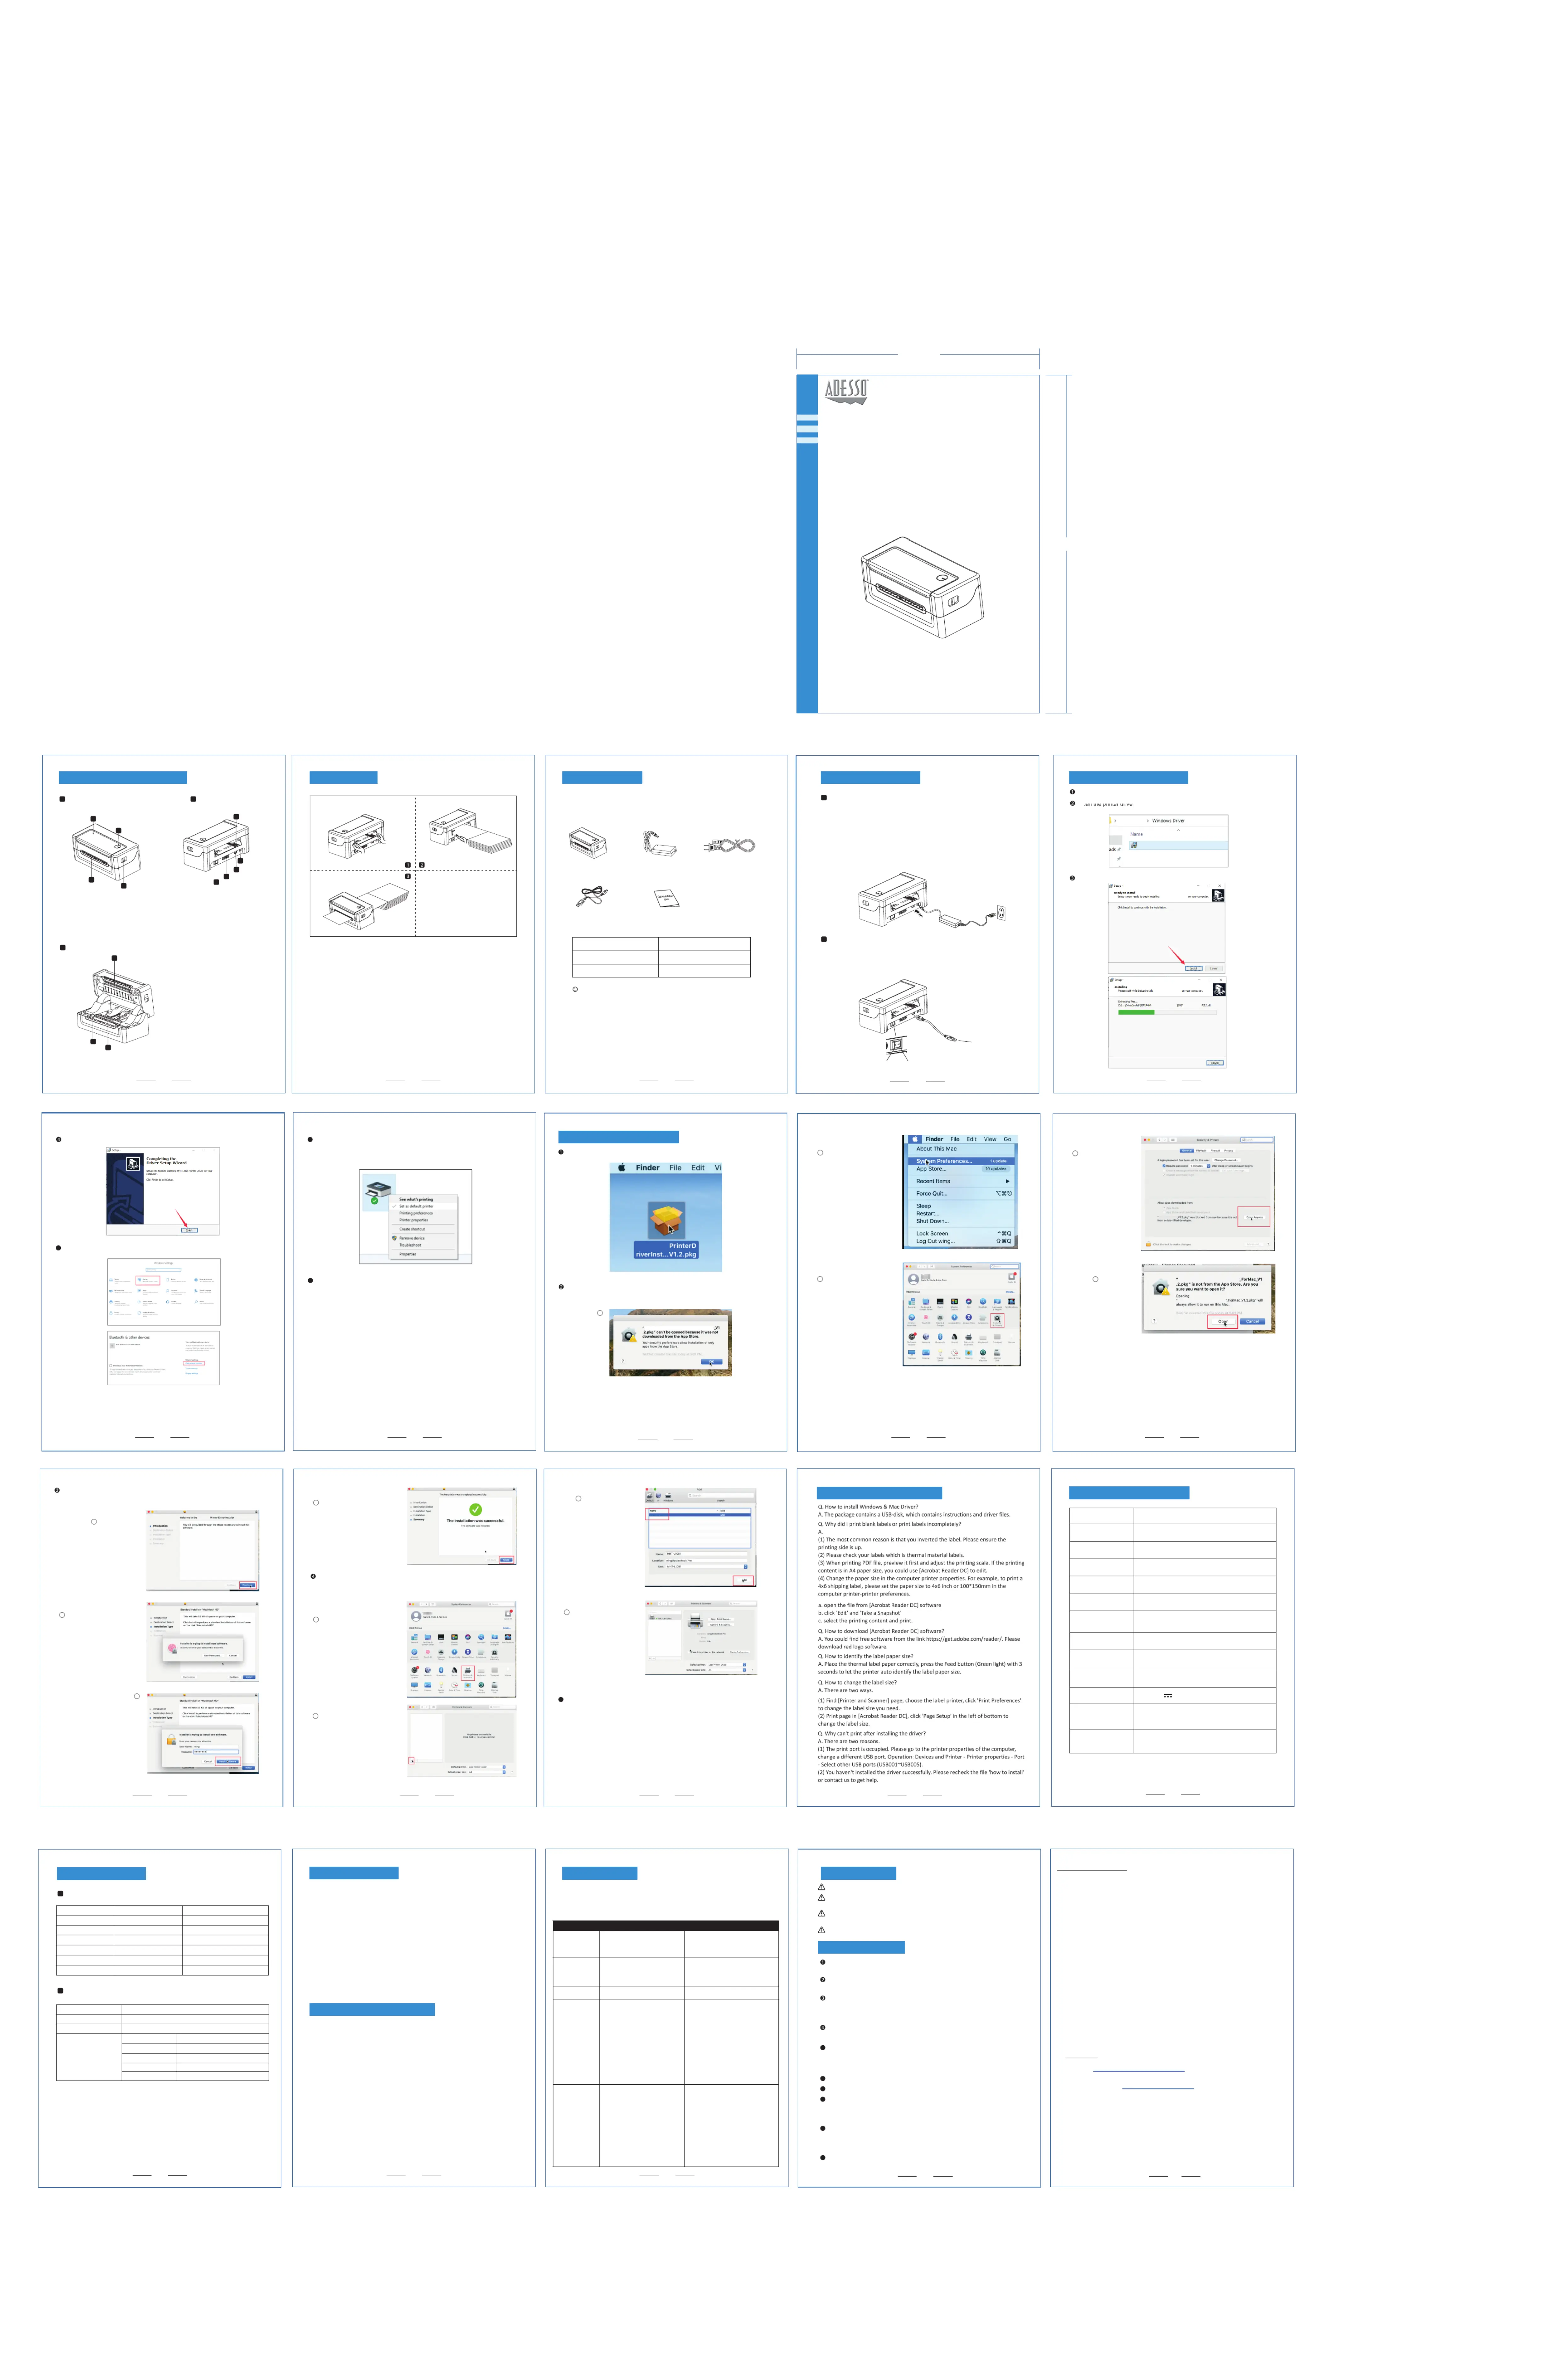
Appearance and Componrnts
Connecting the Printer Windows Driver Installation
The driver has been successfully installed,piease click Finish to close the page.
Mac OS Driver Installation
Product Specification List
Print Self-Test PagePrint Self-Test Page
Print with the Window Driver
Frequently Asked Questions
LabelPrinterDriverInstall_V1.01_NuPrint400.exe
Nuprint-400 Label Printer Driver
Nuprint-400 Label Printer Driver
Nuprint-400 Label Printer Driver
a. The AC plug and the power supply
plug are not properly connected to
a. Check the power connection and confirm
that the AC plug and the power supply plug
are properly connected to the printer socket.
b. Readjust the print density/speed of printer
by using the setting tool or the software.
Printing density can be coarsely tuned with
the setting tool and finely tuned with the driver.
Install -Nuprint-400 -Label- Printer- Driver
Install -Nuprint-400 -Label- Printer- Driver
Install -Nuprint-400 -Label- Printer- Driver
Install -Nuprint-400 -Label- Printer- Driver
Nuprint _400_LabelPrinterDriverInstaller
NuprintLabelPrinterDriver
NuprintLabelPrinterDriver
Nuprint _400_LabelPrinterDriverInstaller
Nuprint _400_LabelPrinterDriverInstaller
Nuprint -400- Label -Driver
ADESSO provides one year limited warranty for the quality of all its products in materials and
During this period, ADESSO will repair or replace all merchandise, which proved to be
defective. However, ADESSO will not warranty any product which has been subjected to
improper freight Handling, shipping abuse, neglect or unauthorized repair or installation.
The warranty also will not cover products installed with Non-ADESSO components and
product with broken sealed and assembly trace. After replacement of RMA, ADESSO reserves
the right to request the total cost of the replacement products with broken seals or assembly
If you discover a defect, Adesso will, at its option, repair or replace the product at no charge
to you, provided you return it during the warranty period with transportation charges
pre-paid to Adesso. You must contact Adesso at support@adesso.com for a Return
Merchandise Authorization number (RMA) prior to returning any product. For each product
returned for warranty service, please include your name, shipping address (no P.O. Box),
telephone number, copy of the bill of sale as proof of purchase and have the package clearly
marked with your RMA number.
FAQ’s: http://www.adesso.com/faqs
Email Support: support@adesso.com
Toll Free: (800) 795-6788
9:00AM to 5:00PM PST Monday - Friday