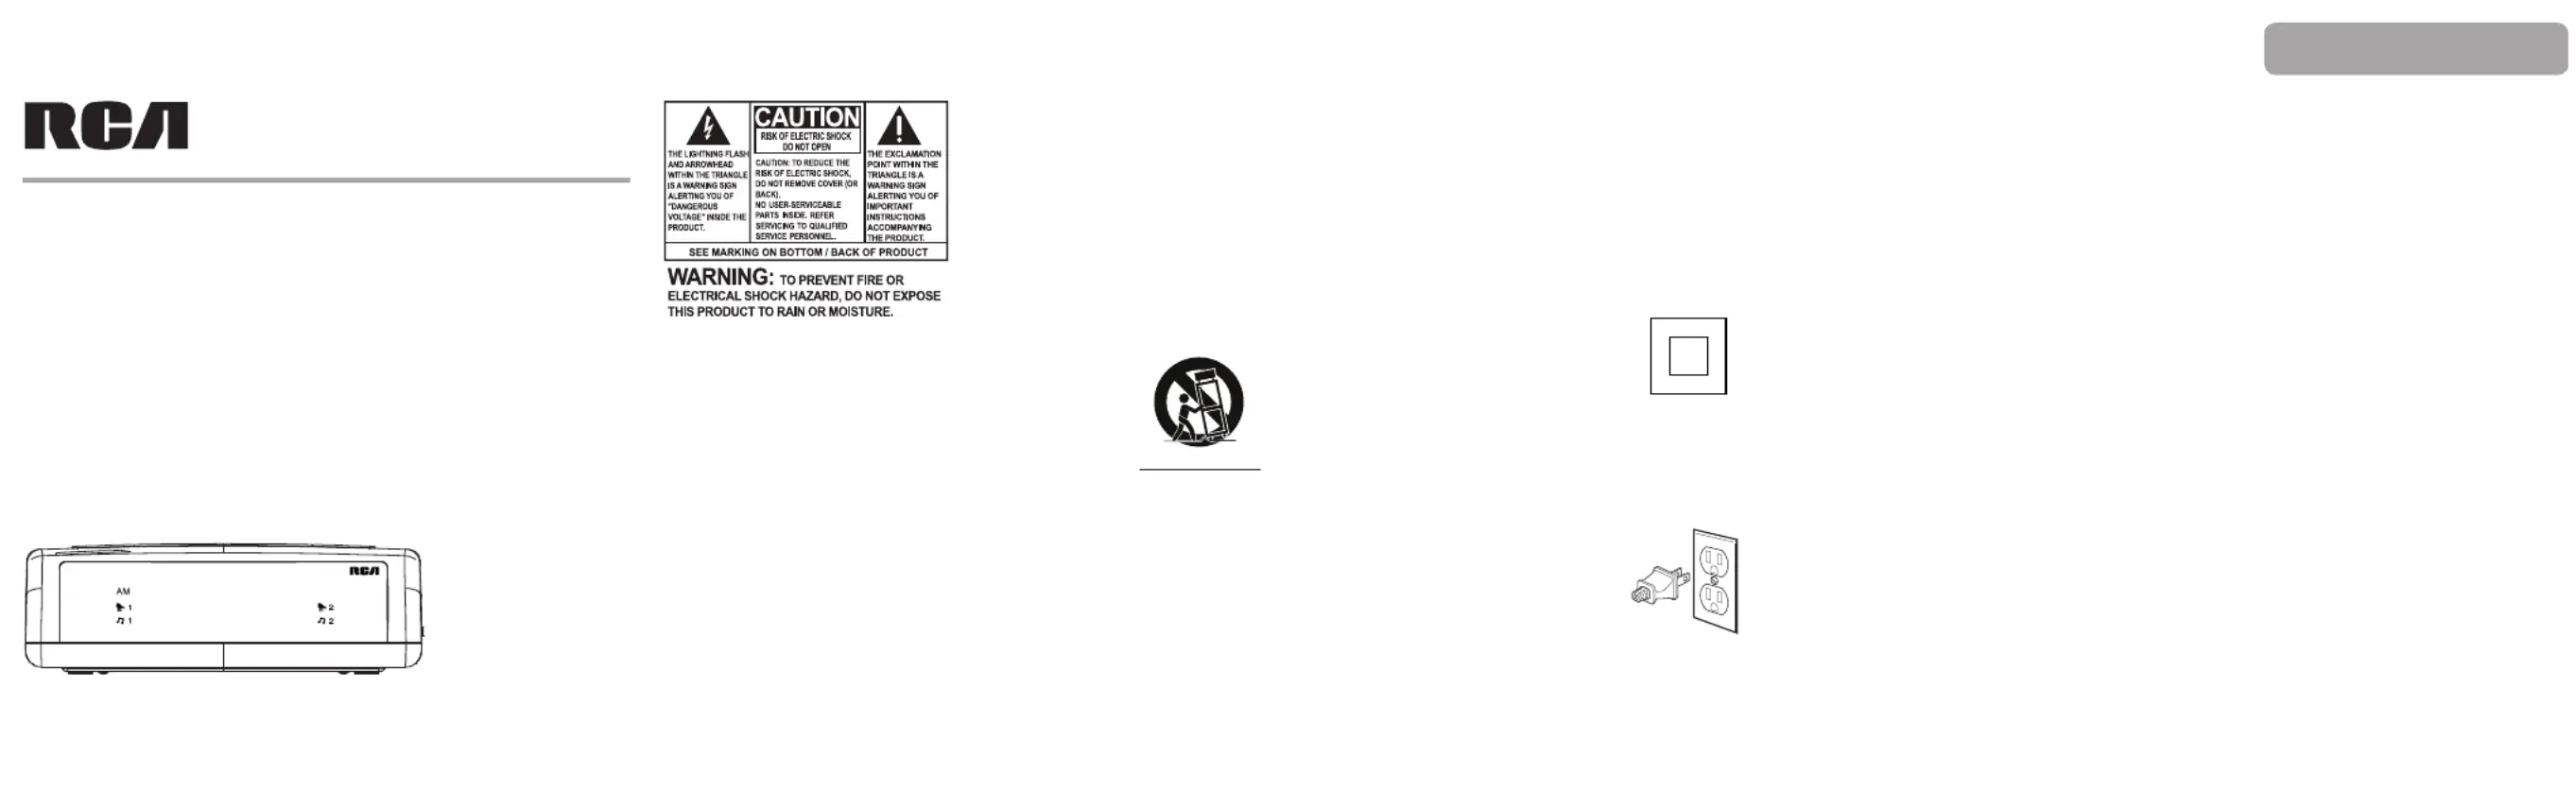
Audiovox RC105 Manual
| Mærke: | Audiovox |
| Kategori: | Radio |
| Model: | RC105 |
| Produktfarve: | Sort |
| Indbygget skærm: | Ja |
| Skærm diagonal: | 9 " |
| Indbyggede højttaler(e): | Ja |
| Udgangseffekt (RMS): | - W |
| Vækkeur: | Ja |
| Understøttede radiobånd: | AM, FM |
| Kampatibilitet med Apple-docking: | Ikke understøttet |
| Radiotype: | Ur |
Har du brug for hjælp?
Hvis du har brug for hjælp til Audiovox RC105 stil et spørgsmål nedenfor, og andre brugere vil svare dig
Radio Audiovox Manualer
22 Juni 2025
29 August 2024
29 August 2024
29 August 2024
29 August 2024
29 August 2024
29 August 2024
29 August 2024

29 August 2024
29 August 2024
Radio Manualer
- Harley Davidson
- RoadKing
- RADIWOW
- Lexibook
- BasicXL
- Terratec
- GBS
- LogiLink
- Aquatic AV
- TrekStor
- TechniSat
- E-bench
- Konig Electronic
- König
- Clint
Nyeste Radio Manualer

17 December 2025

15 December 2025

15 December 2025

15 December 2025

10 December 2025

10 December 2025

9 December 2025

8 December 2025

7 December 2025

5 December 2025