Bionaire BASF1415 Manual
Bionaire
Ventilatorer
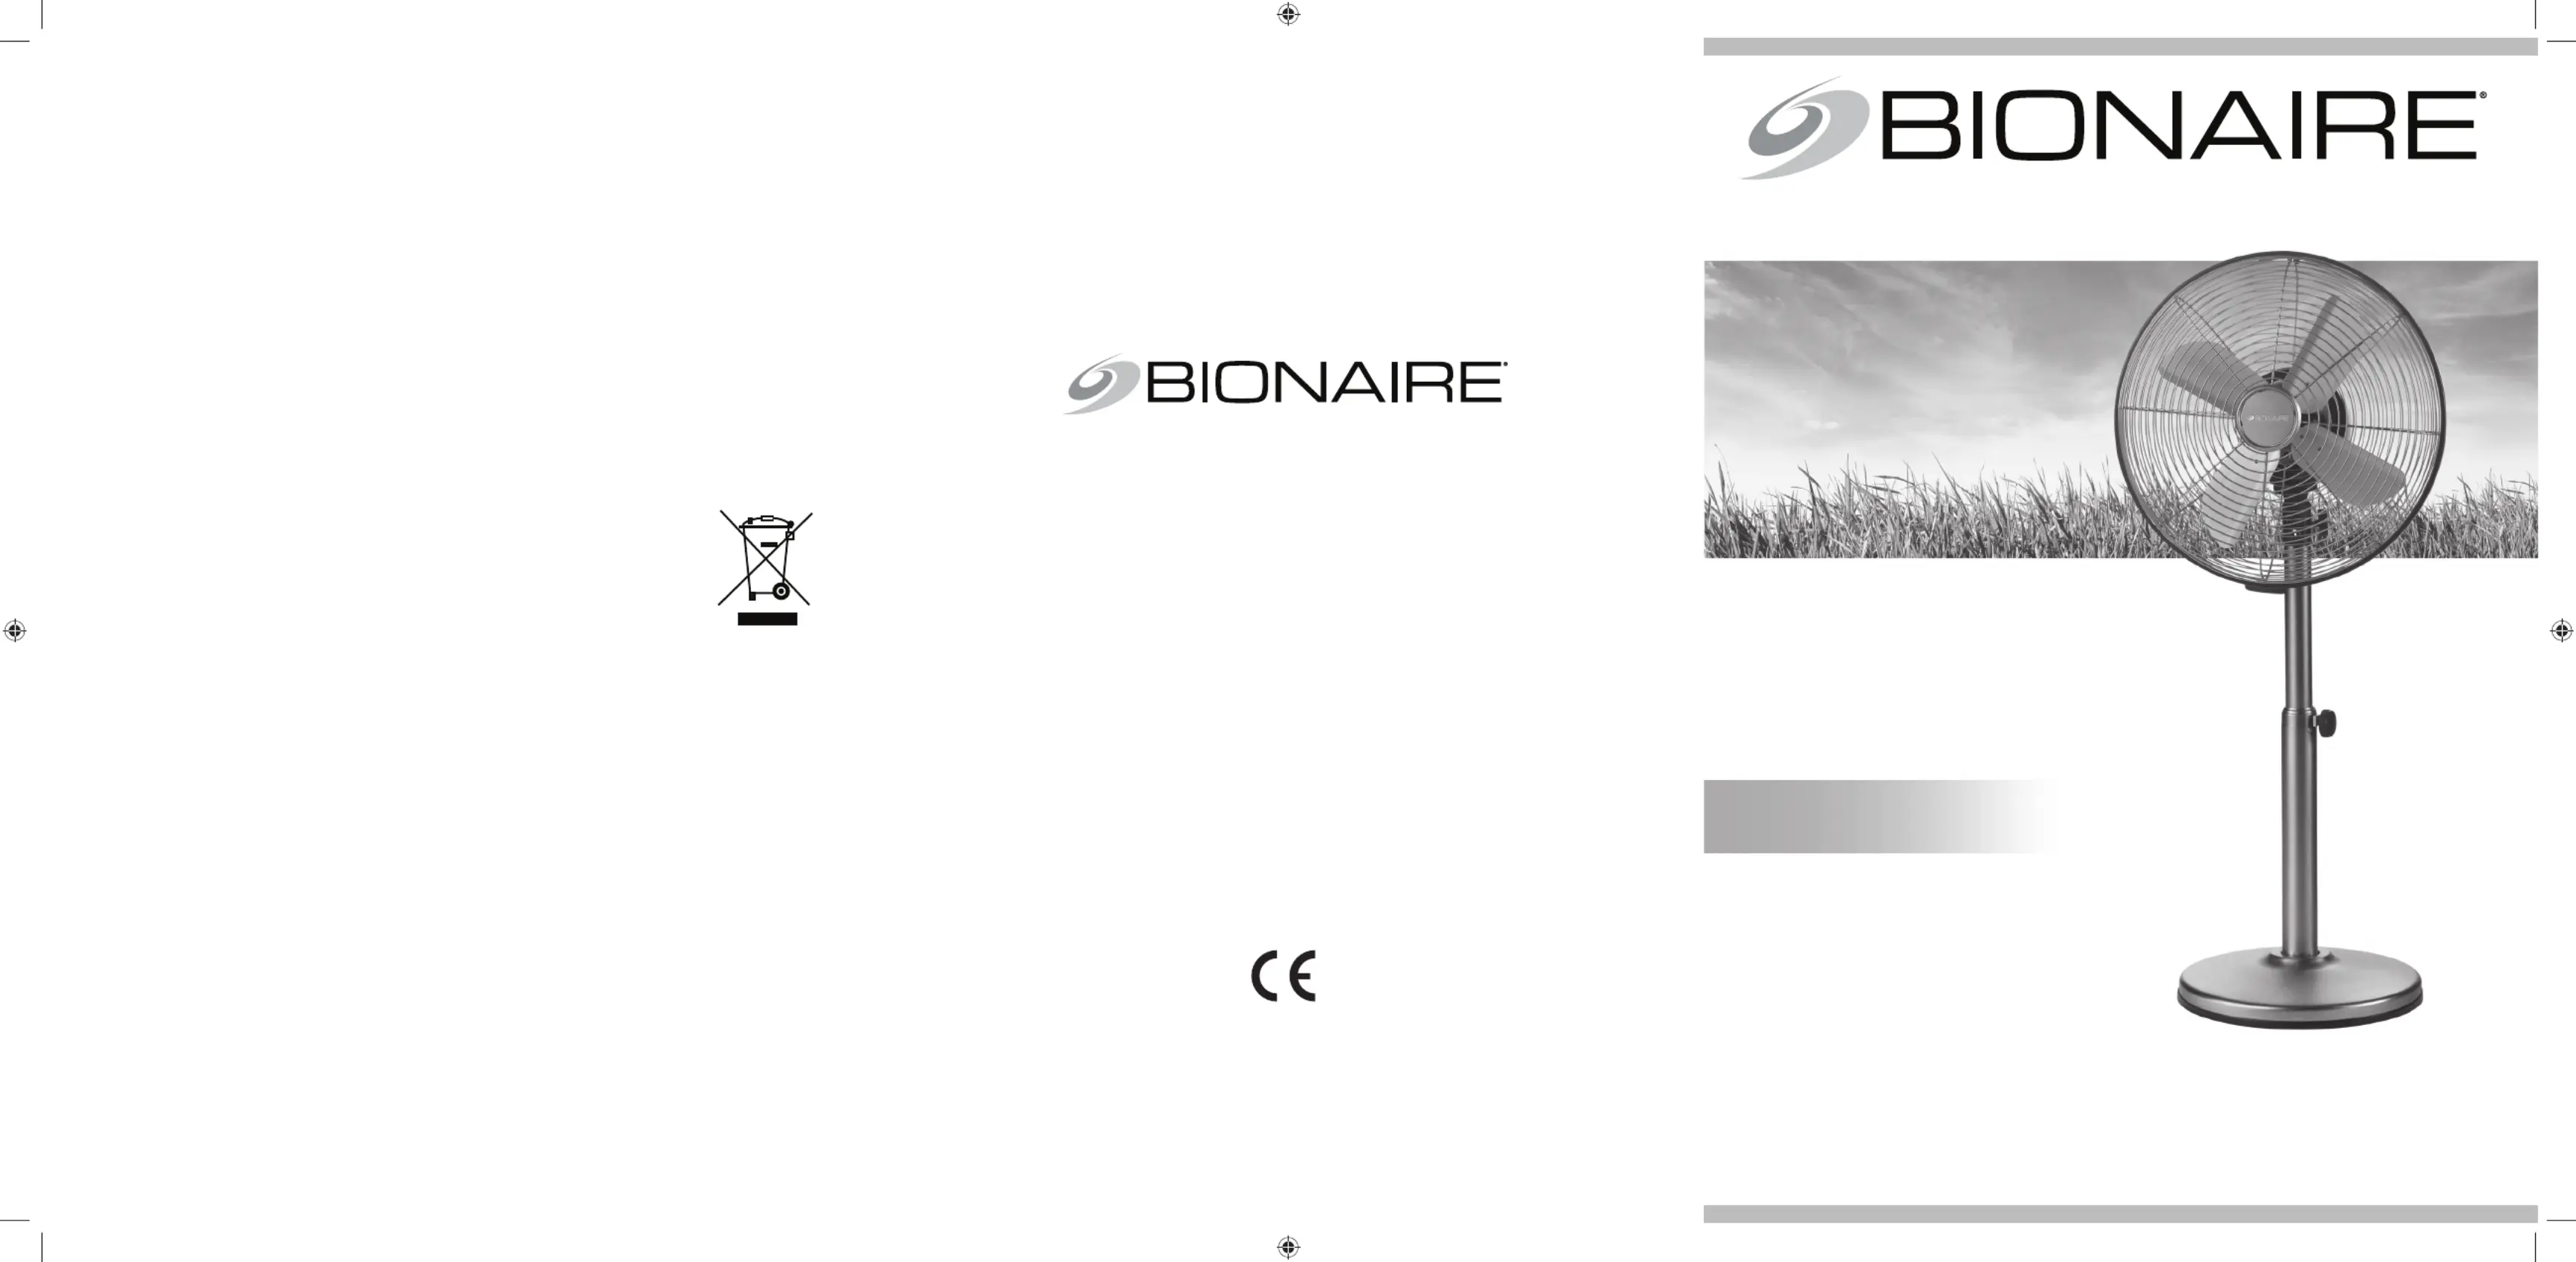
BASF1415
| Mærke: | Bionaire |
| Kategori: | Ventilatorer |
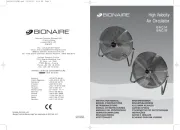
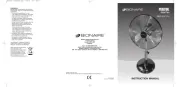
| Model: | BASF1415 |
| Produktfarve: | Krom |
| Antal hastigheder: | 3 |
| Strømforbrug (typisk): | 35 W |
| Ventilator diameter: | 300 mm |
Har du brug for hjælp?
Hvis du har brug for hjælp til Bionaire BASF1415 stil et spørgsmål nedenfor, og andre brugere vil svare dig
Ventilatorer Bionaire Manualer
5 Oktober 2022
5 Oktober 2022
5 Oktober 2022

5 Oktober 2022

5 Oktober 2022
5 Oktober 2022

5 Oktober 2022
5 Oktober 2022
Ventilatorer Manualer
- Stadler Form
- Matsui
- HQ
- Adler
- Gerlach
- Rowenta
- Mesko
- Duracraft
- Tomado
- Sandstrøm
- Day
- Biltema
- Honeywell
- Eurom
- Camry
Nyeste Ventilatorer Manualer

5 Oktober 2022

5 Oktober 2022

5 Oktober 2022

5 Oktober 2022

5 Oktober 2022

5 Oktober 2022

5 Oktober 2022

5 Oktober 2022

5 Oktober 2022

5 Oktober 2022