Broan QTXE110S Manual
Broan
Ventilator
QTXE110S

| Mærke: | Broan |
| Kategori: | Ventilator |
| Model: | QTXE110S |
Har du brug for hjælp?
Hvis du har brug for hjælp til Broan QTXE110S stil et spørgsmål nedenfor, og andre brugere vil svare dig
Ventilator Broan Manualer
19 Oktober 2025
7 August 2025
8 Juli 2025

7 Juli 2025
7 Juli 2025
7 Juli 2025

7 Juli 2025
7 Juli 2025

7 Juli 2025

7 Juli 2025
Ventilator Manualer
- Kensington
- Qlima
- Air&Me
- IHome
- Be Quiet!
- Plus More
- Kincrome
- Elro
- JBL
- House Of Marley
- Homedics
- Westinghouse
- Zehnder
- VOX
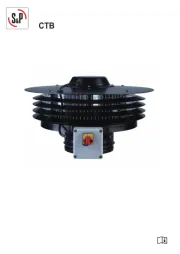
- Soler & Palau
Nyeste Ventilator Manualer

4 November 2025

3 November 2025

3 November 2025
1 November 2025
1 November 2025
1 November 2025
1 November 2025

1 November 2025
1 November 2025
1 November 2025