Canarm SIS1510300 Manual
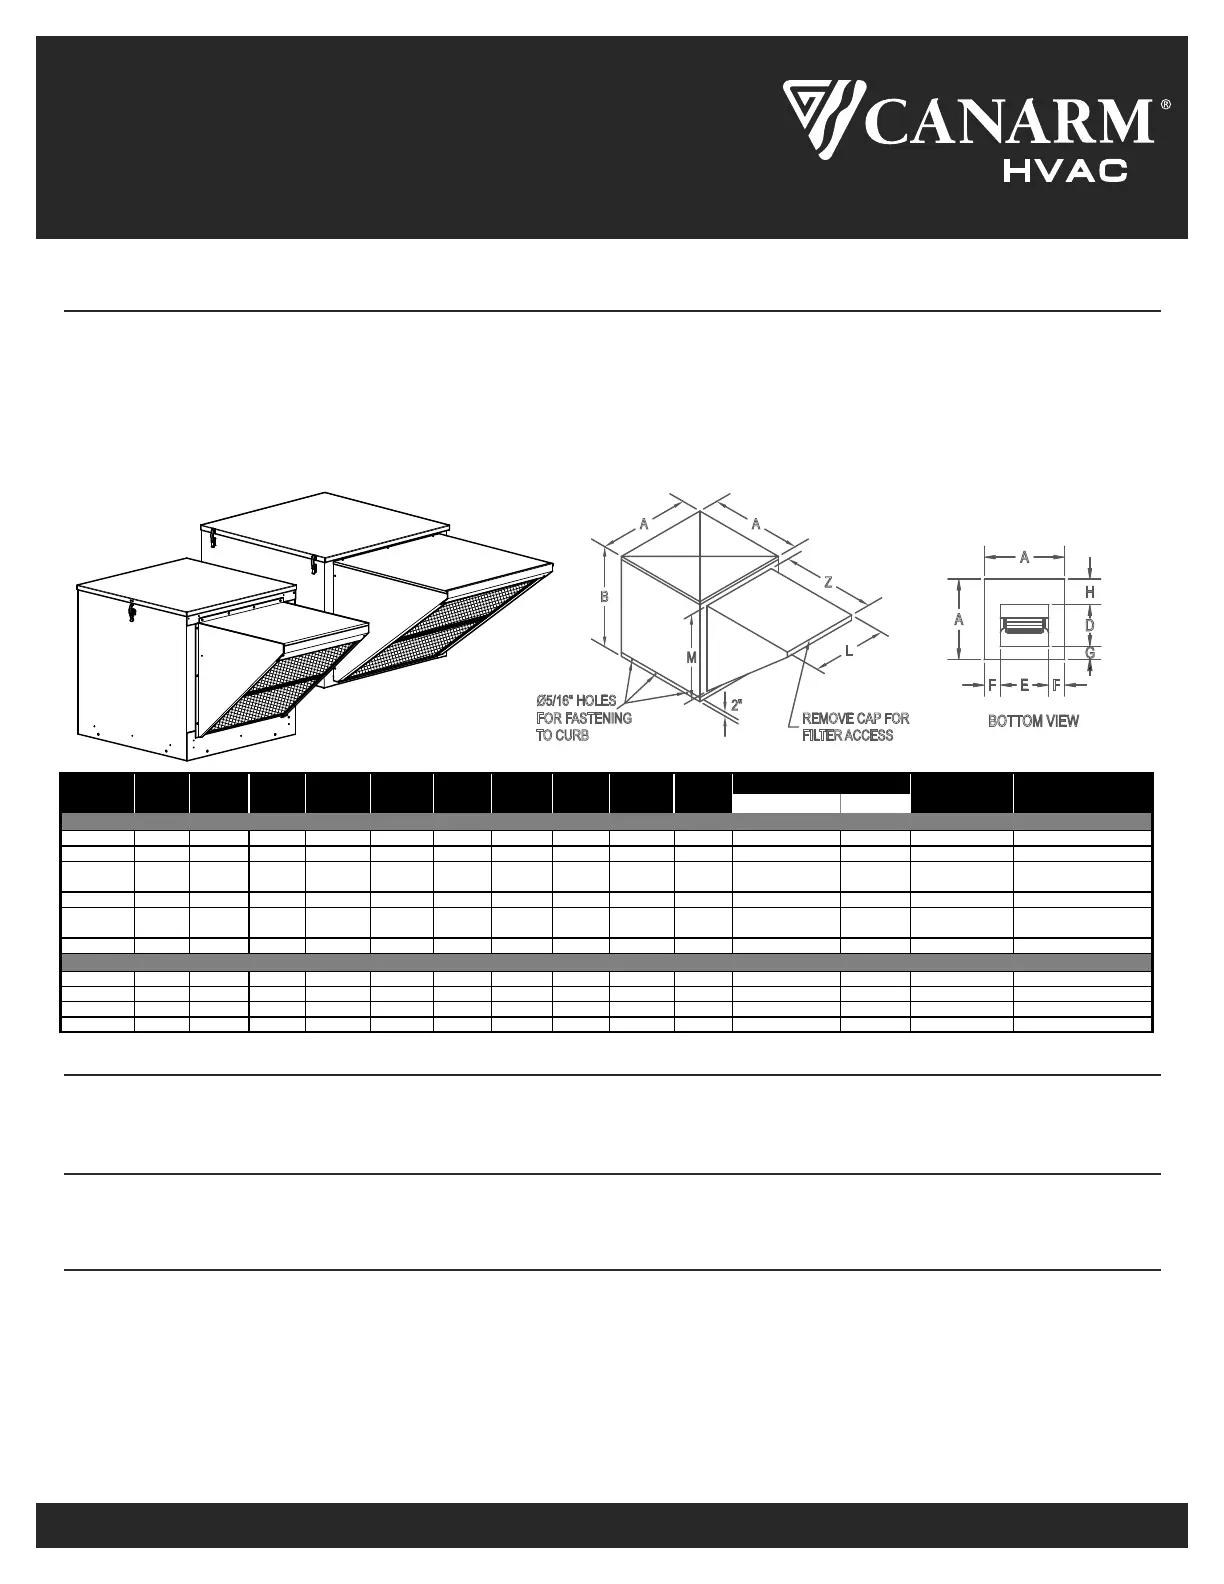
| Mærke: | Canarm |
| Kategori: | Emhætte |
| Model: | SIS1510300 |
Har du brug for hjælp?
Hvis du har brug for hjælp til Canarm SIS1510300 stil et spørgsmål nedenfor, og andre brugere vil svare dig
Emhætte Canarm Manualer

9 Januar 2026

9 Januar 2026

9 Januar 2026

8 Januar 2026

8 Januar 2026

8 Januar 2026

7 Januar 2026

7 Januar 2026

7 Januar 2026

7 Januar 2026
Emhætte Manualer
- ELIN
- Sedona
- Master Kitchen
- Signature
- Thermex
- Grundig
- AEG
- Amana
- Giles
- BEKO
- Bielmeier
- Piccante
- Ersa
- AYA
- Viali
Nyeste Emhætte Manualer

9 Januar 2026

9 Januar 2026

8 Januar 2026

8 Januar 2026

8 Januar 2026

8 Januar 2026

8 Januar 2026

8 Januar 2026

7 Januar 2026

7 Januar 2026