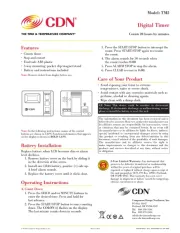
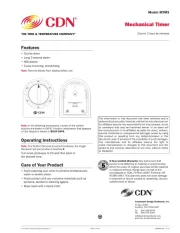
• 3-way mounting: pocket clip/magnet/stand
• Battery and instructions included
Note: Remove sticker from display before use.
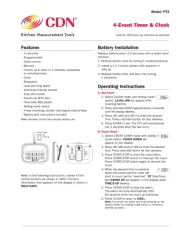
Note: In the following instructions, names of the control
buttons are shown in CAPS. Function information that appears
on the display is shown in .BOLD CAPS
Replace battery when LCD becomes dim or alarm
1. Remove battery cover on the back by sliding it
in the direction of the arrow.
2. Install one LR44 battery, positive (+) side up.
3. Replace the battery cover until it clicks shut.
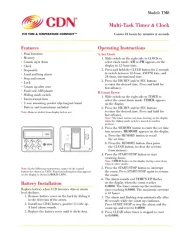
1. Slide switch on the right side to CLOCK to
select clock mode. or appears on the AM PM
2. Press and hold the CLEAR button for 2 seconds
to switch between 12-hour, AM/PM time, and
24-hour, international time.
3. Press the HR MIN and/or SEC buttons
to enter the desired time. Press and hold for
1. Slide switch on the right side to TIMER to
select the count down mode. appears TIMER
2. Press the HR MIN and/or SEC buttons
to enter the desired time. Press and hold for
Note: The timer retains any time showing on the display
when the sliding mode switch is moved to another
3. Press the MEMORY button to enter the set time
into memory. MEMORY appears on the display.
a. Press the MEMORY button to recall
b. Press the MEMORY button, then press
the CLEAR button, to clear the set time
4. Press the START/STOP button to start
Note: ashes on the display during count down TIMER
5. Press the START/STOP button to interrupt
the count. Press START/STOP again to resume
6. The alarm sounds and ashes TIME’S UP
on the display when the count reaches
0:0000. The timer counts up the overtime
since reaching . The maximum overtime 0:0000
7. The alarm and ashing stop automatically after
60 seconds while the count up continues.
Press START/STOP to stop the alarm and the
count up, and reset to .0:0000
8. Press CLEAR when timer is stopped to reset
Counts 24 hours by minutes & seconds