• Loud&longaudio/visualalarm
• 2-waymounting:magnet/stand
• Batteries&instructionsincluded
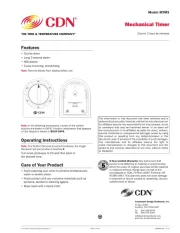
Note:Removestickerfromdisplaybeforeuse.
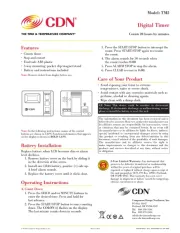
Note:Inthefollowinginstructions,namesofthecontrol
buttonsareshowninCAPS.Functioninformationthatappears
onthedisplayisshownin .BOLD CAPS
ReplacebatterywhenLCDbecomesdimoralarm
2.Removebatterycoverusingascrewdriveror
3.Installtwo1.5VAAAbatteriesobserving
polarityshownincompartment.Abriefalarm
Note:Thegelinthebatterycompartmentisrequiredfor
4.Replacethebatterycovermakingsurethat
gasketremainsingroove.
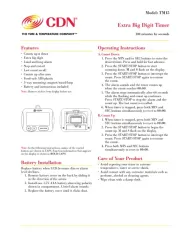
1.PresstheMINand/orSECbuttonstoenterthe
desiredtime.Pressandholdforfastadvance.
2.PresstheSTART/STOPbuttontostart
countingdown. and ashonthedisplay.M S
3.PresstheSTART/STOPbuttontointerruptthe
count.PressSTART/STOPagaintoresumethe
4.Theaudio/visualalarmsoundsandthetimer
countsupwhenthecountreaches .00:00
5.Theaudio/visualalarmstopsautomatically
after60secondswhiletheashingandcount
upcontinues.PressSTART/STOPtostopthe
alarmandthecountup.Thelastcountis
6.Whentimerisstopped,pressbothMINand
SECbuttonssimultaneouslytoresetto00:00.
1.Whentimerisstopped,pressbothMINand
SECbuttonssimultaneouslytoresetto00:00.
2.PresstheSTART/STOPbuttontobeginthe
countup. and ashonthedisplay.M S
3.PresstheSTART/STOPbuttontointerruptthe
count.PressSTART/STOPagaintoresumethe
4.PressbothMINandSECbuttons
simultaneouslytoresetto00:00.
• Avoidexposingyourtimertoextreme
temperatures,waterorsevereshock.
• Avoidcontactwithanycorrosivematerialssuchas
perfume,alcoholorcleaningagent.
• Wipecleanwithadampcloth.
Counts 100 minutes by seconds
Component Design Northwest, Inc.
CE Note: This device could be sensitive to electrostatic
discharge.Ifelectrostaticdischargeormalfunctioningoccurs,
pleasere-installthebatterytoresetthisunit.