If yo du  o not have the knowledg te  o install the thermostat safely 
then you must arrange for a competent elec iciatr n t instalo  l i for t 
you. Wiring must confor tm  o  e th current IEE regulations.
Prior t commencin th installatio yo musto  g  e  n  u   ensur the e 
mains sup ly is switch off.p   ed 
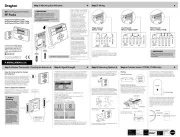
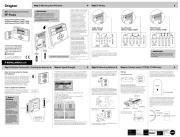
1. Installing the Digistat 
1a. Location of the receiver
The  Digistat  Receiver  should  be  mounted  in  a  convenient 
position, close  to the  boiler or  central heating  system wiring 
centre. It is recommended that the receiver is mounted on the 
wall nearest the final location and not less than 1m from the 
Warning: Installing the receiver too close to metal objects 
or mains cables may interfere with the radio signal. 
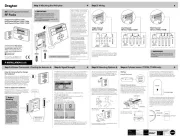
1b. Installation of th wallplatee 
F ing (mini m wallplatix mu e clearances shown below)
i. Loosen   the securing screws, remove     the wallplate,   and if 
surface   wiring is to   be us d,e  snap out   the cable entry st ipr
on   the bottom edge of the wallplate     a with pair of pliers.
ii. Fix the wallplate,   term nalsi    at the   top, either direct onto   the
flat wall using wall plugs and no 6 x1” wood screws or on 
a flush-mounting single conduit box using M3.5 x 14mm 
This   product is double   insulated and  s   doe not re requi  an earth 
conn ction. The receiver sh ulde   o  
be   wired to the combi boiler or
central heating wiring using the correct type of cable or flex. 
The receiver sh uldo    be wired   in to   replace hard-wired room 
or programmable thermostats     shown on   the system or boiler 
wiring diagrams. Always ch ck other manufacturers’ e
instructions for compati il ty.b i
The range may be affected by composition/density and 
number of walls between the Digistat thermostat and 
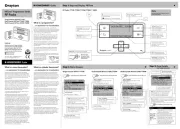
Consists of  and Thermostat RF90T   Receiver RF90S 
Technical Helpline Tel: 0333 6000 622              
Website: www.draytoncontrols.co.uk 
Email: customer.care@draytoncontrols.co.uk
User and Installation Guide 06490310001 Iss     E
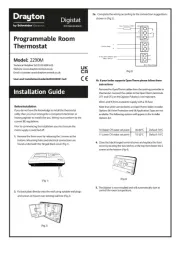
If your boiler sup rt OpenTher please follo these po s  m  w 
Remove the O penTherm  ables c f rom the existing controller or 
the ostat onnecrm . C t  he t cables to the O pe rm  erminnThe t als 
OT1 and OT2 on the  . Po ty is importReceiver lari  not  ant.