EasyMaxx 14649 Manual
EasyMaxx
Ikke kategoriseret
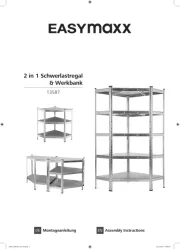
14649
| Mærke: | EasyMaxx |
| Kategori: | Ikke kategoriseret |
| Model: | 14649 |
Har du brug for hjælp?
Hvis du har brug for hjælp til EasyMaxx 14649 stil et spørgsmål nedenfor, og andre brugere vil svare dig
Ikke kategoriseret EasyMaxx Manualer
4 Oktober 2025
3 Oktober 2025
3 Oktober 2025
3 Oktober 2025
3 Oktober 2025

3 Oktober 2025

3 Oktober 2025
3 Oktober 2025
3 Oktober 2025

3 Oktober 2025
Ikke kategoriseret Manualer
- AudioQuest
- LifeSpan
- LEDs-ON
- Friedrich
- Joyo
- DutchOne
- Hurricane
- Accsoon
- Lawn Star
- DMax
- Axkid
- Twinkly
- Kali Audio
- Alpatronix
- SteelBody
Nyeste Ikke kategoriseret Manualer

9 Januar 2026

9 Januar 2026

9 Januar 2026

9 Januar 2026

9 Januar 2026

9 Januar 2026

9 Januar 2026

9 Januar 2026

9 Januar 2026

9 Januar 2026