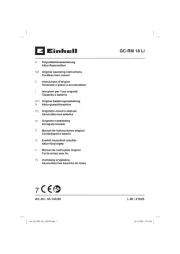
Einhell GE-EM 1536 HW Manual
Læs gratis den danske manual til Einhell GE-EM 1536 HW (116 sider) i kategorien Plæneklipper. Denne vejledning er vurderet som hjælpsom af 27 personer og har en gennemsnitlig bedømmelse på 4.3 stjerner ud af 14 anmeldelser.
Har du et spørgsmål om Einhell GE-EM 1536 HW, eller vil du spørge andre brugere om produktet?

Produkt Specifikationer
| Mærke: | Einhell |
| Kategori: | Plæneklipper |
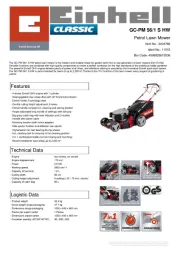
| Model: | GE-EM 1536 HW |
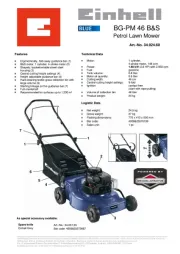
| Type: | Skubbe plæneklipper |
| Vekselstrømsindgangsspænding: | 230 V |
| Bredde: | 490 mm |
| Dybde: | 765 mm |
| Højde: | 370 mm |
| Vægt: | 13300 g |
| Strøm: | 1500 W |
| Strømkilde: | Vekselstrøm |
| Anbefalet klipningsområde: | 600 m² |
| Klippe-bredde: | 360 mm |
| Græsopsamler: | Ja |
| Græs-opsamlingsvolumen: | 40 L |
| Minimum klippe-højde: | 25 mm |
| Maksimal klippe-højde: | 75 mm |
| Antal hjul: | 4 hjul |
| Klippehøjde: | 75 mm |
| Justering af klipperydning: | 6 |
Har du brug for hjælp?
Hvis du har brug for hjælp til Einhell GE-EM 1536 HW stil et spørgsmål nedenfor, og andre brugere vil svare dig
Plæneklipper Einhell Manualer


Plæneklipper Manualer
- Saturn
- Do It + Garden
- Qualcast
- Zipper
- Toledo
- Oregon Scientific
- Powertec Garden
- McGregor
- OKAY
- Jonsered
- Carmen
- Kibani
- LEA
- Metabo
- Plantiflor
Nyeste Plæneklipper Manualer


