Epson WorkForce 60 Manual

Epson Printer WorkForce 60

Læs gratis den danske manual til Epson WorkForce 60 (4 sider) i kategorien Printer. Denne vejledning er vurderet som hjælpsom af 13 personer og har en gennemsnitlig bedømmelse på 4.4 stjerner ud af 7 anmeldelser. Har du et spørgsmål om Epson WorkForce 60, eller vil du spørge andre brugere om produktet?

Side 1/4
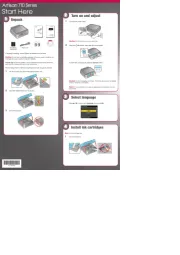
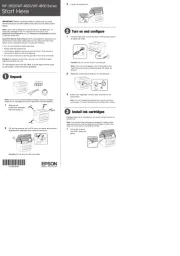
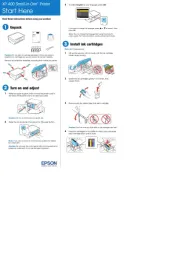
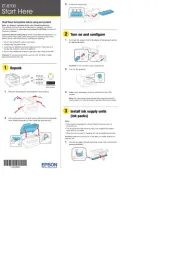
Start Here
Read these instructions before using your product.
1 Unpack
Power cordUSB cable
Caution: Do not open ink cartridge packages until you are ready to
install the ink. Cartridges are vacuum packed to maintain reliability.
Remove all protective materials.
2 Turn on
1 Connect the power cable.
Do not connect to your computer yet.Caution:
2 Press the button.Power
3 Install ink cartridges
1 Lift up the printer cover.
2 Open the cartridge cover.
3 Shake the ink cartridges gently 4 or 5 times, then unpack
them.
4 Remove only the yellow tape from each cartridge.
Caution: Don’t remove any other seals or the cartridges may
leak.
5 Insert the cartridges in the holder for each color. Press
each cartridge down until it clicks.
6 Close the cartridge cover. Press down until it clicks.
7 Lower the printer cover.
8 Press the button to prime the ink delivery system. Ink
This takes several minutes.
Note: Your printer ships with full cartridges and part of the ink
from the first cartridges is used for priming the printer.
Caution: Don’t turn off the printer while it is priming or you’ll
waste ink.
*411961800*
*411961800*
6 Replace the paper cassette cover, then gently insert the
paper cassette.
Note: The paper may slide forward slightly as you insert the
cassette. This is normal.
7 Extend the output tray as shown.
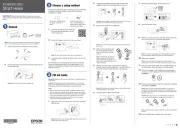
5 Choose your connection
You can connect your printer to your existing network
(wireless or wired) or directly to your computer using a USB
cable. See below for details on each connection method.
Wireless Connection
You must install the software on every computer from which
you want to print. For the first installation, we recommend
using a USB cable to simplify wireless setup. After the printer
is connected to the network, you will be prompted to remove
the cable.
Make sure you know your network name (SSID) and network
password:
• Network name
• Network password
If you don’t have this information, contact the person who set
up your network.
Direct USB Connection
Make sure you have a USB cable. Do not connect the printer
to your computer until you’re instructed to do so.
Wired Ethernet® Connection
Make sure you have an Ethernet network cable (not included).
You must install the software on every computer from which
you want to print.
4 Load paper
You can load letter-, A4-, or legal-size paper, as well as
4 6-, 5 7-, or 8 10-inch photo paper. For instructions on
loading legal-size paper, see the online User’s Guide.
1 Pull out the paper cassette and lift off the paper cassette
cover.
2 Slide the edge guides outward.
3 Position the guide shown below for the size of paper
you’re using.
4 6-inch
LTR
Letter-size
4 Insert the paper with the glossy or printable side face-
down.
4 6-inch Letter-size
Note: Make sure the paper is loaded against the edge guide
and not sticking out from the end of the cassette.
5 Slide the edge guides against the paper, but not too
tight. Make sure the paper is under the tabs on the edge
guides.
Letter-size4 6-inch


Produkt Specifikationer

Mærke: Epson
Kategori: Printer
Model: WorkForce 60

Har du brug for hjælp?

Hvis du har brug for hjælp til Epson WorkForce 60 stil et spørgsmål nedenfor, og andre brugere vil svare dig