Intermatic Arista ALC-DH-BT Manual
Intermatic
Ikke kategoriseret
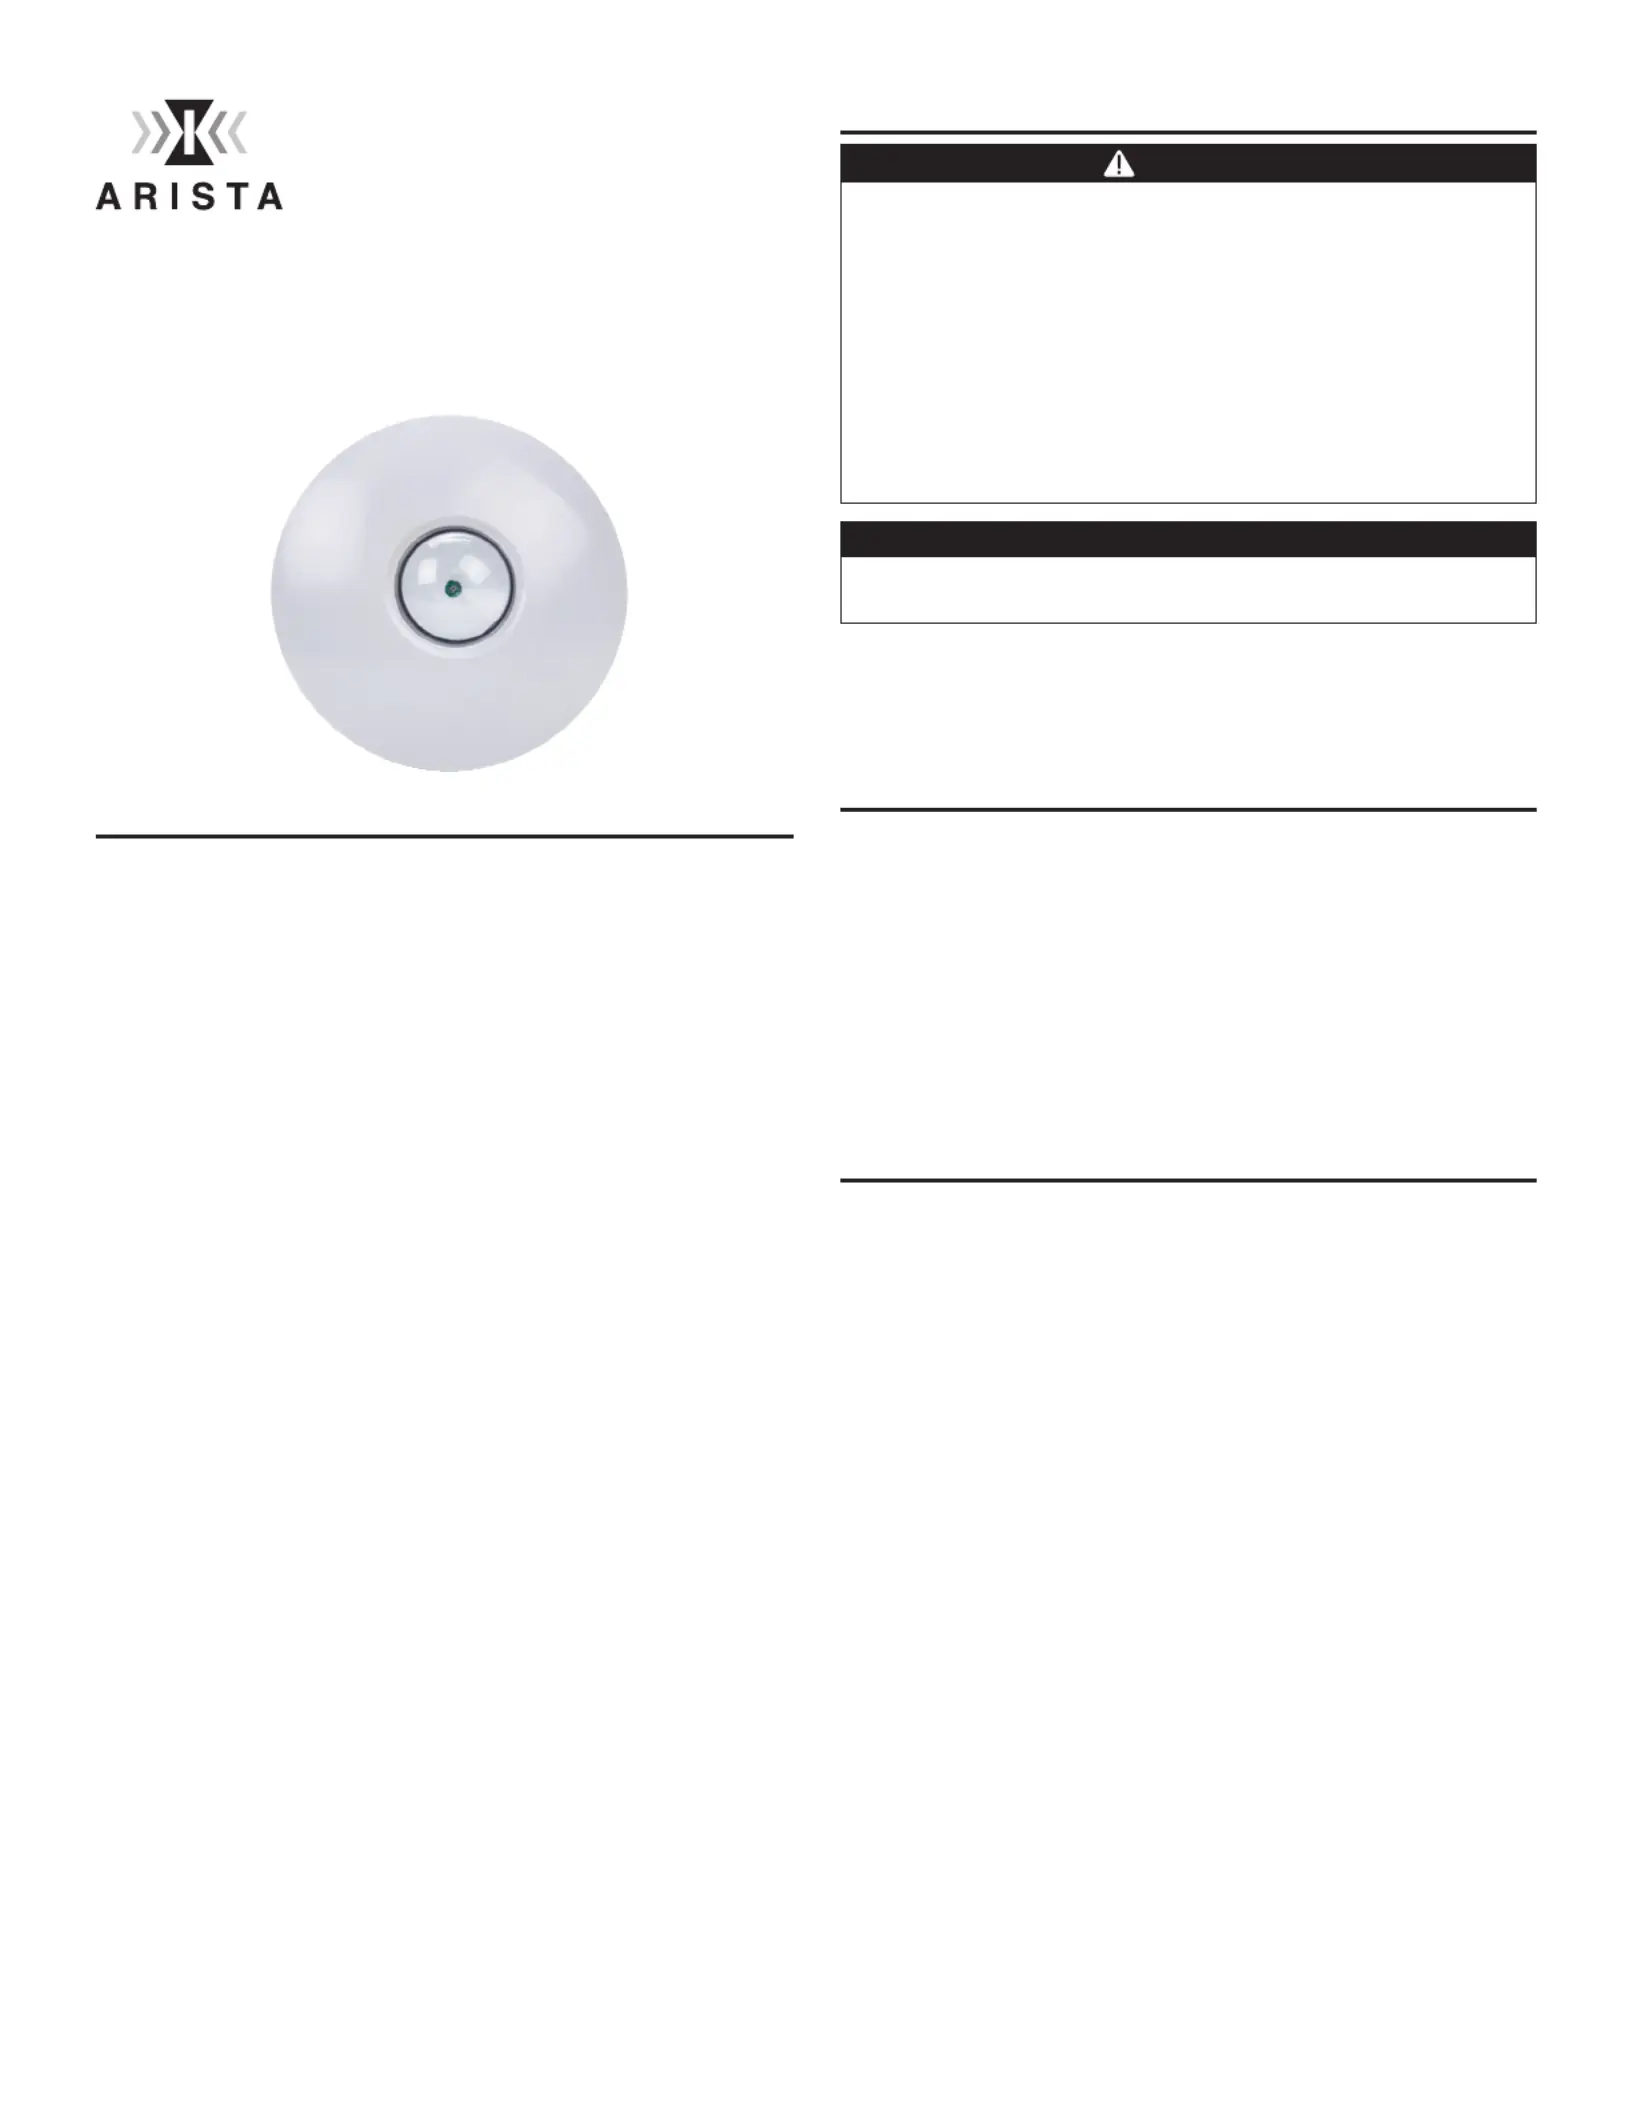
Arista ALC-DH-BT
| Mærke: | Intermatic |
| Kategori: | Ikke kategoriseret |
| Model: | Arista ALC-DH-BT |
Har du brug for hjælp?
Hvis du har brug for hjælp til Intermatic Arista ALC-DH-BT stil et spørgsmål nedenfor, og andre brugere vil svare dig
Ikke kategoriseret Intermatic Manualer
12 November 2025
11 November 2025
8 November 2025

6 November 2025
6 November 2025
5 November 2025

4 November 2025

4 November 2025

4 November 2025

4 November 2025
Ikke kategoriseret Manualer
- Grandeur
- EarFun
- Solid
- SABO
- Hamilton Buhl
- Sun Dolphin
- Spectrasonics
- Laifen
- Mosconi
- ChargeHub
- Korg
- Antelope
- CLIMAQUA
- RetroSound
- EBS
Nyeste Ikke kategoriseret Manualer

4 December 2025

4 December 2025

4 December 2025

4 December 2025

4 December 2025

4 December 2025

4 December 2025

4 December 2025

4 December 2025

4 December 2025