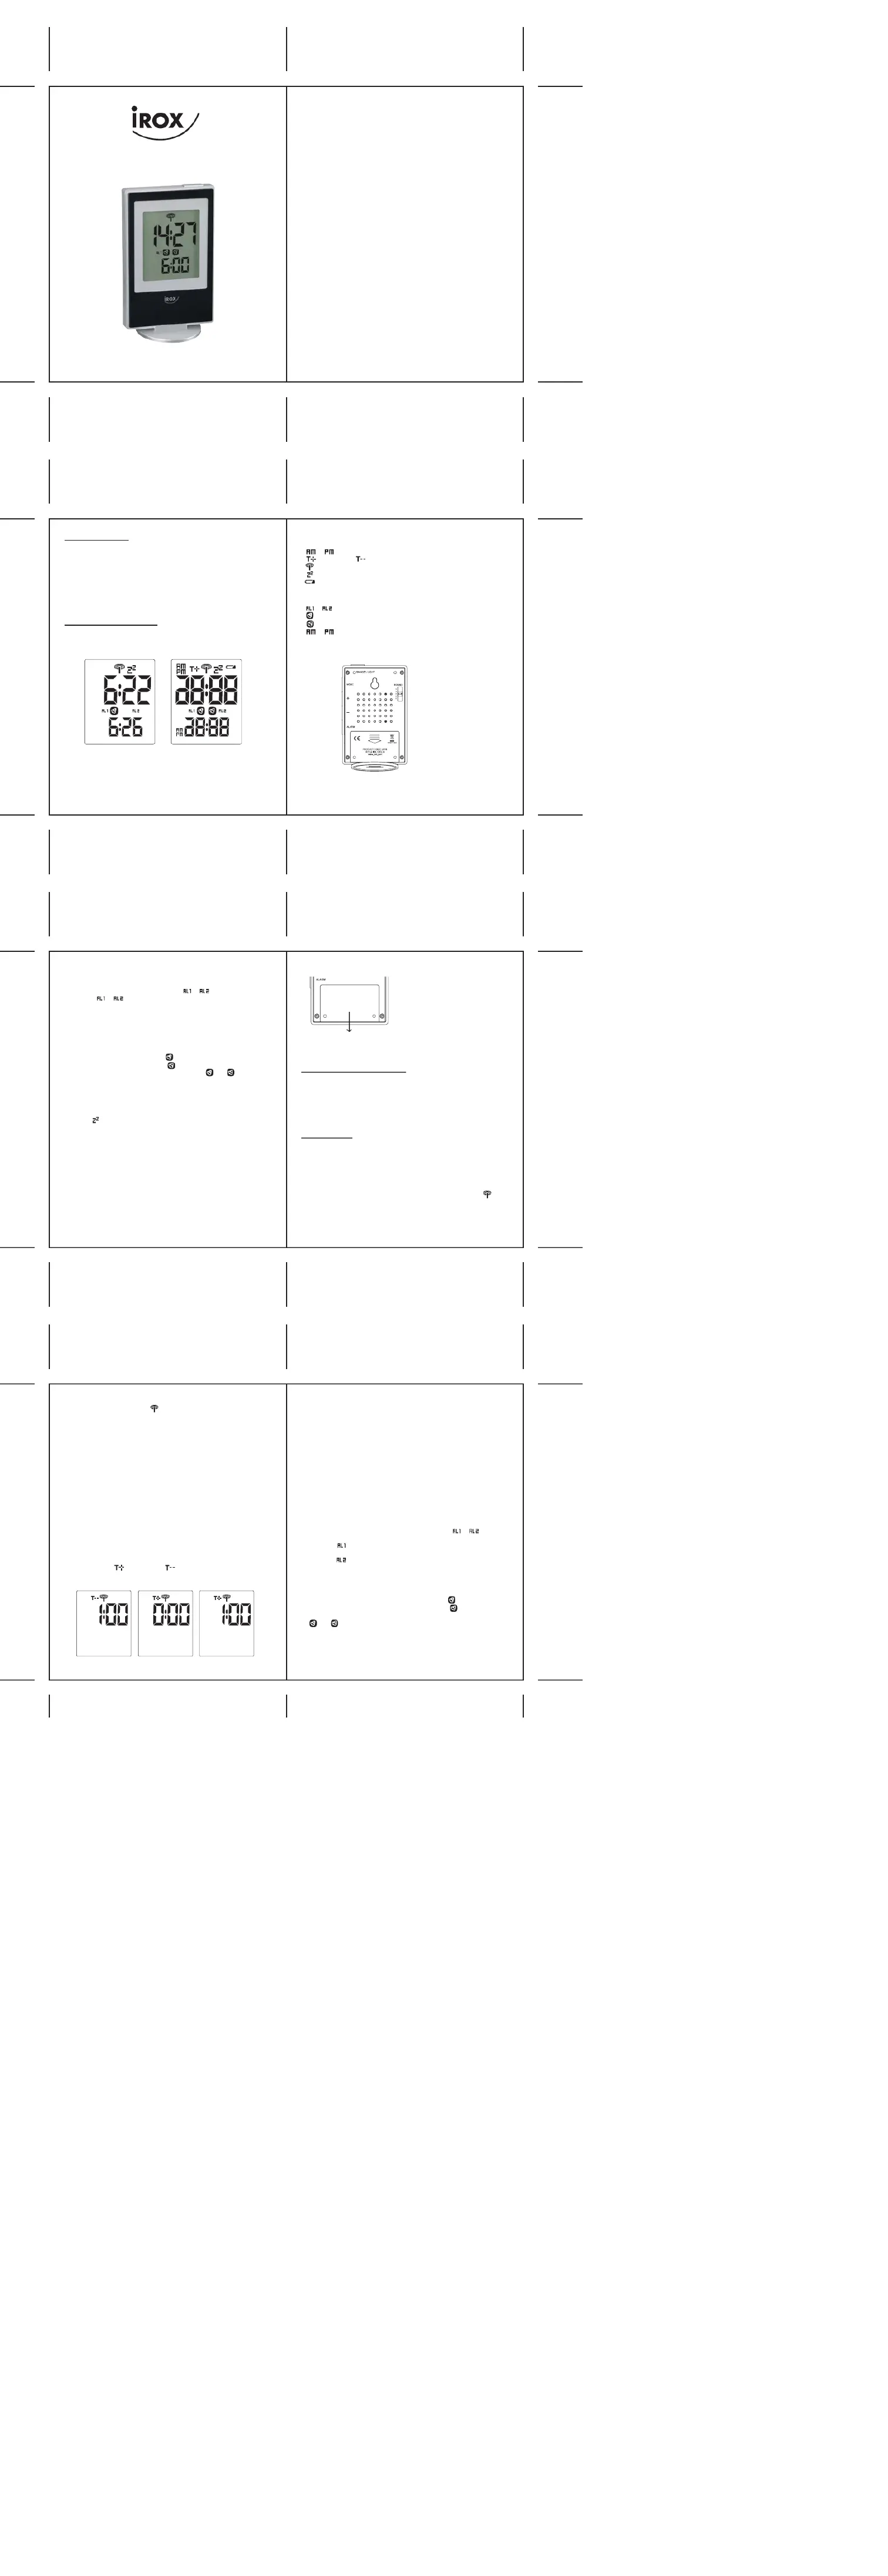
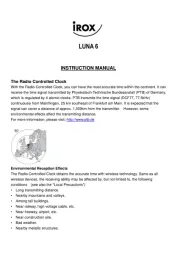
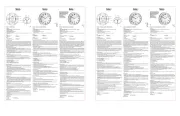
Irox JK-18 Manual

Irox Vækkeur JK-18

Læs gratis den danske manual til Irox JK-18 (2 sider) i kategorien Vækkeur. Denne vejledning er vurderet som hjælpsom af 10 personer og har en gennemsnitlig bedømmelse på 4.3 stjerner ud af 5.5 anmeldelser. Har du et spørgsmål om Irox JK-18, eller vil du spørge andre brugere om produktet?

Side 1/2
KSPO:0400-09
IROX OST18-MANUAL(Eng)
SIZE:W80 x H100(mm)
BY Lai HZ 13/11/09
Version 1.1
Table of contents
JK-18
Operating Instructions
Full-segment display
Battery compartment
2 x 1.5 batteries of the size AM-4 resp. AAA
To open: slide lid in the direction of the arrow (indicated on the lid) after the
stand has been removed.
MODE
- Press and hold 3 seconds to set the 12/24hr time mode, current time
and time-zone (-2 to +2 hrs)
- Press to select the alarm 1 or 2. The icon or will be displayed
- When the or is displayed, press and hold [MODE] for 3 seconds
to set the selected alarm
+
- Press to increase the value of a setting
-
- Press to decrease the value of a setting
ALARM
- Press once to activate the alarm 1, will be shown
- Press again to activate the alarm 2, will be shown
- Press again to activate both alarm 1 and alarm 2, and will be
shown
SNOOZE / LIGHT
- Press to turn on the backlight
- Press and hold 3 seconds to set the snooze cycle (1-9 minutes)
- During the alarm sound is on, press to start the snooze cycle.
The icon will be shown
ALARM
JK-18 provides 5 modes for alarm sound. It is managed by sliding the
switch for selection:
Pos. 1: beep .... beep ..... beep ....
Pos. 2: beepbeep ..... beepbeep .... beepbeep .....
Pos. 3: beep .......................beep .....................beep.
Pos. 4: beep .... beepbeep ..... beepbeepbeep.....................beep....
beepbeep....beepbeepbeep
Pos. 5: beeeeeeeeeeeep...................beeeeeeeeeeeep...................
beeeeeeeeeeeep
1. INTRODUCTION
We would like to thank you for selecting the JK-18 by IROX. You are now
the owner of one of the markets highest quality alarm clock. It is the result
of Swiss engineering and is manufactured in one of the best factories in
greater Hong Kong.
The JK-18 oers absolutely unique features of radio controlled alarm clock
as well as 5 dierent options for the alarm sound.
Please read these instructions carefully to benet fully of all features of
this clock.
2. OPERATING ELEMENTS
2.1 LCD DISPLAY
All functions are depicted on the liquid crystal display (LCD) in two
windows.
Time window
- Display of the current time
- or indicates when the 12hr time mode is set
- (add hour) or (minus hour) indicates when setting the time-zone
- indicates the reception status of radio controlled signal
- indicates when the snooze cycle is started
- Indicates when the batteries are week
Alarm window
- Display of the programmed alarm 1 or alarm 2
- or indicates when the alarm time 1 or 2 is displayed on the window
- indicates when the alarm 1 is activated
- indicates when the alarm 2 is activated
- or indicates the time format of the alarm when the 12hr time
mode is set
2.2 KEYS / SWITCH / BATTERY COMPARTMENT
Rear view
3. PUTTING INTO OPERATION
1. Open the battery compartment of the display device and remove all
insulation strips. If no batteries are in the device, insert the 2 batteries
(AM-4 or AAA 1.5 V) in the correct polarity.
2. Now close the battery compartment.
3. Directly after the activation of the batteries, all segments are displayed
for a few seconds on the display. The JK-18 then begins with
12:00 am on the display.
4. OPERATION
4.1 TIME
Time (hh:mm) is displayed in the top information window. You will also nd
the symbol for the reception status of the radio controlled clock.
4.1.1 The radio-controlled clock
1. After the batteries have been inserted the clock begins its signal search
for the time signal transmitter DCF77 from Germany. The reception of
the time signal takes about 3-10 minutes. During reception the
symbol will blink. If reception is good, with waves. If reception is bad,
without.
2. As soon as the time signal has been successfully received, the time will
automatically be set and the symbol will be activated.
3. If time reception was not successful, the reception symbol is indicated
without waves. In such case, you can also set the time manually (see
directions in chapter 4.1.2). The JK-18 will independently try to receive
a signal again during the night.
NOTE: The radio controlled clock automatically synchronizes itself during
the night (1:00, 3:00, 6:00, 9:00). This increases the chance for an
undisturbed reception of time and accurate time even in locations
where reception is a problem.
4.1.2 Manual setting
JK-18 provides another option which allows you to adjust the clock
manually, when there is no reception for the radio controlled clock signal.
1. Press and hold the MODE button for 3 seconds, time mode 12/24 hr will
be displayed. Press + or button to select. Press MODE to conrm
2. The hour digits are ashing. Press + or button to set the hour. Press
MODE to conrm
3. The minute digits are ashing. Press + or button to set the minute.
Press MODE to conrm.
4. The time-zone display is ashing. Press + or button to set the
time-zone. The time-zone area can be set from -2 to +2 hours. During
the setting, the (add hour) or (minus hour) will be shown. Press
MODE to conrm.
NOTE:
- During the setting mode, if no button is pressed for one minute, the JK-18
will automatically jump back to the current time display. Settings made up
to this point will be stored.
- With the ZONE setting you can use the JK-18 as a radio controlled alarm
clock almost everywhere in Europe. Here are a few examples of countries
where the ZONE should be set (all other West European countries are
ZONE = 0):
-2 hours: Greenland, Azores
-1 hour: Great Britain, Ireland, Portugal, Iceland, Canary Islands
+1 hour: Greece, Finland, Baltic States, Bulgaria, Cyprus, Israel
+2 hours: Russia (Moscow, St. Petersburg)
4.2 ALARM
4.2.1 Setting an alarm
JK-18 oers the feature of dual alarm setting, which you are able to set
and activate two individual alarms at the same time.
1. Press MODE button to select alarm 1 or 2. The icon or will be
displayed.
2. If the icon is shown, press and hold the MODE button for 3 seconds
to enter the setting mode of the alarm time of AL1.
3. If the icon is shown, press and hold the MODE button for 3 seconds
to enter the setting mode of the alarm time of AL2
4. Press + or button to adjust the hours and minutes of the selected alarm.
5. Press MODE button to conrm the setting.
4.2.2 Activate the alarm
1. Press ALARM button once to activate the alarm 1, will be shown.
2. Press ALARM button again to activate the alarm 2, will be shown.
3. Press ALARM button again to activate both alarm 1 and alarm 2,
and will be shown.
4. You are able to set the alarm sound in 5 dierent modes by the sliding
switch (described in section 2.2).
5. Press ALARM button again to deactivate both alarms.
Time Zone Setting
1. Introduction
2. Operating elements
2.1 LCD Display
2.2 Keys / Switch / Battery compartment
3. Putting into operation
4. Operation
4.1 Time
4.1.1 The radio-controlled clock
4.1.2 Manual setting
4.2 Alarm
4.2.1 Setting an alarm
4.2.2 Activate the alarm
4.2.3 Stop the alarm
4.2.4 Setting the snooze cycle
4.3 Backlight
5. Change of battery
6. Care instructions
7. Support
8. Technical data
26
27 28
29 30
31 32


Produkt Specifikationer

Mærke: Irox
Kategori: Vækkeur
Model: JK-18

Har du brug for hjælp?

Hvis du har brug for hjælp til Irox JK-18 stil et spørgsmål nedenfor, og andre brugere vil svare dig


Vækkeur Irox Manualer

Irox

Irox LUNA6 Manual

9 Marts 2025
Irox

Irox HB125P Manual

5 Oktober 2024
Irox

Irox Luna 2 Manual

19 August 2024
Irox

Irox HB90 Manual

17 August 2024
Irox

Irox Luna 3 Manual

15 August 2024
Irox

Irox CUBO-T Manual

15 August 2024
Irox

Irox ORA-5 Manual

5 August 2024
Irox

Irox LouLou Manual

2 August 2024
Irox

Irox Luna 6 Manual

1 August 2024
Irox

Irox Luna 5 Manual

31 Juli 2024

Vækkeur Manualer

Nyeste Vækkeur Manualer

Nedis

Nedis CLWA2226WD Manual

3 November 2025
Nedis

Nedis CLDK2008BN Manual

3 November 2025
Nedis

Nedis CLWA4226BK Manual

3 November 2025
Lenco

Lenco CR-640 Manual

3 November 2025
Nedis

Nedis CLWA3226SS Manual

2 November 2025
Nedis

Nedis CLWA1226WT Manual

2 November 2025
Nedis

Nedis CLWA5226SS Manual

2 November 2025
Nedis

Nedis CLWA1226BK Manual

1 November 2025
Techno Line

Techno Line WT 5010 Manual

1 November 2025