KitchenAid KDTE104KPS Manual
KitchenAid
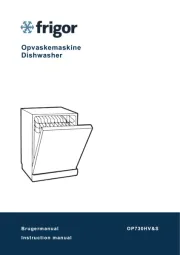
Opvaskemaskine
KDTE104KPS

| Mærke: | KitchenAid |
| Kategori: | Opvaskemaskine |
| Model: | KDTE104KPS |
Har du brug for hjælp?
Hvis du har brug for hjælp til KitchenAid KDTE104KPS stil et spørgsmål nedenfor, og andre brugere vil svare dig
Opvaskemaskine KitchenAid Manualer

4 November 2025

4 November 2025

16 August 2025
9 Juni 2025
2 Januar 2025

2 Januar 2025

2 Januar 2025

3 November 2024

14 Oktober 2024

6 Oktober 2024
Opvaskemaskine Manualer
- Zerowatt
- Amica
- Sunny
- MBM
- Grundig
- Milectric
- UPO
- Silverline
- Omega
- Jolly
- Barazza
- Trieste
- Emerio
- Bauknecht
- Nodor
Nyeste Opvaskemaskine Manualer

4 November 2025

3 November 2025

3 November 2025

3 November 2025

3 November 2025
3 November 2025

3 November 2025

2 November 2025
2 November 2025
1 November 2025