Aperture-direct-readout scale
Infrared compensation index
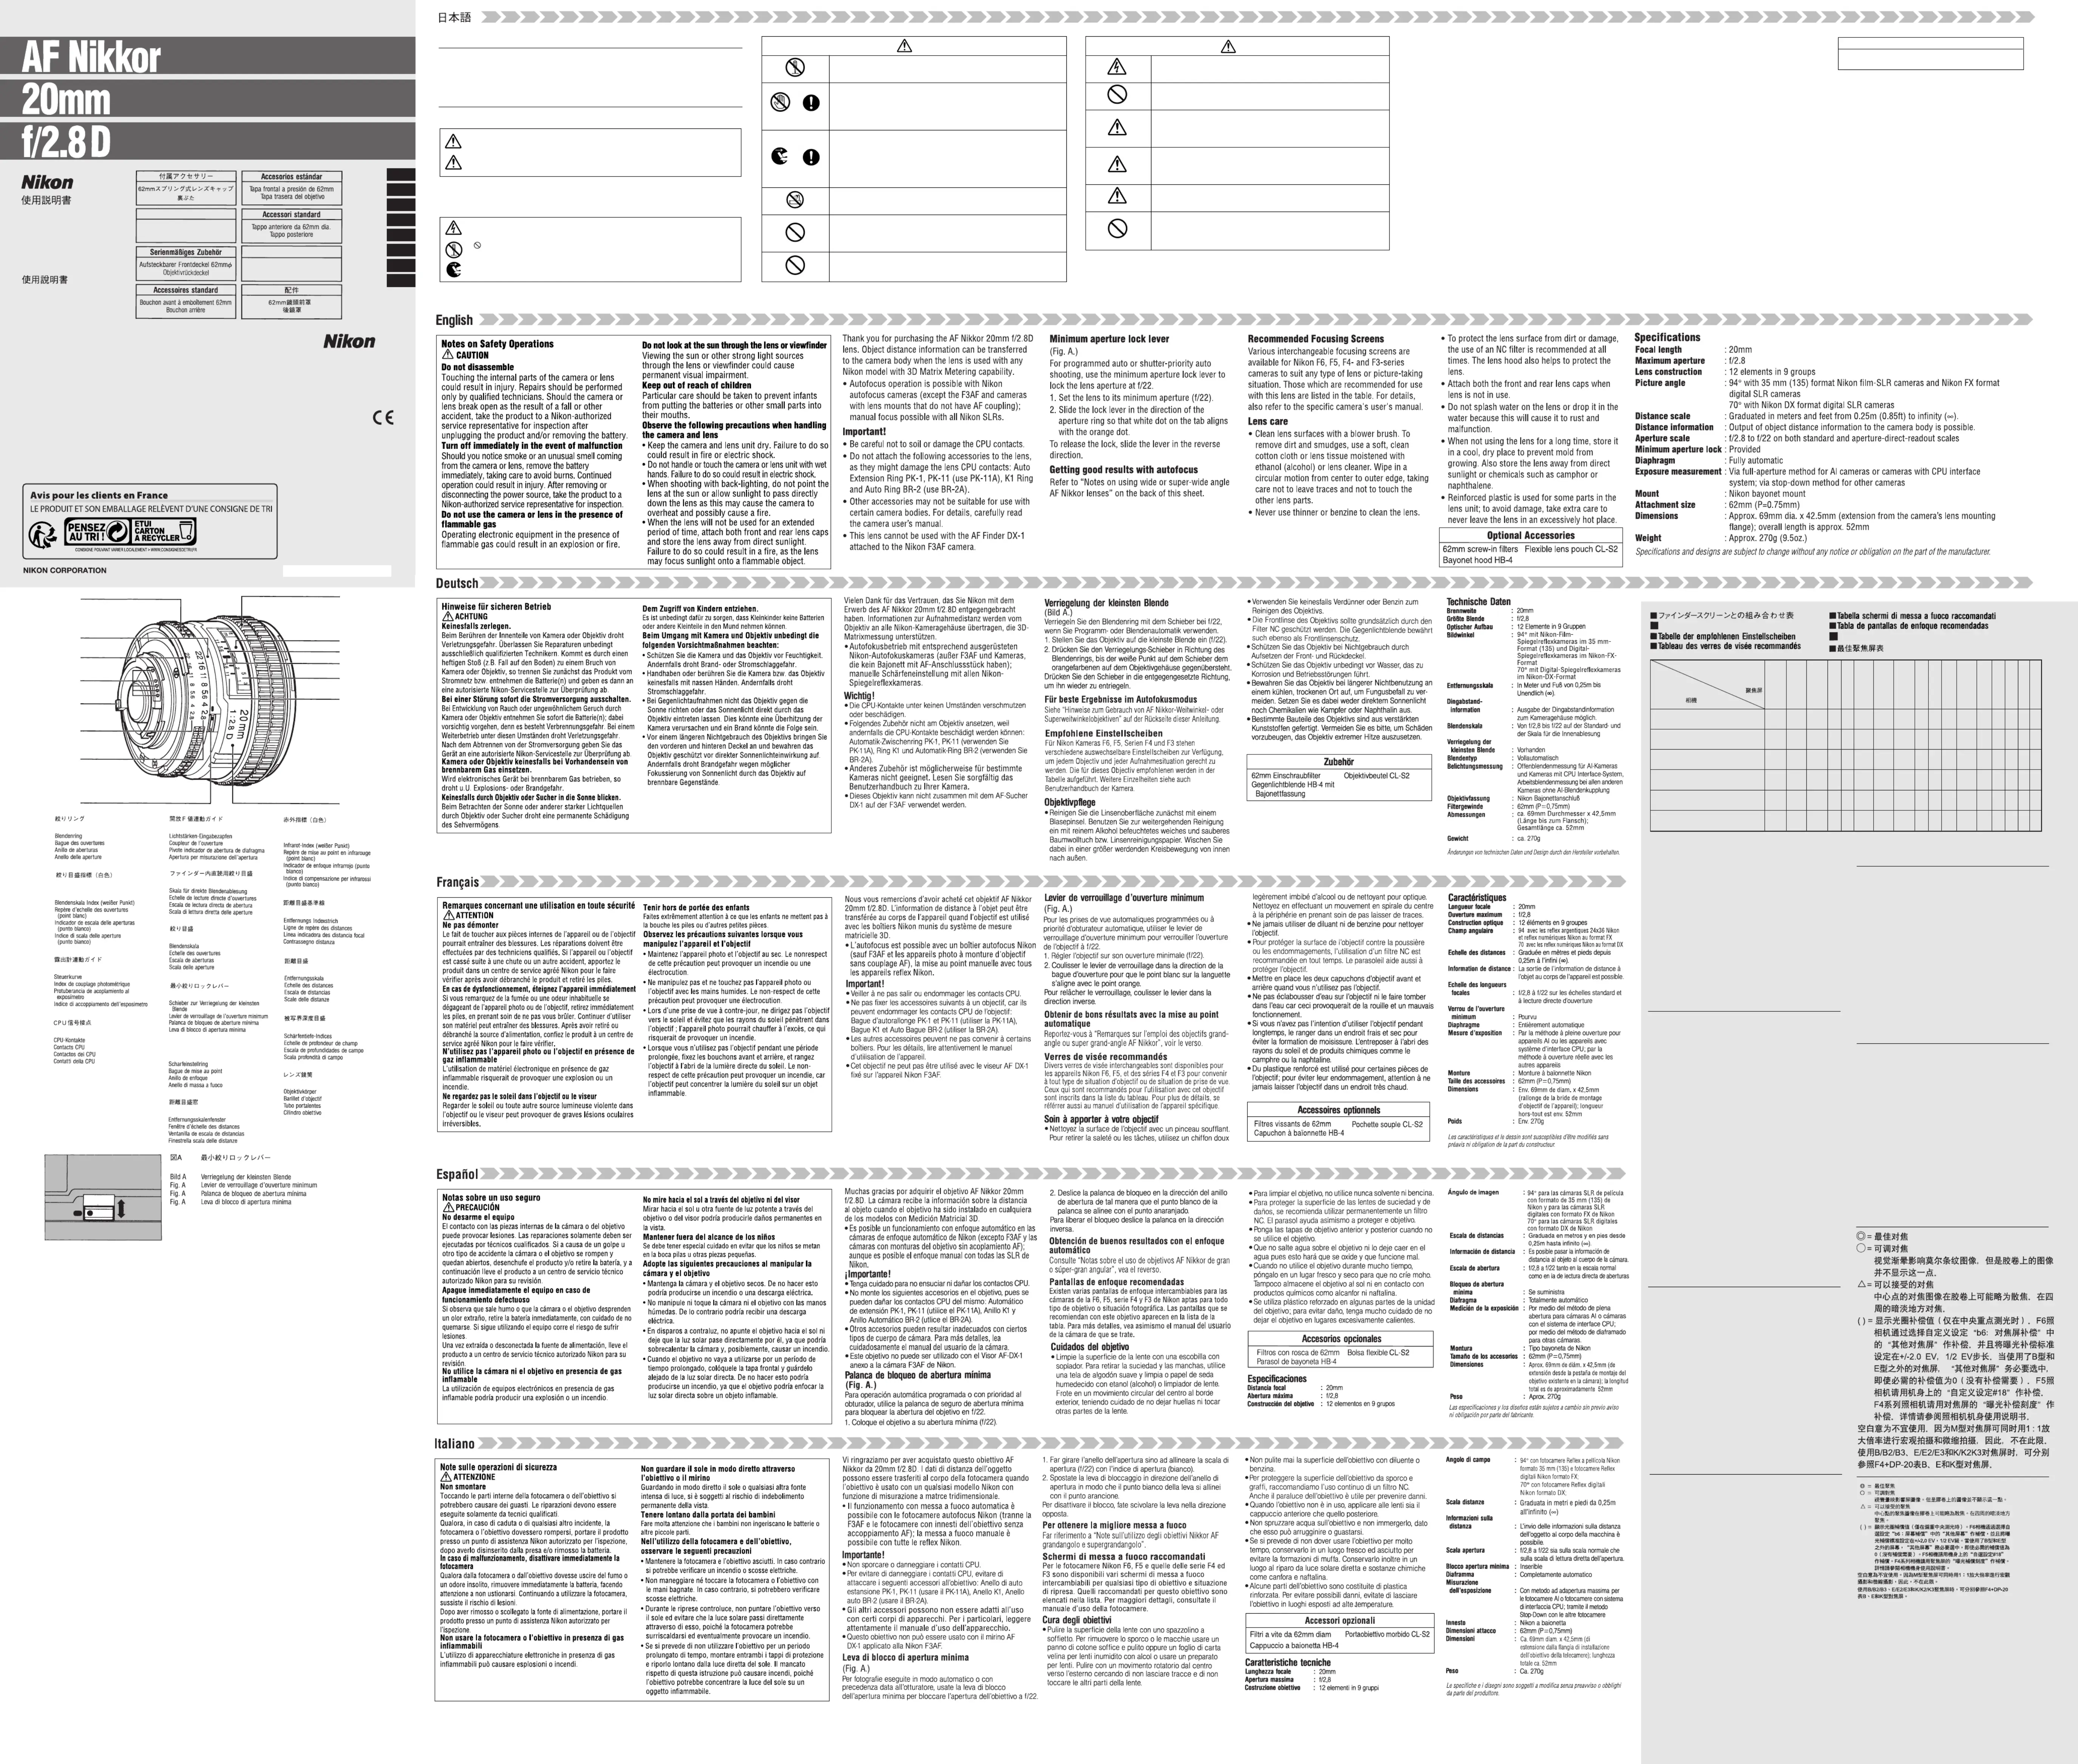
Minimum aperture lock lever
Depth-of-field indicators
Fig. A Minimum aperture lock lever
このたびは、ニッコールレンズをお買い上げいただきありがとうご
ニコンの AF[オートフォーカス(レンズマウントに AF カッ
プリングがないカメラ、F3AF を除く)]カメラとの組み合わ
せでオートフォーカス撮影ができます。また、マニュアル(手
動)によるピント合わせも可能です。さらに、撮影距離情報を
取り入れたカメラとの組み合わせでは、撮影距離情報をカメラ
に伝達する機能を備えています。ニコン独自の近距離補正機構
を採用していますので、近写性能にも優れ、広い画角を必要と
する室内撮影はもとより、風景写真、スナップ写真などで遠近
感を誇張した特異な効果を狙うこともでき、幅広い用途に対応
●下記のアクセサリーはCPU信号接点などを損傷しますの
オート接写リングPK-1・PK-11、K1リング、オートリング
BR-4・BR-2(なお、PK-11リングの代わりにはPK-11A
を、また、BR-2リングの代わりにはBR-2Aリングをご使用く
上記以外のアクセサリーにつきましても、カメラとの組み
合わせによりご使用できないことがあります。アクセサリ
ーのご使用に際しては、必ず各カメラの使用説明書も併せ
●DX-1ファインダー(ニコンF3AF用)と組み合わせてのご
プログラム撮影時やシャッター優先による撮影時は、絞りリン
グを最小絞り目盛で固定することができます。ロック方法は、
絞りリングを回転させ、最小絞り目盛(22)を絞り目盛指標
(白色)に合わせます。最小絞りロックレバーをスライド(白色
とオレンジ色を合わせる)させることによりロックができます。
ロックの解除は、ロックしたときと反対方向にロックレバーを
裏面の「広角・超広角レンズのオートフォーカス撮影について」をご覧ください。
ニコン F6、F5、F4、F3 シリーズのカメラには多種類のファ
インダースクリーンがあり、レンズのタイプや撮影条件に合わ
せて、最適なものを選ぶことができます。このレンズに適した
(なお、ご使用に際しては、必ず各カメラボディの使用説明書
●レンズの清掃は、ホコリを拭う程度にしてください。万一
指紋がついたときは、柔らかい清潔な木綿のふきんに無水
アルコール(エタノール)を少量湿らせ、中心から外側へ
渦巻状に、拭きムラ、拭き残りのないよう注意して拭いて
シンナーやベンジンなどの有機溶剤は絶対に使用しないでください。
●レンズ表面の汚れや傷を防ぐために、NCフィルターの使用
をおすすめします。レンズの保護には、フードも役立ちま
●レンズをご使用にならないときは、レンズの前後に必ず付
レンズを水に濡らしたり水中に落としたりすると、部品がサ
ビついたりして故障の原因となりますのでご注意ください。
● 長期間お使いにならないときや保管の際は、カビあるいは
サビを防ぐため、高温多湿、直射日光の当たるところまた
は、ナフタリンや樟脳のあるところは避けて、風通しのよ
このレンズの外観の一部には強化プラスチックを使用してい
ますが、極端に温度が高くなると変形する場合があります。
ストーブの前など、高熱となる場所は避けてください。
62mmネジ込み式フィルター ソフトケースCL-S2
撮影距離目盛: ∞〜0.25m、0.85ft(併記)
撮影距離情報: カメラへの撮影距離情報出力可能
絞り目盛: 2.8〜22 ファインダー内直読用絞り目盛
最小絞りロック:ロックレバーによりf/22にロック可能
測光方式: CPU・AI方式のカメラでは開放測光
大きさ: 約69(最大径)×42.5mm(長さ:バヨ
仕様、外観の一部を、改善のため予告なく変更することがあります。
Printed in Japan TT5E20(80)
62mm snap-on front lens cap
使用説明書の内容が破損などによって判読できなくなったときは、ニコンサービス機関にて新しい使用説明書をお求めください。(有料)
No reproduction in any form of this manual, in whole or in part (except for brief quotation in
critical articles or reviews), may be made without written authorization from NIKON
使用说明书
使用说明书
使用说明书
使用说明书使用说明书
△記号は、注意(警告を含む)を促す内容を告げるものです。図の中や近くに具体
的な注意内容(左図の場合は感電注意)が描かれています。
記号は、禁止の行為(してはいけないこと)を告げるものです。図の中や近くに具
体的な禁止内容(左図の場合は分解禁止)が描かれています。
●記号は、行為を強制すること(必ずすること)を告げるものです。図の中や近く
に具体的な強制内容(左図の場合は電池を取り出す)が描かれています。
この表示を無視して、誤った取り扱いをすると、人が死亡または重傷を負う可
この表示を無視して、誤った取り扱いをすると、人が傷害を負う可能性が想定
される内容および物的損害の発生が想定される内容を示しています。
ご使用の前に「安全上のご注意」をよくお読みのうえ、正しくお使いください。この「安全上
のご注意」は製品を安全に正しく使用していただき、あなたや他の人々への危害や財産への損
害を未然に防止するために、重要な内容を記載しています。お読みになった後は、お使いにな
お守りいただく内容の種類を、次の絵表示で区分し、説明しています。
落下などによって破損し、内部が露出したときは、露出部に手を
感電したり、破損部でケガをする原因となります。カメラの電池を抜いて、
販売店またはニコンサービス機関に修理を依頼してください。
熱くなる、煙が出る、こげ臭いなどの異常時は、速やかにカメラの電池
そのまま使用すると火災、やけどの原因となります。電池を取り出す際、
やけどに充分注意してください。電池を抜いて、販売店またはニコンサー
水につけたり、水をかけたり、雨にぬらしたりしないこと
プロパンガス・ガソリンなど引火性ガスや粉塵の発生する場所で使用する
太陽光がカメラ内部で焦点を結び、火災の原因になることがあります。画
角から太陽をわずかに外しても火災の原因になることがあります。
使用しないときは、レンズにキャップをつけるか太陽光のあたらない所
太陽光が焦点を結び、火災の原因になることがあります。
三脚にカメラやレンズを取り付けたまま移動しないこと
転倒したりぶつけたりしてケガの原因になることがあります。
窓を閉め切った自動車の中や直射日光が当たる場所など、異常
内部の部品に悪い影響を与え、火災の原因となることがあります。
スクリーンScreen Einstellscheibe
Table of Recommended Focusing Screens
○視野の一部が多少見にくくなりますが、撮影結果には全く影響があ
△ スプリットの合致像は見えますが、ピント合わせは精度上適しませ
( ) 中央部重点測光時の補正値です。F6カメラの場合、測光値の補正
は、カメラのカスタムメニュー「b6:スクリーン補正」を「Bor
E以外」にセットして行います。B型およびE型以外を使用する場
合は、補正量が0でも、「BorE以外」にセットしてください。
F5カメラの場合は、カスタムセッティングNo.18の設定で測光値
の補正を行います。F4シリーズカメラの場合は、ファインダース
空欄 使用不適当です。ただし、Mスクリーンの場合、撮影倍率1/1倍
以上の近接撮影に用いられるため、この限りではありません。
注意:上記以外のカメラでB/B2/B3、E/E2/E3、K/K2/K3ス
クリーンの見え方は、それぞれF4+DP-20のB、E、Kスクリーン
Slight vignetting or moiré patterns appear in the
viewfinder, but not on the film.
The in-focus image in the central spot may prove to be
slightly out of focus on film. Focus on the surrounding
( ) Indicates degree of exposure compensation needed
(Center-Weighted metering only). For F6 cameras,
compensate by selecting “Other screen” in Custom
Setting “b6: Screen comp.” and setting the EV level to
-2.0 to +2.0 in 0.5 EV steps. When using screens other
than type B or E, “Other screen” must be selected even
when the required compensation value is “0” (no
compensation required). For F5 cameras, compensate
using Custom Setting #18 on the camera body. For
F4-Series cameras, compensate using the Exposure
Compensation Dial for the focusing screen.
See user’s manual of the camera body for more details.
Blank box means not applicable. Since type M screen can
be used for both macrophotography at a 1:1 magnification
ratio and for photomicrography, it has different applications
When using the B/B2/B3, E/E2/E3, and K/K2/K3 focusing
screens in cameras other than those listed above, refer to
the columns on the F4 + DP-20’s B, E and K screens,
◎Hervorragende Scharfeinstellung
○Akzeptable Scharfeinstellung
Das Sucherbild vignettiert leicht. Die Aufnahme selbst bleibt hiervon
△Brauchbare Scharfeinstellung.
Das im mittleren Kreis scharf eingestellte Bild könnte auf dem Film leicht
unscharf abgebildet werden. Stellen Sie auf dem umliegenden Mattfeld
( )Zeigt den Betrag zusätzlich erforderlicher Belichtungskorrektur (Nur
mittenbetonte Belichtungsmessung). Bei F6-Kameras korrigieren Sie
durch Wahl von “Andere” in der Individualfunktion “b6: Einstellscheibe”
und Einstellen des LW-Werts im Bereich zwischen –2,0 und +2,0 in 0,5-
LW-Schritten. Bei Gebrauch von anderen Scheiben als B oder E, ist
“Andere” auch dann zu wählen, wenn der erforderliche Korrekturwert “0”
beträgt (keine Korrektur nötig). Zur Einstellung des Korrekturwerts am F5
Kameragehäuse dient die Individualfunktion Nr. 18. Mit den F4-Serien-
Geräten durch den Belichtung-Kompensationsanzeiger für
Visiermattscheiben kompensieren.
Näheres hierzu finden Sie im Benutzerhandbuch des Kameragehäuses.
Ein Leerfeld bedeutert: unbrauchbar. Da die Einstellscheibe M sowohl für
Maktrofotografie bis zum Abbildungsmaßstab 1:1 als auch Mikrofotografie
eingesetzt werden kann, unterscheidet sich ihr Anwendungsbereich von dem
anderer Einstellscheiben.
Bei Verwendung der Scheiben B/B2/B3, E/E2/E3 bzw. K/K2/K3 in anderen als
den obengenannten Kameras gelten die Spalten für die Scheiben B, E bzw. K
◎Mise au point excellente
Un vignetage affecte l’image du verre. L’image sur la pellicule ne porte
cependant aucune trace de ceci.
L’image mise au point dans le cercle central pourrait s’avérer légèrement
La mise au point doit donc être faite sur la couronne dépolie entourant le
cercle central duverre de visée.
( )Indique la compensation de l’exposition additionnelle requise (Mesure
pondérée centrale uniquement). Pour les appareils F6, corrigez en
sélectionnant “Activ.: autre“ dans le réglage personnalisé “b6: Plage visée”
et en réglant le niveau IL de -2,0 à +2,0 par pas de 0,5 IL. Lorsque vous
utilisez des verres autres que ceux de type B ou E, il faut sélectionner
“Activ.: autre” même lorsque la valeur de correction est de “0“ (pas de
correction nécessaire). Pour les appareils F5, compenser en utilisant le
réglage personnalisé n° 18 sur l’appareil. Pour les appareils de la série F4,
compenser en utilisant le cadran de compensation de l’exposition prévu
pour les filtres de mise au point.
Voyez le manuel d’utilisation de l’appareil photo pour plus de détails.
Un blanc indique aucune application. Du fait que le verre M peut être utilisé
pour la macrophotographie à un rapport d’agradissement 1:1 et pour la
photomicrographie, il a des applications diffèrentes de celles des autres
Lors de l’utilisation de verres B/B2/B3, E/E2/E3 ou K/K2/K3 dans des
appareils autres que ceux indiqués ci-dessus, se reporter respectivement aux
colonnes des verres B, E, K de F4 + DP-20.
Ligero viñeteo afecta la imagen de la pantalla, pero la imagen de la película
La imagen enfocada en el circulo central puede resultar ligeramente
desenfocada en la fotografía. Se aconseja enfocar mediante el área mate
Indica la cantidad de compensación adicional necesaria (Solamente medición
ponderada central). Para cámaras F6, compense seleccionando “Otra pantalla”
en el ajuste personal del usuario “b6: Compens pantalla” y ajustando el nivel EV
a -2,0 a +2,0 en pasos de 0,5 EV. Cuando se utilice una pantalla que no sea de
tipo B o E, debe seleccionarse “Otra pantalla” incluso cuando el valor de
compensación requerido sea “0” (no se requiere compensación). Para la cámara
F5 compense usando el ajuste personal del usuario No. 18 en el cuerpo de la
cámara. Para las cámaras de la serie F4, compense usando el dial de
compensación de exposición para las pantallas de enfoque.
Para más detalles, consulte el manual del usuario de la cámara.
Los blancos significan inaplicable. Como la pantalla de tipo M se usa para
macrofotografía a una razón de aumento de 1:1 asi como para microfotografía, su
aplicación es distinta a la de las demás pantallas.
Cuando se utilicen las pantallas de enfoque B/B2/B3, E/E2/E3 y K/K2/K3 en cámaras
distintas de las relacionadas arriba, vea las columnas de las pantallas B, E y K, de F4
◎Messa a fuoco eccellente
○Messa a fuoco accettabile
L’immagine sullo schermo presenta una riduzione di luminosità o tracce di
fenomeno del moiré. Questo però non lascia tracce sulla pellicola.
△Messa a fuoco accettabile
L’immagine messa a fuoco al centro potrebbe risultare leggermente fuori
fuoco sulla pellicola. Mettere a fuoco la zona circostante il soggetto.
( )Indica il valore della compensazione di esposizione aggiuntiva richiesto
(Solamente misurazione a preferenza centrale). Con le fotocamere F6,
compensare selezionando “Otra pantalla” nell’impostazione
personalizzata “b6: Compens pantalla”, quindi impostando il livello EV
tra -2.0 e +2.0 ad intervalli di 0,5 EV. Quando si utilizzano schermate
diverse da B o E, è necessario selezionare “Otra pantalla” anche quando
il valore di compensazione richiesto è pari a “0” (nessuna
compensazione necessaria). Per la fotocamera F5, compensare
utilizzando l’impostazione personalizzata 18 sul corpo della fotocamera.
Per gli apparecchi della serie F4, compensare utilizzando il quadrante di
compensazione dell’esposizione previsto per i filtri di messa a fuoco.
Per ulteriori dettagli, fare riferimento al manuale d’uso della fotocamera.
Il quadrato vuoto non è applicabile. Come lo schermo del tipo M può essere utilizzato
per macrofotografia con rapporto di ingrandimento 1:1 e fotomicrografia, esso
presenta differenti applicazioni che agli altri schermi.
Impiegando gli schermi B/B2/B3, E/E2/E3 ed K/K2/K3 con fotocamere diverse da
quelle elencate sopra, fare riferimento alle colonne riguardanti gli schermi B, E e K di
F4 + DP-20, rispettivamente.