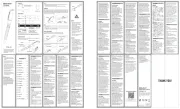
Olight Warrior X Turbo Manual
Olight
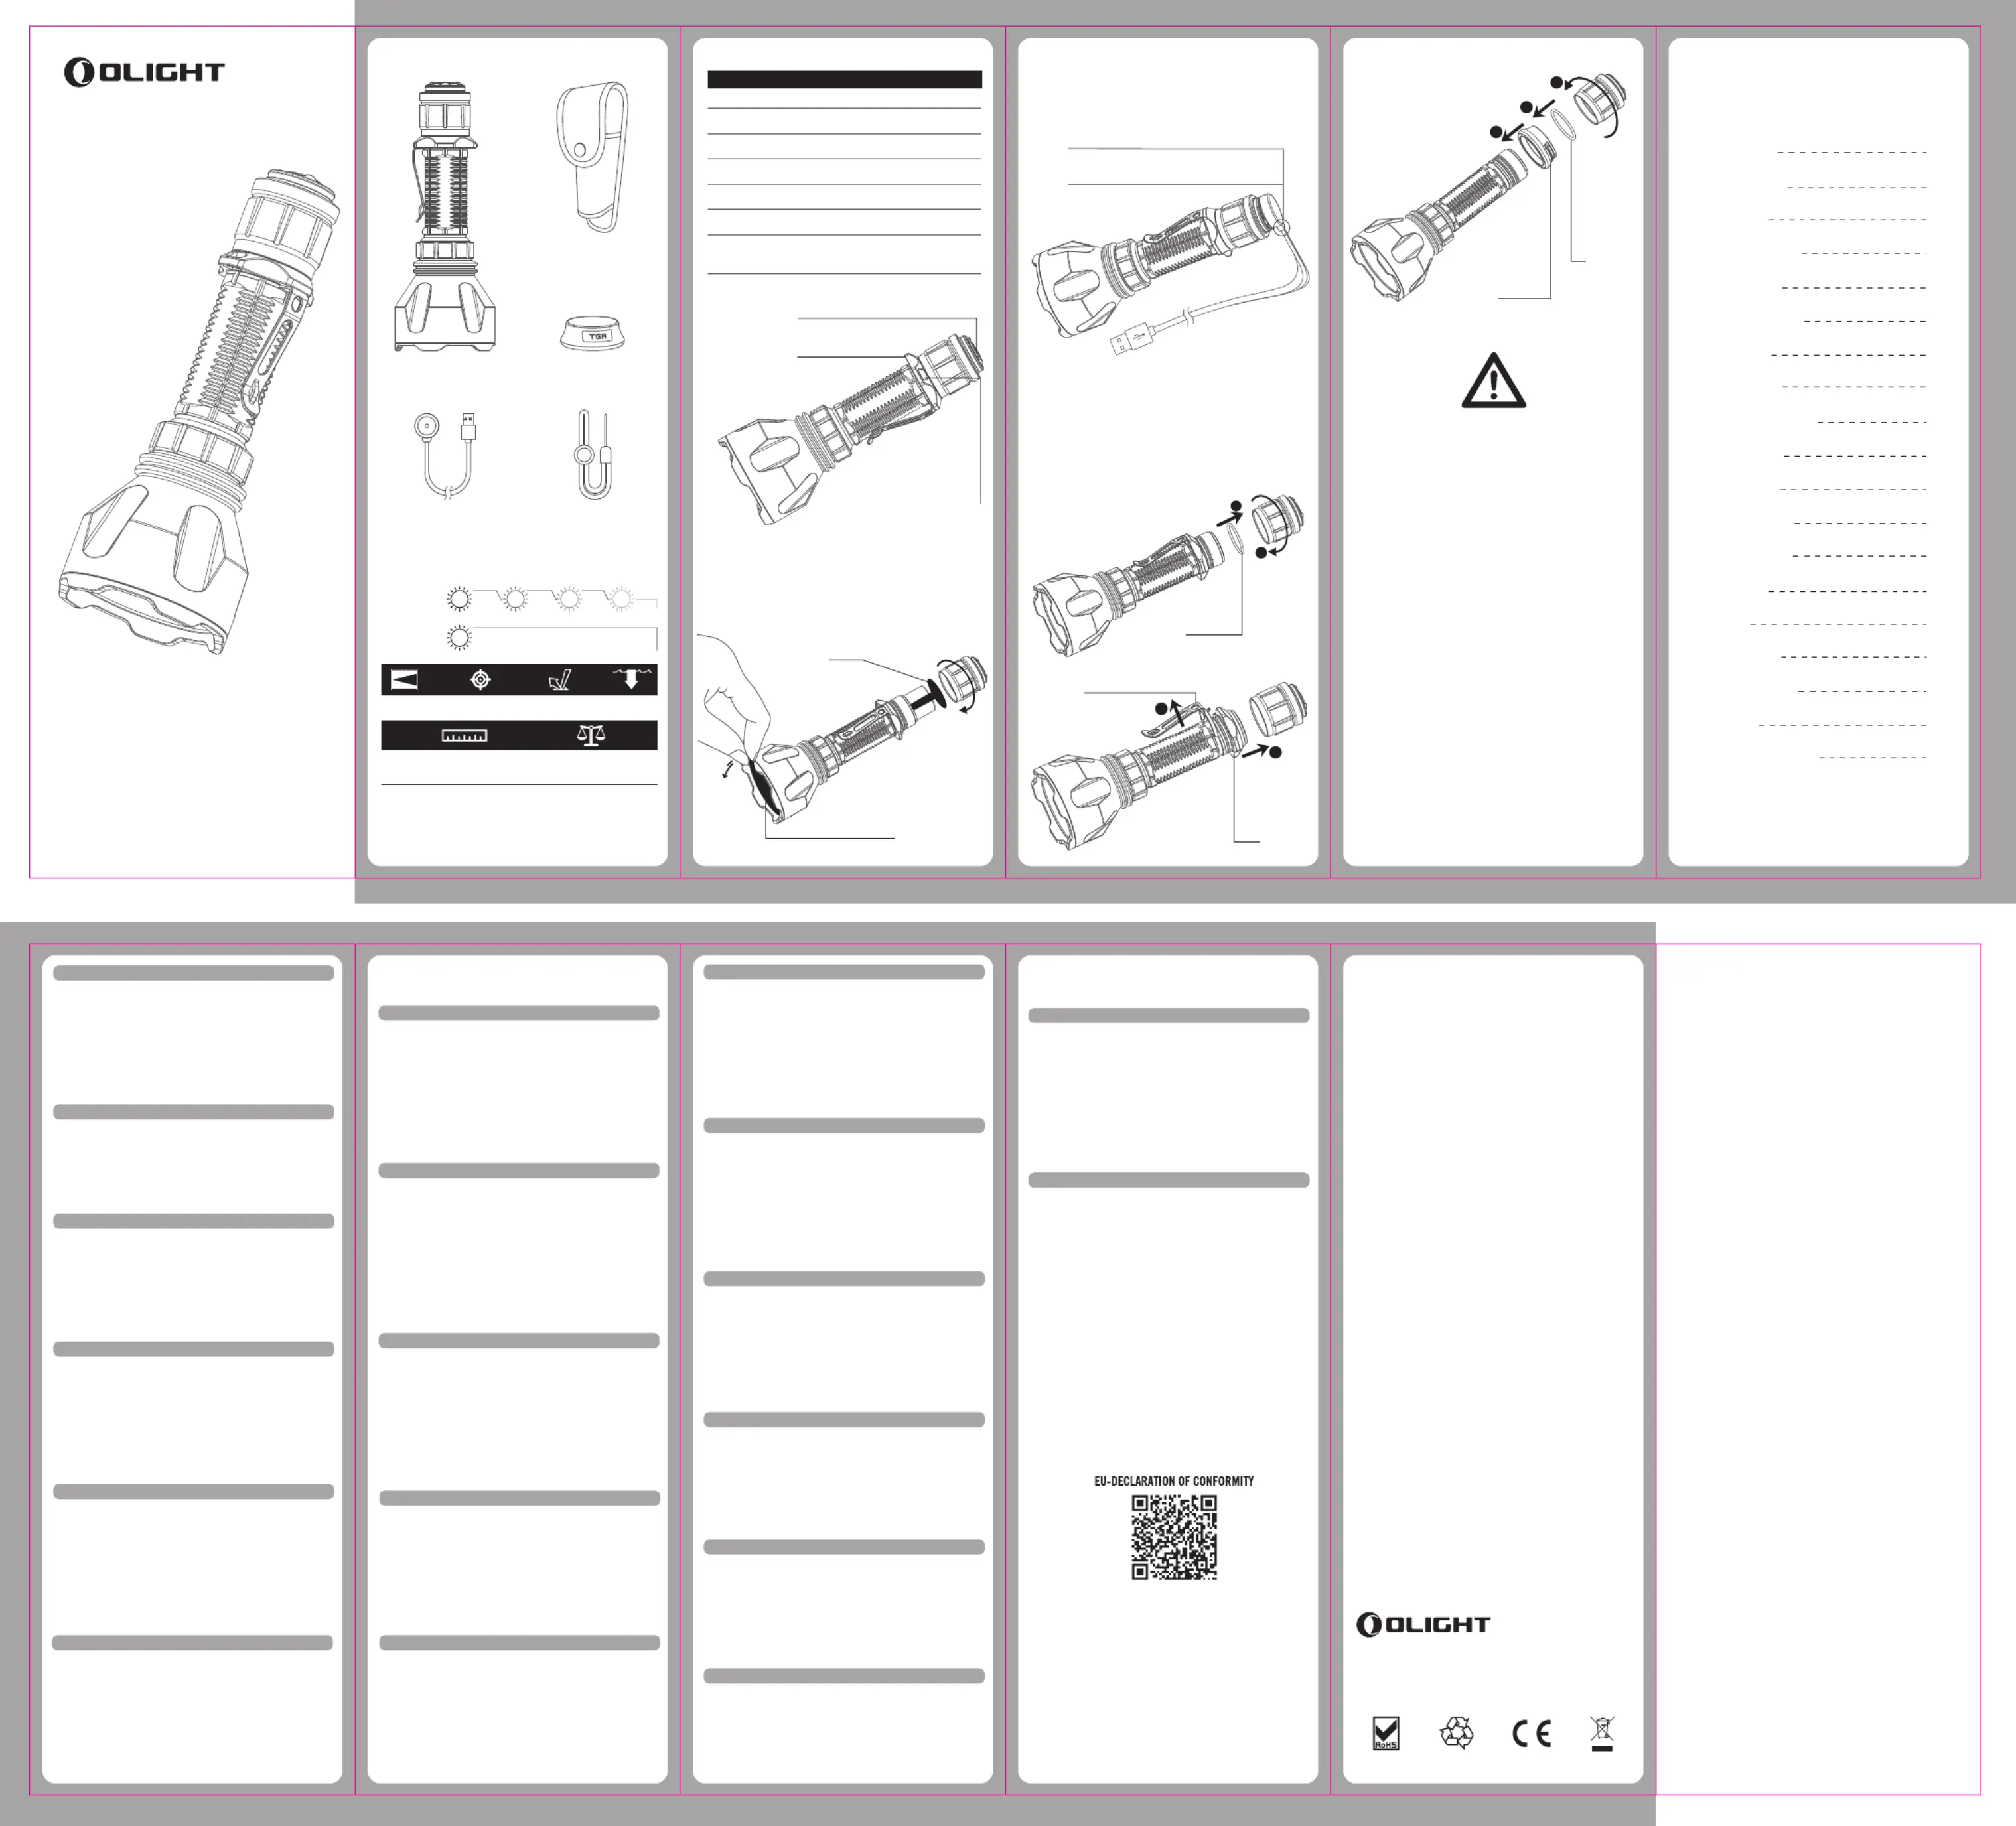
Lommelygte
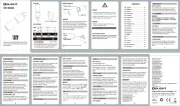
Warrior X Turbo
| Mærke: | Olight |
| Kategori: | Lommelygte |
| Model: | Warrior X Turbo |
| Kode for international beskyttelse (IP): | IPX8 |
| Antal effektniveauer: | 2 |
| Dybde: | 26.2 mm |
| Højde: | 157 mm |
| Vægt: | 294 g |
| Antal pr. pakke: | 1 stk |
| Brugervejledning: | Ja |
| Produktfarve: | Sort |
| Kontroltype: | Knapper |
| Batterikapacitet: | 5000 mAh |
| Lampe type: | LED |
| Husmateriale: | Aluminium |
| Vandfast: | Ja |
| Pakketype: | Kasse |
| Batterier inkluderet: | Ja |
| Batterilevetid (maks.): | 12.5 t |
| Batteritype: | 21700 |
| Antal understøttede batterier: | 1 |
| Antal lamper: | 1 Lampe( r) |
| Lysfarve: | Hvid |
| Farvetemperatur: | 6000 K |
| Numre af batterier medfølger: | 1 stk |
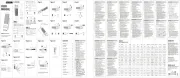
| Emballageindhold: | MCC3 Magnetic USB Charging Cable x 1\nSilicone Tactical Grip Ring x 1\nLanyard x 1\nHolster x 1 |
| Genopladeligt batteri: | Ja |
| Opladningskilde: | USB |
| Slagfast: | Ja |
| Stødsikker op til: | 1.5 m |
| Lommelygte type: | Hånd lommelygte |
| Lysstråle afstand (maks.): | 1000 m |
| Lysstrøm: | 1100 lm |
| Lys output (maks.): | 1100 lm |
| USB oplader inkluderet: | Ja |
| LED type: | CCT: 6000K~6700 |
| Antal lystilstande: | 2 |
| Lysstyrke: | 250000 Candella |
| Magnet: | Ja |
| Lys output (min.): | 150 lm |
| Lysstråle afstand (min.): | 360 m |
| Hoved, diameter: | 58 mm |
| Ikke for børn fra 0-3 år: | Ja |
| Krog: | Ja |
| Garantiperiode: | 5 År |
Har du brug for hjælp?
Hvis du har brug for hjælp til Olight Warrior X Turbo stil et spørgsmål nedenfor, og andre brugere vil svare dig
Lommelygte Olight Manualer
8 Oktober 2025
29 September 2025
7 Juli 2025
7 Juli 2025
5 Juli 2025
5 Juli 2025
2 April 2025

31 Marts 2025
30 Marts 2025
30 Marts 2025
Lommelygte Manualer
- Graphite
- Tracer
- Parat
- Velleman
- Tecxus
- Philips
- Nitecore
- Rocktrail
- Alpen Optics
- Beghelli
- Powerfix
- Aluratek
- Silverline
- Brinkmann
- Eisemann
Nyeste Lommelygte Manualer

18 December 2025

18 December 2025

17 December 2025

17 December 2025

17 December 2025

17 December 2025

17 December 2025

17 December 2025

17 December 2025

17 December 2025