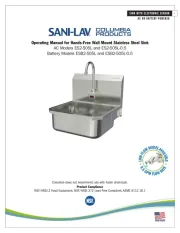
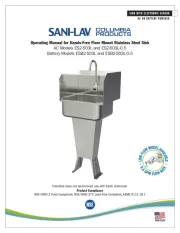
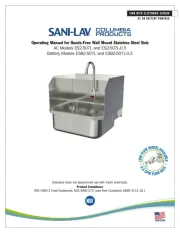
A C O R B AT T E R Y P O W E R E D
S I N K W I T H E L E C T R O N I C S E N S O R
800.626.2117 columbiasinks.com info@columbiasinks.com
Installation Instructions
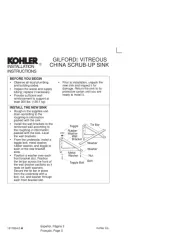
1. Establish sink location on the wall.
2. Measure a recommended 41.5” from finished floor and draw a level line which will be the top
edge of the wall mounting bracket.
3. Hold the wall mounting bracket against the wall and mark the wall where the holes are. Drill
holes and secure bracket to the wall as shown in illustration A. Screws are not provided.
1. Install faucet assembly to the sink following the instructions provided with sensor unit.
2. Install strainer assembly.
3. Install mixing check valve to inlet filter on faucet.
1. Position the sink onto wall bracket.
2. Mark holes for fastening side mounting brackets as shown in illustration B.
3. Remove sink from the wall bracket.
4. Drill holes in wall for securing sink to wall.
5. Hang sink on the wall bracket and secure to the wall.
1. Connect waste line or drain pipe to strainer assembly.
2. Connect hot and cold water from the source to the mixing check valve.
3. Remove aerator from the spout assembly and flush water system.
4. Check connections for leaks.
5. Replace aerator onto the spout.
(6) Nuts and washers to attach bowl to pedestal base
(1) AC or battery powered sensor faucet assembly
(1) Strainer assembly with basket
WARNING: This product can expose you to chemicals including Chromium (hexavalent compounds),
Lead, and Phthalates (DEHP) which are known to the State of California to cause cancer and birth defects
or other reproductive harm. For more information go to www.P65Warnings.ca.gov.
NOTE: Lead content originates from Brass components in valves and faucets and is certied under
NSF/ANSI 372 as containing less than 0.25% lead in wetted surfaces.
Notice for California Consumers
Drill motor and drill bits
Screw drivers: phillips and standard
Go to for more information on replacement parts and installation videos.columbiasinks.com