Suevia ViaLux S Manual
Suevia
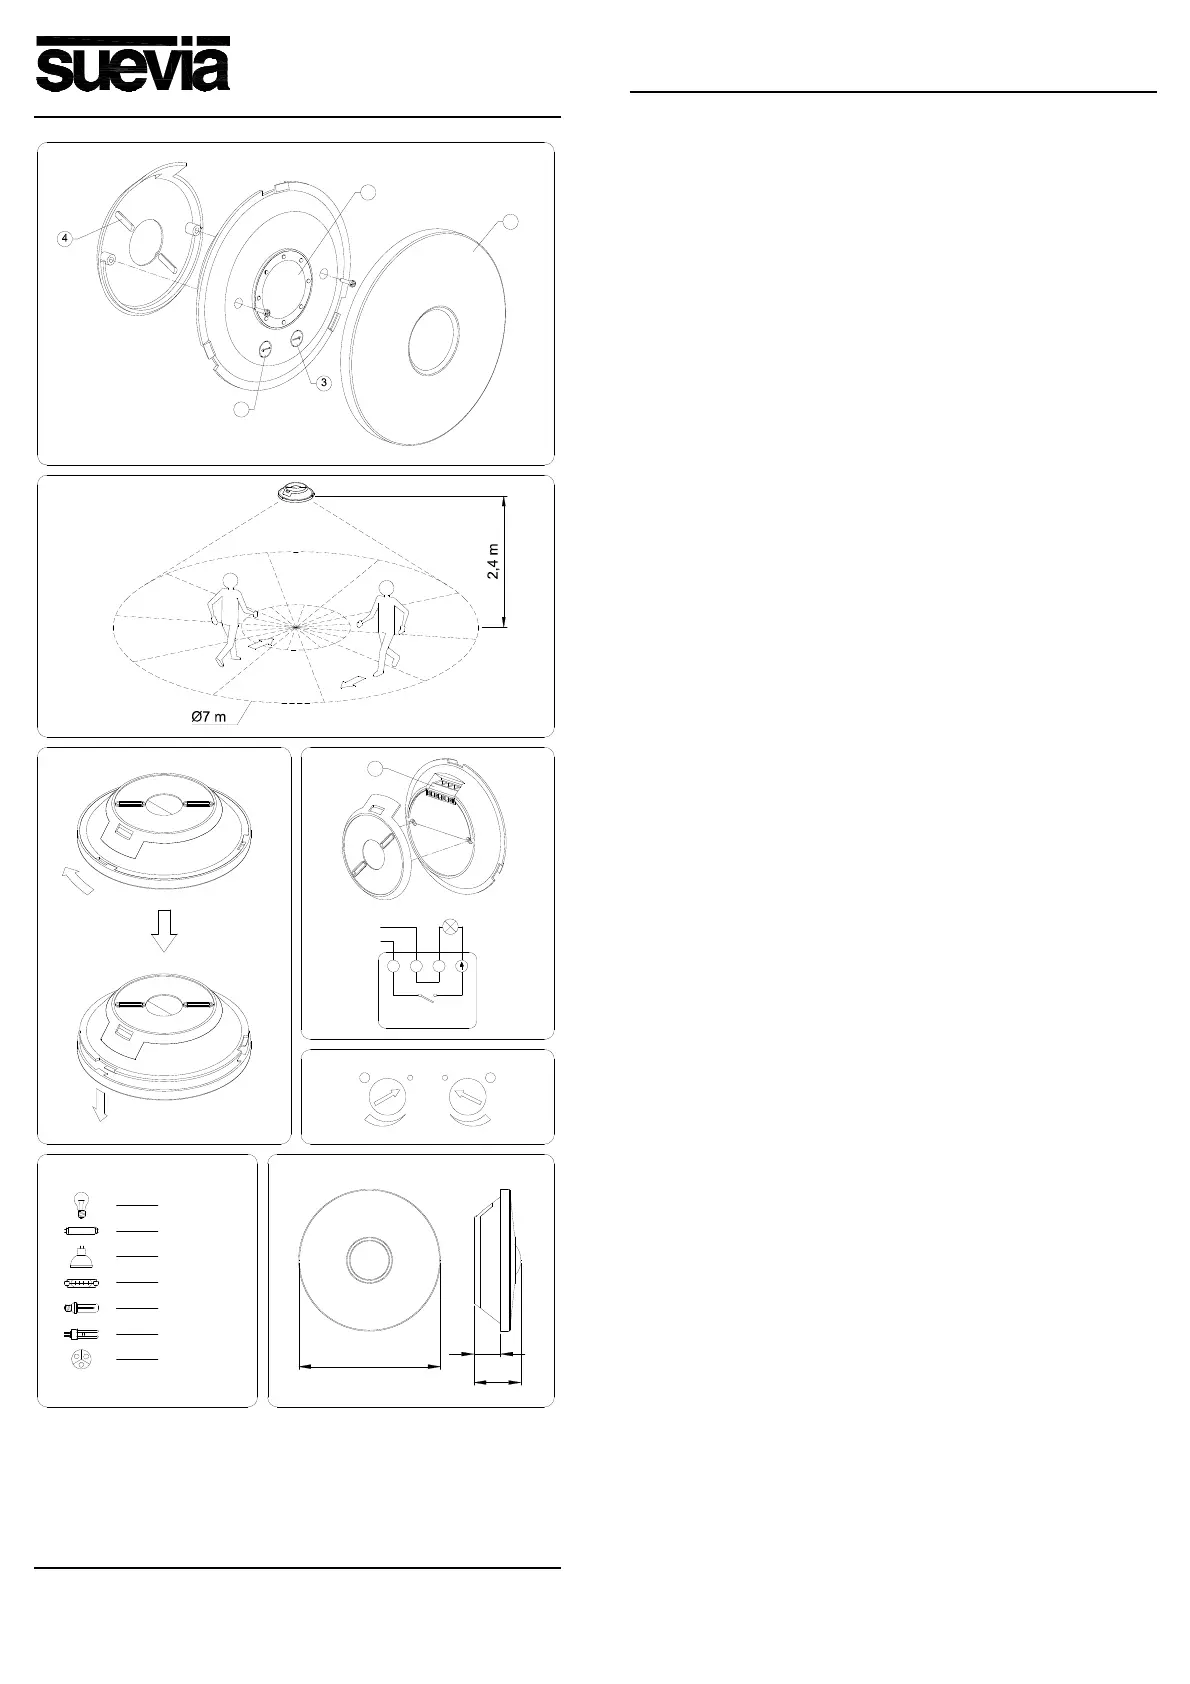
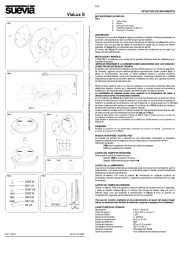
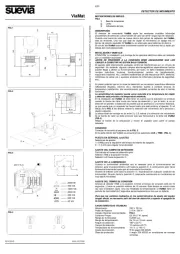
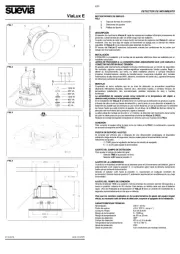
Bevægelsesdetektor
ViaLux S
| Mærke: | Suevia |
| Kategori: | Bevægelsesdetektor |
| Model: | ViaLux S |
Har du brug for hjælp?
Hvis du har brug for hjælp til Suevia ViaLux S stil et spørgsmål nedenfor, og andre brugere vil svare dig
Bevægelsesdetektor Suevia Manualer
20 September 2025
28 August 2024
15 August 2024
Bevægelsesdetektor Manualer
- Leviton
- Goobay
- Homematic IP
- Legrand
- Swann
- Inovonics
- Bitron
- Optex
- Honeywell
- Nivian
- Vemer
- Eaton
- Steren
- Axis
- EtiamPro
Nyeste Bevægelsesdetektor Manualer

20 December 2025

18 December 2025

16 December 2025

11 December 2025

10 December 2025

10 December 2025

9 December 2025

9 December 2025

8 December 2025

7 December 2025